
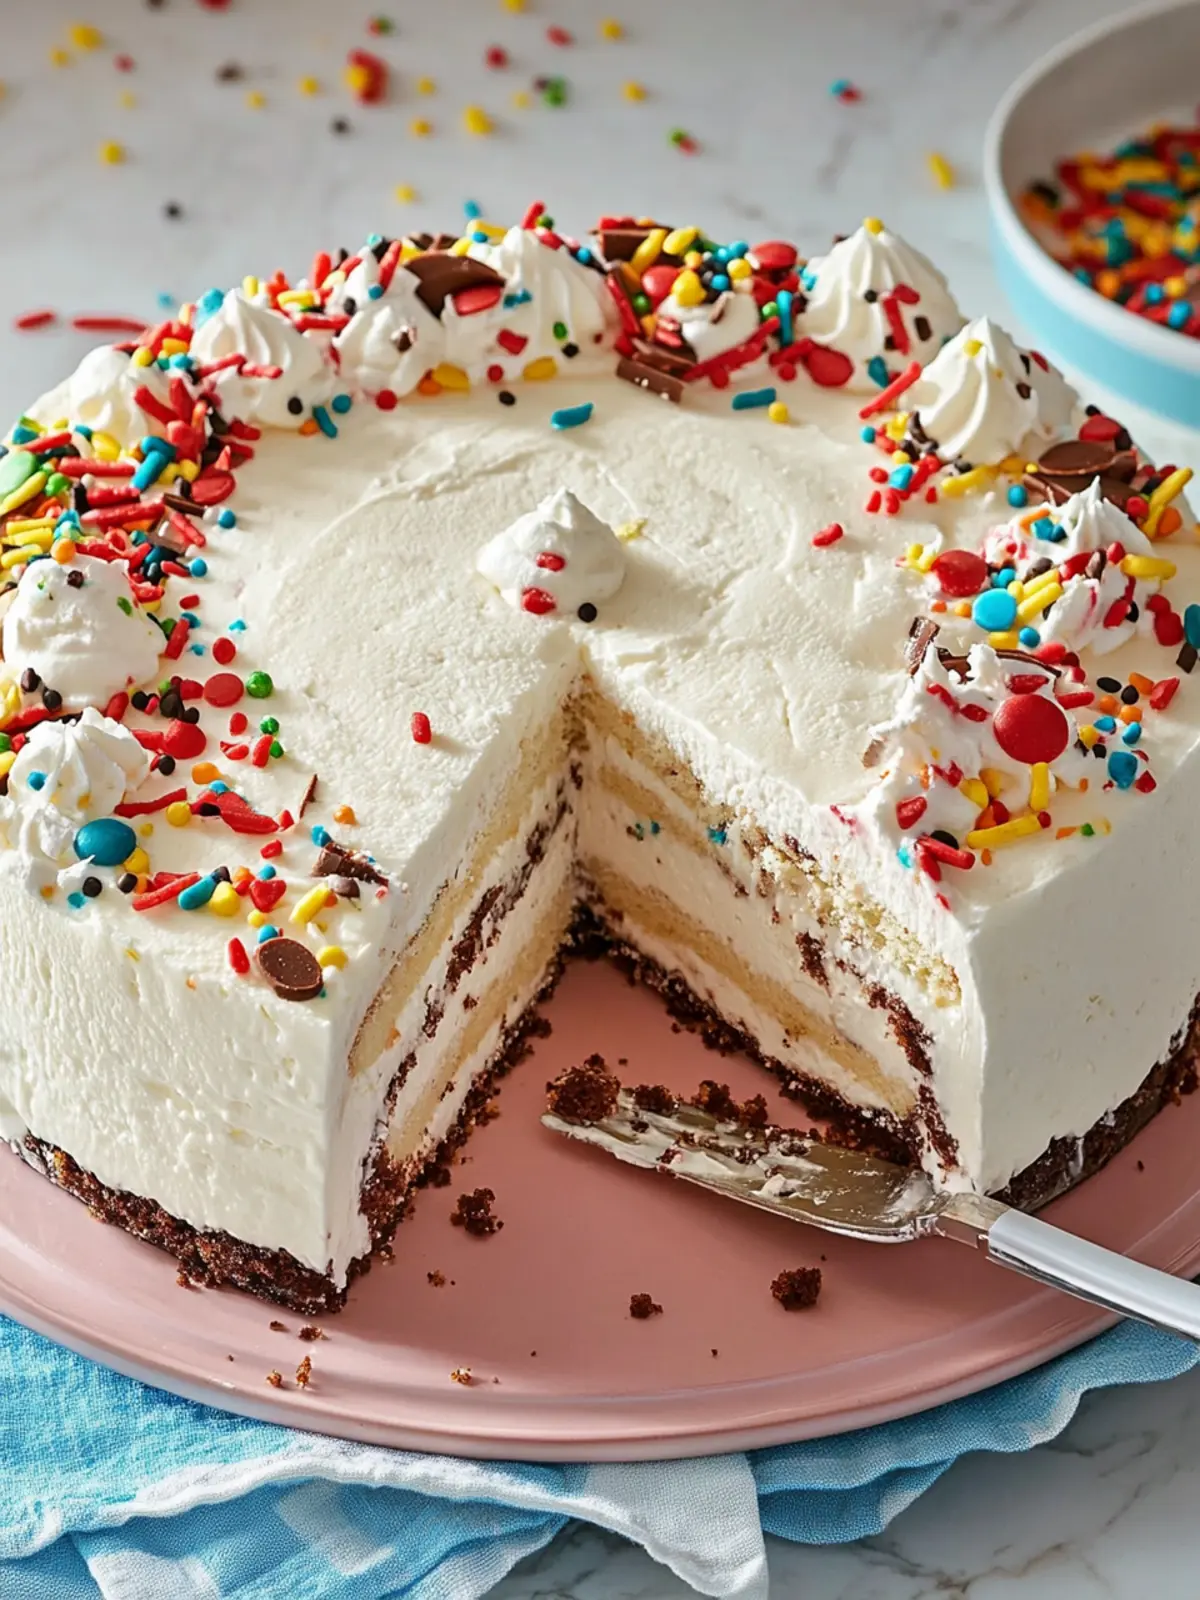
There’s nothing quite like the sweet moment when you slice into a homemade dessert that instantly transports you back to childhood. As I stood in my kitchen, the scent of melting chocolate mingling with buttery cookie crumbles filled the air. It reminded me of those summer days at Dairy Queen, where the joy of indulging in an ice cream cake felt like a rite of passage. This Copycat Dairy Queen Ice Cream Cake captures that same nostalgic magic, but with the added charm of being made right at home.
The best part? You don’t need to be a pastry chef to whip this up! With creamy layers of vanilla and chocolate ice cream, rich fudge, and that beloved crunch from Oreo cookies, it’s an effortless masterpiece that’s sure to wow your family and friends at any gathering. Whether it’s for a birthday bash, a cozy dinner party, or just a well-deserved treat after a long day, this dessert is your ticket to stress-free indulgence. Let’s step into the world of creamy goodness and make some sweet memories together!
Why Love This Copycat Dairy Queen Ice Cream Cake?
Nostalgic Delight: This cake is a trip down memory lane, reminiscent of childhood treats that make every bite special.
No-Bake Necessity: Perfect for warm days, you’ll spend minimal time in the kitchen.
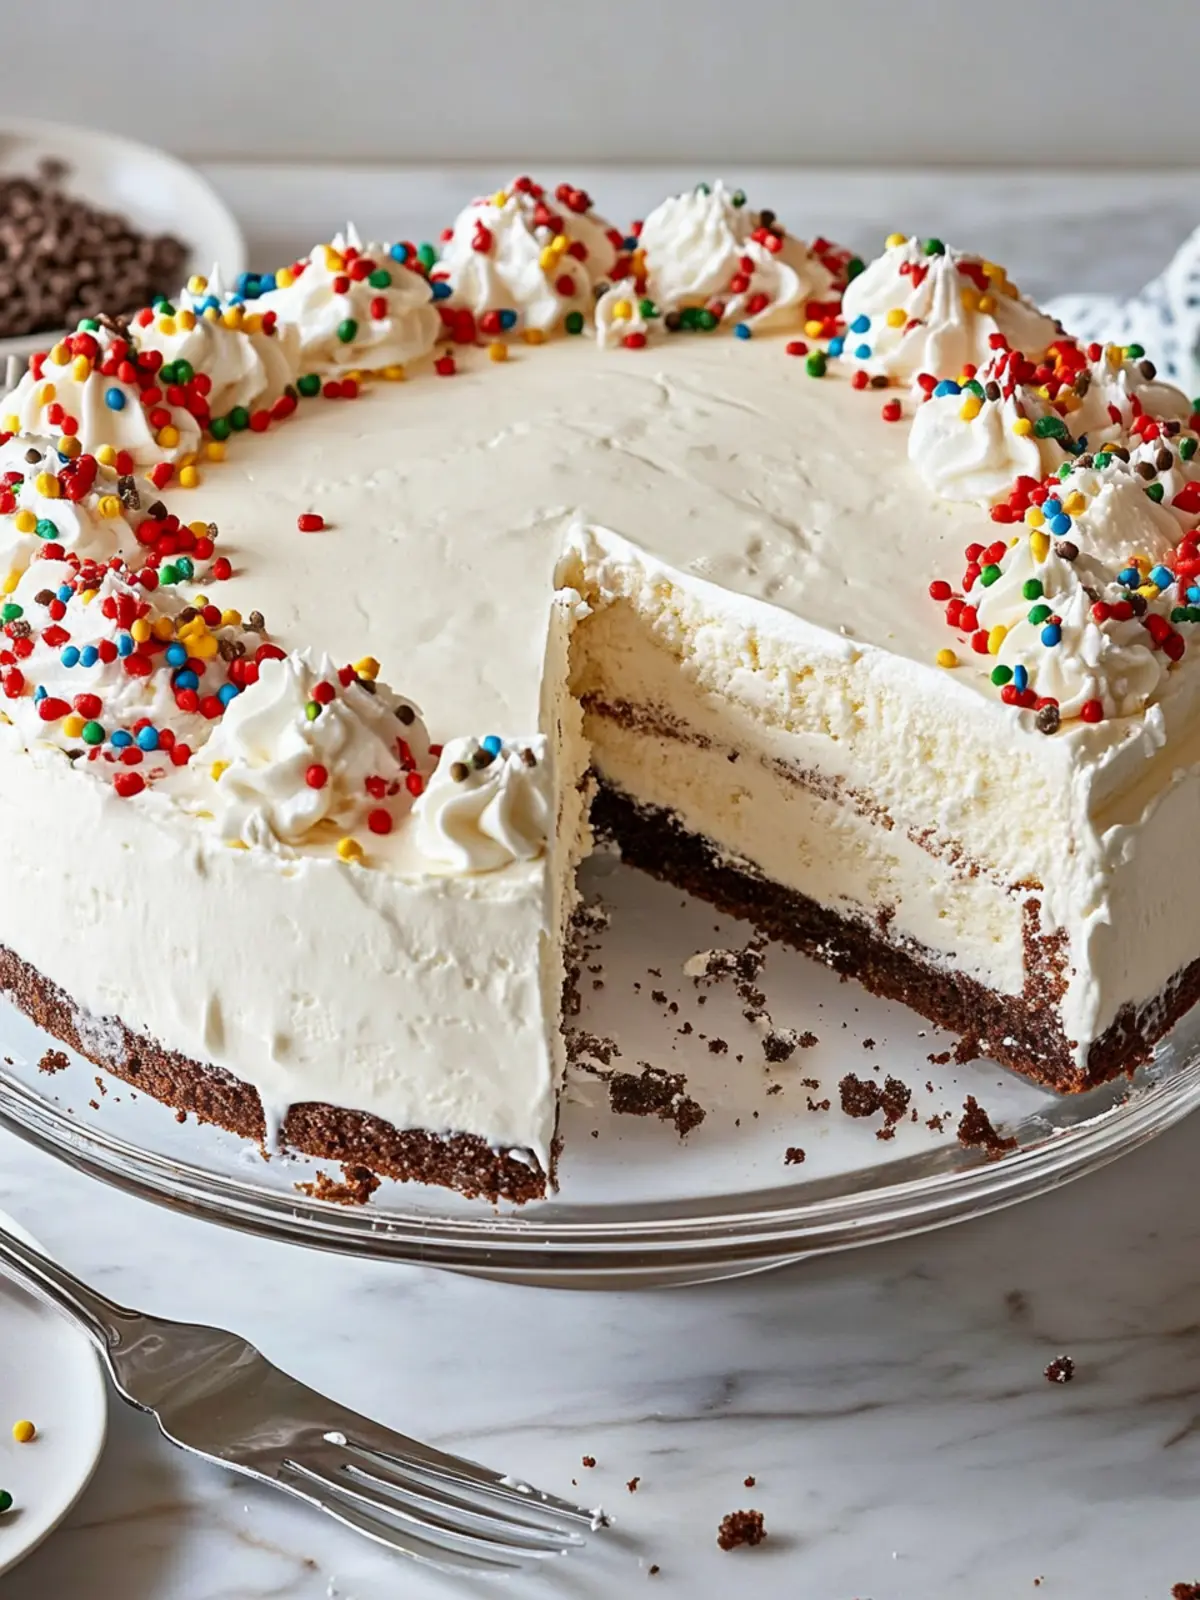
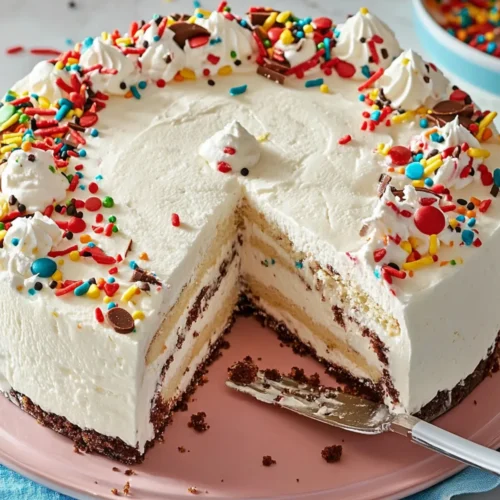
Layered Perfection: A stunning combination of creamy ice cream, fudge, and crunchy cookie layers creates a visual feast.
Customizable Flavors: Mix it up with your favorite ice creams or add fruit layers for a fresh twist.
Crowd-Pleasing: Your guests will rave about this decadent dessert, making it a hit at any gathering.
Easy Assembly: With straightforward steps, even beginner bakers will find success — just like my Oreo Layer Cake recipe!
Copycat Dairy Queen Ice Cream Cake Ingredients
• Ready to indulge in homemade bliss? Here’s what you’ll need!
For the Crunch Layer
- Oreo Cookies – Offers that signature crunch; feel free to swap with any chocolate cookie if desired.
- Unsalted Butter (3 Tbsp) – Binds the Oreo crumbs together for a delightful texture.
For the Fudge Layer
- Semisweet Chocolate Chips (about 3 1/2 oz.) – Provides a rich taste; dark chocolate works wonderfully for a deeper flavor.
- Refined Coconut Oil or Vegetable Shortening (1 Tbsp) – Ensures a smooth fudge consistency; extra chocolate can be used as a substitute.
For the Ice Cream Layers
- Vanilla Ice Cream (1.5 qt) – Sets the base layer of your cake; any brand you love will do!
- Hot Fudge Topping (11.5-oz. jar) – Adds a deliciously rich ribbon of fudge in the middle; consider using homemade for a personal touch.
- Chocolate Ice Cream (1.5 qt) – Creates a luscious second layer; switch it out for your favorite chocolate variety if you like.
For the Topping
- Heavy Whipping Cream (1.5 cups) – Essential for that fluffy whipped cream topping; can be replaced with whipped topping for convenience.
- Confectioners’ Sugar (1/4 cup) – Sweetens the whipped cream; feel free to adjust to your taste preference.
- Pure Vanilla Extract (1.5 tsp) – Elevates the flavor profile; almond extract offers an intriguing twist if you want something different.
- Sprinkles – Use for decorating; totally optional, but they add a festive flair to your cake!
Enjoy the process as you create this delightful Copycat Dairy Queen Ice Cream Cake!
How to Make Copycat Dairy Queen Ice Cream Cake
Prepare the Crunch Layer:
Start by combining chopped Oreo cookies with melted butter. Spread the mixture onto a baking sheet and toast in the oven at 350°F for about 10 minutes, until slightly brown and crunchy.Make the Fudge Layer:
Melt the semisweet chocolate chips together with coconut oil in a saucepan over low heat. Stir until smooth and silky, allowing the flavors to meld beautifully.Layer the Ice Cream:
Let the vanilla ice cream soften for about 10 minutes at room temperature. Once softened, spread it evenly in a round cake tin, creating a seamless first layer.Add Fudge and Crunch:
Pour the rich fudge layer over the vanilla ice cream. Sprinkle the cooled crunch layer over the fudge, pressing gently to ensure it sticks.Repeat Layering:
Next, add the chocolate ice cream layer. Pour more fudge over this layer and sprinkle on the remaining cookie crunch for added texture.Whip the Cream:
In a mixing bowl, beat the heavy whipping cream with confectioners’ sugar and vanilla until soft peaks form. This fluffy mixture will make your cake irresistible.Top the Cake:
Carefully spread the whipped cream over the entire cake, smoothing it out. Add sprinkles on top for a delightful finishing touch.Freeze:
Place your ice cream cake in the freezer for several hours or overnight, allowing it to set perfectly for serving.Serve:
Slice into this homemade goodness and enjoy the creamy layers with family and friends. Every bite will remind you of those sweet Dairy Queen memories!
Optional: Drizzle extra fudge over each slice for an extra indulgent experience.
Exact quantities are listed in the recipe card below.

How to Store and Freeze Copycat Dairy Queen Ice Cream Cake
Fridge:: Store leftover slices in a sealed container in the fridge for up to 3 days. For best texture, consume sooner rather than later.
Freezer:: Keep your entire ice cream cake in an airtight container in the freezer for up to 1 week. Wrap it in plastic wrap for extra protection against freezer burn.
Reheating:: Thaw frozen slices at room temperature for about 15 minutes before serving for optimal creaminess. Avoid microwaving, as it may melt the layers unevenly.
Serving Suggestion:: Serve each slice immediately after slicing to maintain the delightful contrast of creaminess and crunch that makes this Copycat Dairy Queen Ice Cream Cake so irresistible!
Copycat Dairy Queen Ice Cream Cake Variations
Looking to shake things up? Get creative with these delightful twists on your beloved cake!
- Fruit Layer: Add a layer of fresh strawberries or blueberries for a burst of fruity flavor that pairs beautifully with the ice cream.
- Nutty Crunch: Incorporate crushed nuts like almonds or walnuts into the crunch layer for an extra layer of texture and flavor.
- Mint Chocolate: Swap chocolate ice cream for mint chocolate chip to bring a refreshing twist to the traditional flavors.
- Peanut Butter Fudge: Substitute hot fudge topping with creamy peanut butter for a decadent, nutty twist on the fudge layer.
- Coffee Infusion: Mix instant coffee granules into the whipped cream or use coffee ice cream for a delightful pick-me-up dessert.
- Coconut Bliss: Replace vanilla ice cream with coconut-flavored ice cream and sprinkle shredded coconut on top for a tropical vibe.
- S’mores Delight: Use crushed graham crackers in place of Oreos and layer with toasted marshmallows for a cozy campfire-inspired treat.
- Cheesecake Base: Replace vanilla ice cream with cheesecake ice cream for a rich, velvety indulgence that’s sure to impress.
Make Ahead Options
These Copycat Dairy Queen Ice Cream Cakes are perfect for meal prep and can save you time on busy days! You can prepare the crunchy Oreo layer and fudge sauce up to 24 hours in advance. Simply bake the Oreo and butter mixture, let it cool completely, and store it in an airtight container in the fridge. The fudge can also be made ahead; just let it cool and refrigerate it until you’re ready to assemble. For the ice cream layers, you can set out the vanilla and chocolate ice cream to soften 10 minutes before assembly, which ensures easy spreading. When you’re ready to serve, layer everything together and let it freeze for at least 4 hours or overnight for the best texture. With these tips, your ice cream cake will be just as delicious and a breeze to pull together when it’s time to celebrate!
Expert Tips for Making Copycat Dairy Queen Ice Cream Cake
Soft Ice Cream: Let the ice cream sit out for about 10 minutes before layering. This makes spreading much easier and prevents a lumpy texture in your Copycat Dairy Queen Ice Cream Cake.
Cool Crunch Layer: Allow the crunch layer to cool completely before adding it to the cake. Adding it while warm can make the ice cream soggy.
Layering Technique: Use an offset spatula or the back of a spoon to smooth out each layer. This ensures a beautiful finish and precise layering.
Chill Ingredients: Keep the whipped cream and layers cold until assembly for best texture. If they warm up, they may not hold shape properly.
Personalize Flavors: Don’t hesitate to experiment with flavors! Adding different ice cream bases or toppings is a great way to customize your Copycat Dairy Queen Ice Cream Cake to suit your taste.
What to Serve with Copycat Dairy Queen Ice Cream Cake?
Looking to create the perfect meal to accompany this indulgent dessert? Let’s explore some delightful pairings that elevate the experience!
- Fresh Berries: Bright, juicy strawberries or raspberries add a burst of freshness that beautifully contrasts the cake’s richness.
- Chocolate Sauce: A simple drizzle of warm chocolate sauce enhances the indulgent experience and adds a luxurious touch.
- Whipped Cream: Light and fluffy, extra whipped cream complements each slice, making every bite even more heavenly!
- Espresso or Coffee: The rich, robust flavors of espresso balance the sweetness, offering a warm beverage that echoes classic café desserts.
- Mint Leaves: Fresh mint leaves not only brighten up the presentation but also add a refreshing hint that cuts through the sweetness.
- Coconut Sorbet: A chill of coconut sorbet brings an extra layer of coolness and pairs well with the fudgey layers of the cake.
- Peanut Butter Drizzle: For the adventurous, a zesty peanut butter sauce adds a nutty twist that will leave your taste buds dancing.
- Chocolate Milkshake: A creamy chocolate milkshake makes for a nostalgic treat that pairs perfectly with this cake.
- Caramel Sauce: Drizzling warm caramel over your slice adds a smooth, buttery flavor that mixes beautifully with the chocolate layers.
Enjoy the delightful combination of flavors and textures as you savor each bite of your creation!

Copycat Dairy Queen Ice Cream Cake Recipe FAQs
What type of Oreo cookies should I use for the crunch layer?
Absolutely! Classic Oreo cookies are perfect for that authentic taste, but feel free to swap them for any chocolate cookie you enjoy. Look for cookies that are sturdy and crunchy to maintain the texture in your cake.
How long can I store the Copycat Dairy Queen Ice Cream Cake in the freezer?
Your homemade ice cream cake can be stored in an airtight container in the freezer for up to 1 week. To prevent freezer burn, I recommend wrapping it tightly in plastic wrap before placing it in the container. The taste and texture will remain delightful if you enjoy it within this timeframe!
Can I make this cake ahead of time and freeze it?
Certainly! You can assemble your Copycat Dairy Queen Ice Cream Cake in advance and freeze it. Just follow these steps: After topping with whipped cream and sprinkles, cover the cake tightly with plastic wrap or foil. Freeze it for a few hours or overnight for best results. When ready to serve, let it thaw at room temperature for about 15 minutes for easier slicing.
What should I do if the ice cream layer is too hard to spread?
Very common! If your ice cream is too firm, let it sit out at room temperature for about 10 minutes to soften. This makes it easier to spread without breaking apart. The key is to keep it soft but not melted, so keep an eye on it while you’re waiting!
Are there any dietary considerations I should keep in mind?
Yes! If you or your guests have allergies, take note of the ingredients. This cake contains dairy and gluten due to the ice cream and Oreo cookies. For a gluten-free option, use gluten-free cookies, and for dairy concerns, substitute the ice cream and whipped cream with non-dairy alternatives. Always check labels to ensure all your ingredients match your dietary needs.
How do I achieve the best texture for the whipped cream topping?
To get that perfect fluffy whipped cream topping, I recommend chilling your mixing bowl and beaters in the refrigerator before use. This helps the cream whip up beautifully. Beat heavy whipping cream with confectioners’ sugar and a splash of vanilla extract until soft peaks form — this usually takes about 3-5 minutes on medium speed. Enjoy your lovely, airy topping!
Decadent Copycat Dairy Queen Ice Cream Cake Made Easy
Equipment
- cake tin
- - Baking sheet
- - Saucepan
- - Mixing bowl
- Spatula
Ingredients
For the Crunch Layer
- 24 cookies Oreo Cookies Feel free to swap with any chocolate cookie if desired.
- 3 Tbsp Unsalted Butter Binds the Oreo crumbs together.
For the Fudge Layer
- 3.5 oz Semisweet Chocolate Chips Dark chocolate works well for deeper flavor.
- 1 Tbsp Refined Coconut Oil or Vegetable Shortening Ensures smooth fudge consistency.
For the Ice Cream Layers
- 1.5 qt Vanilla Ice Cream Any brand you love will do!
- 11.5 oz Hot Fudge Topping Consider using homemade.
- 1.5 qt Chocolate Ice Cream Switch it out for your favorite chocolate variety if you like.
For the Topping
- 1.5 cups Heavy Whipping Cream Can be replaced with whipped topping.
- 1/4 cup Confectioners' Sugar Adjust to your taste preference.
- 1.5 tsp Pure Vanilla Extract Almond extract offers an intriguing twist.
- Sprinkles Optional decoration.
Instructions
How to Make Copycat Dairy Queen Ice Cream Cake
- Prepare the Crunch Layer: Combine chopped Oreo cookies with melted butter, spread onto a baking sheet, and toast in the oven at 350°F for about 10 minutes until slightly brown and crunchy.
- Make the Fudge Layer: Melt semisweet chocolate chips with coconut oil in a saucepan over low heat until smooth.
- Layer the Ice Cream: Soften vanilla ice cream for 10 minutes, then spread evenly in a round cake tin.
- Add Fudge and Crunch: Pour fudge layer over vanilla ice cream and sprinkle the crunch layer, pressing gently to stick.
- Repeat Layering: Add chocolate ice cream layer, pour more fudge over it, and sprinkle remaining cookie crunch.
- Whip the Cream: Beat heavy whipping cream with sugar and vanilla until soft peaks form.
- Top the Cake: Spread whipped cream over the cake and add sprinkles on top.
- Freeze: Place the cake in the freezer for several hours or overnight to set.
- Serve: Slice and enjoy the creamy layers with family and friends.