
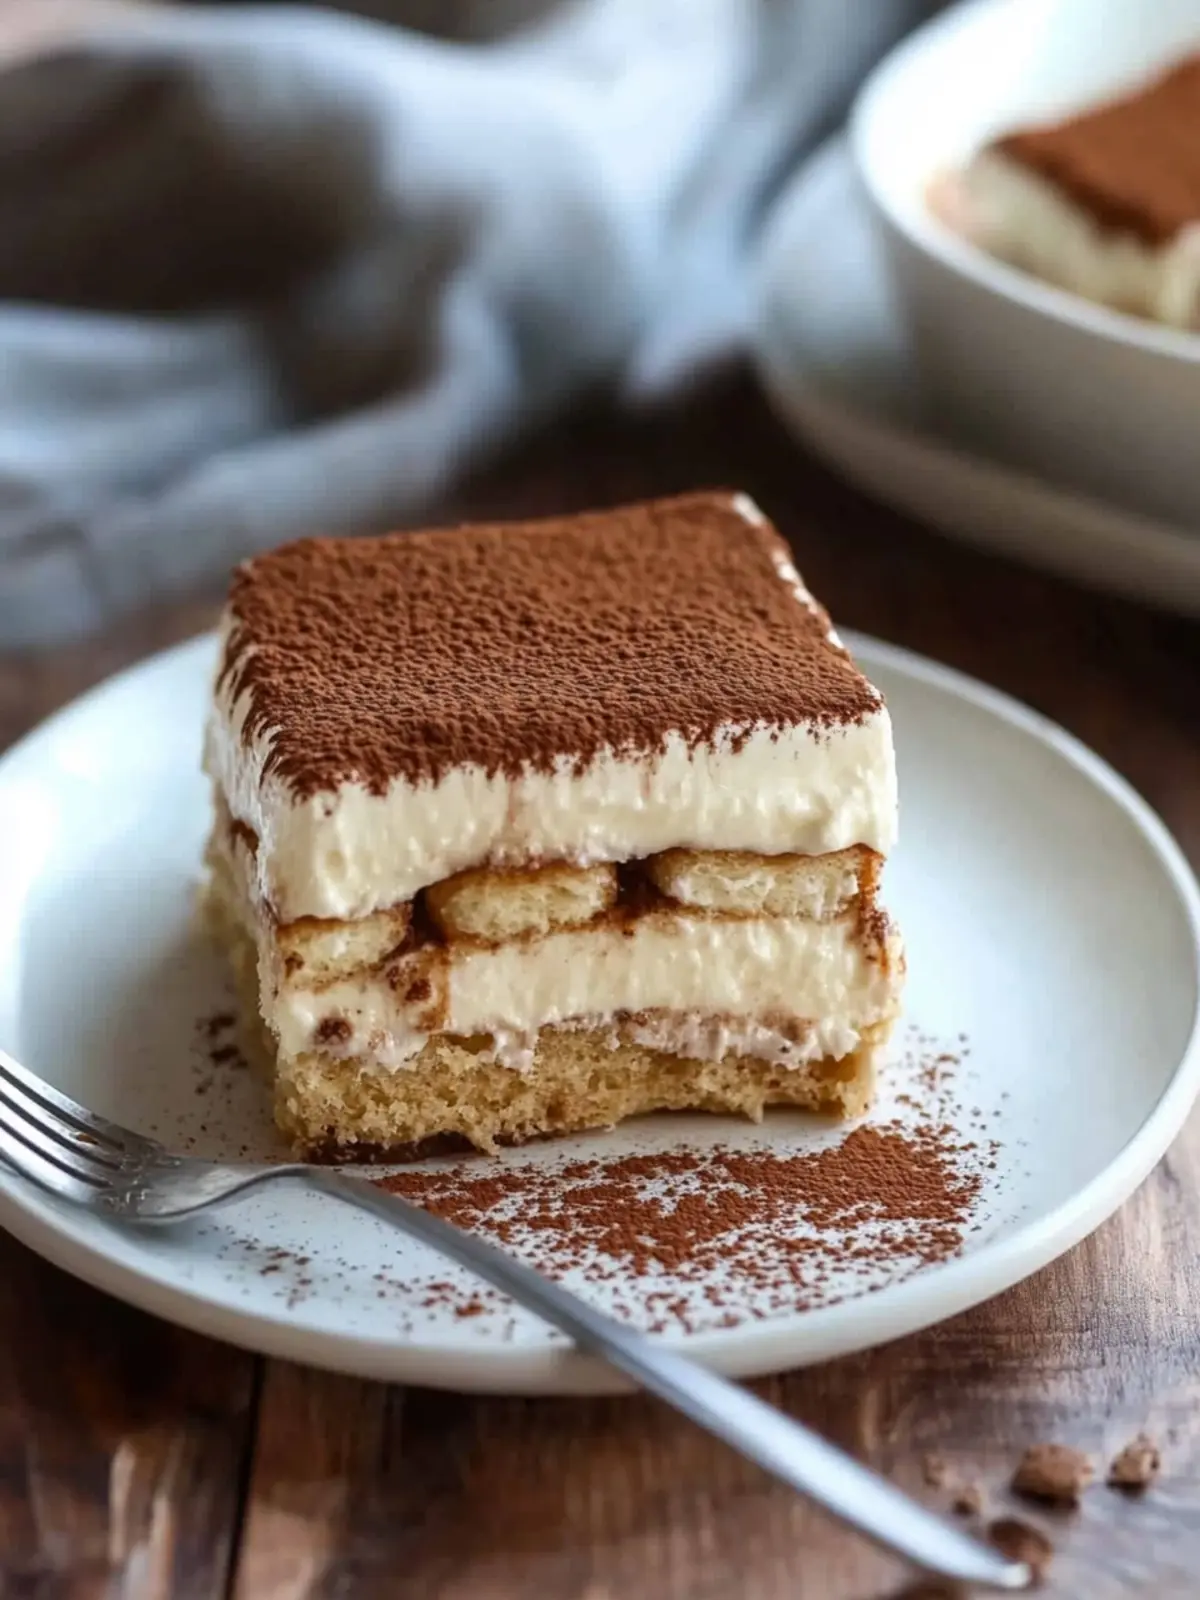
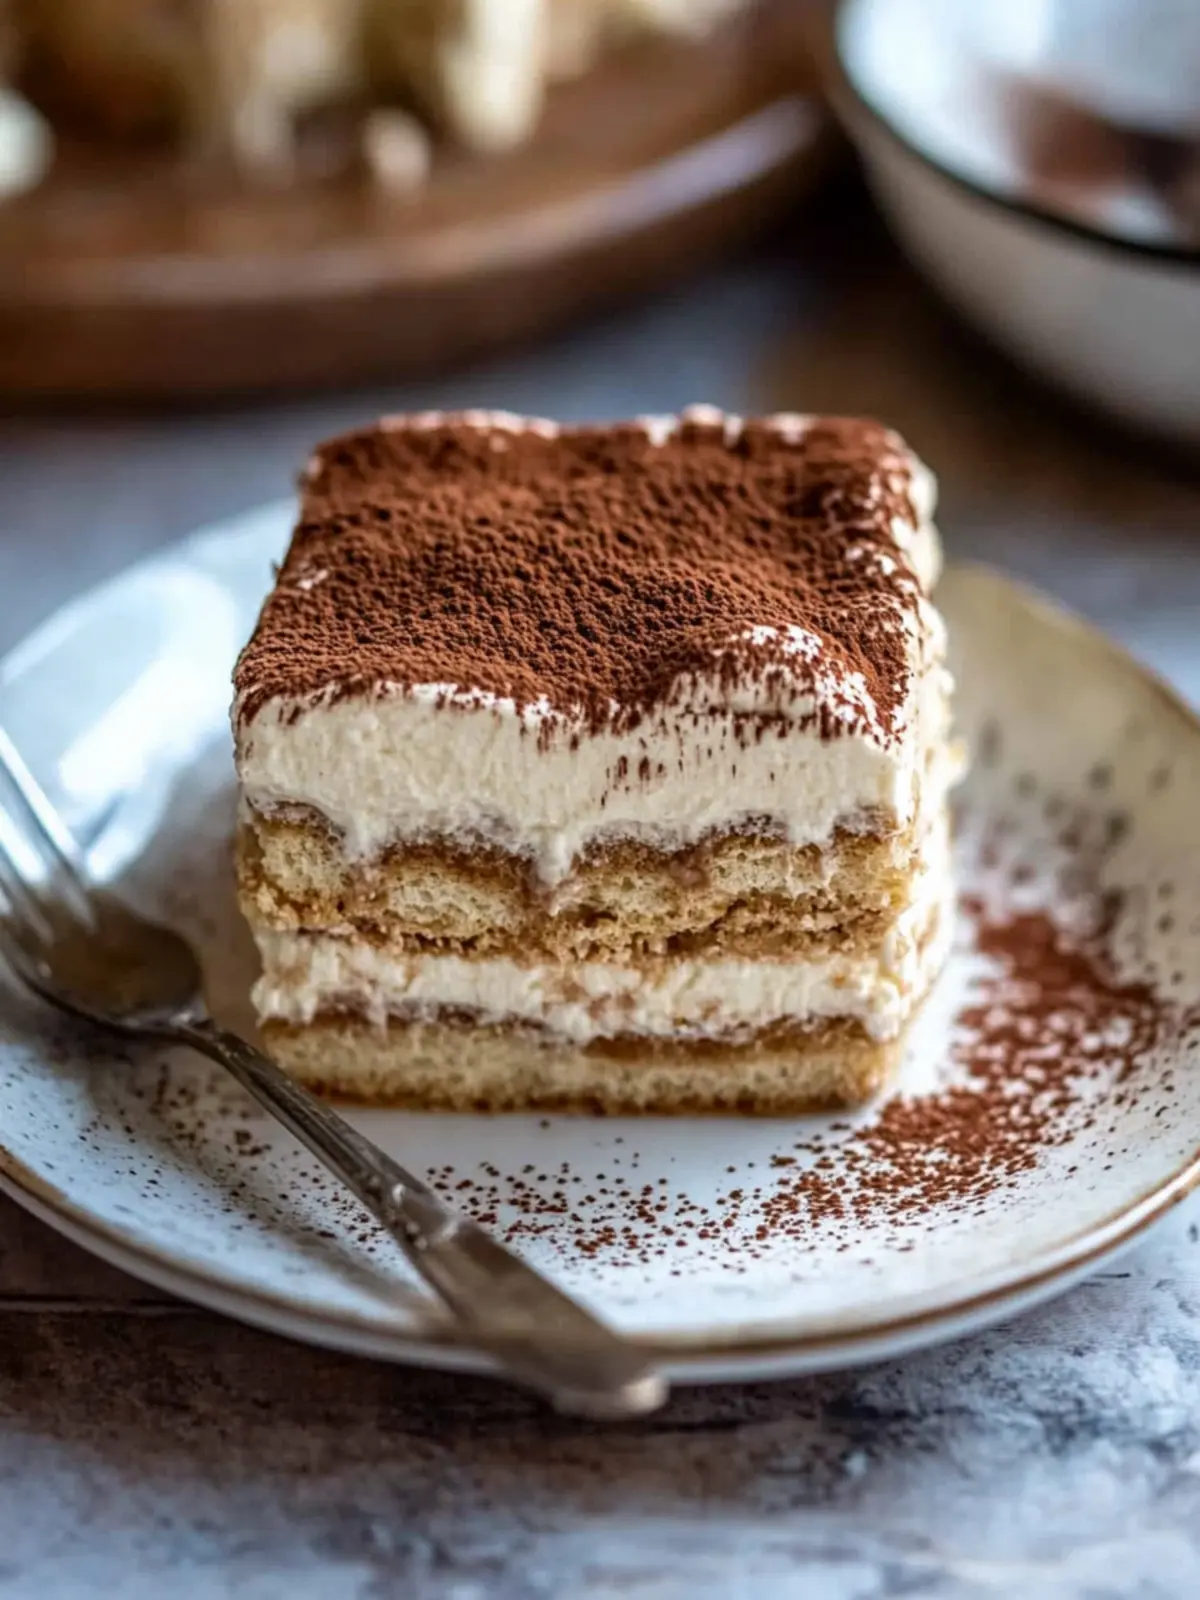
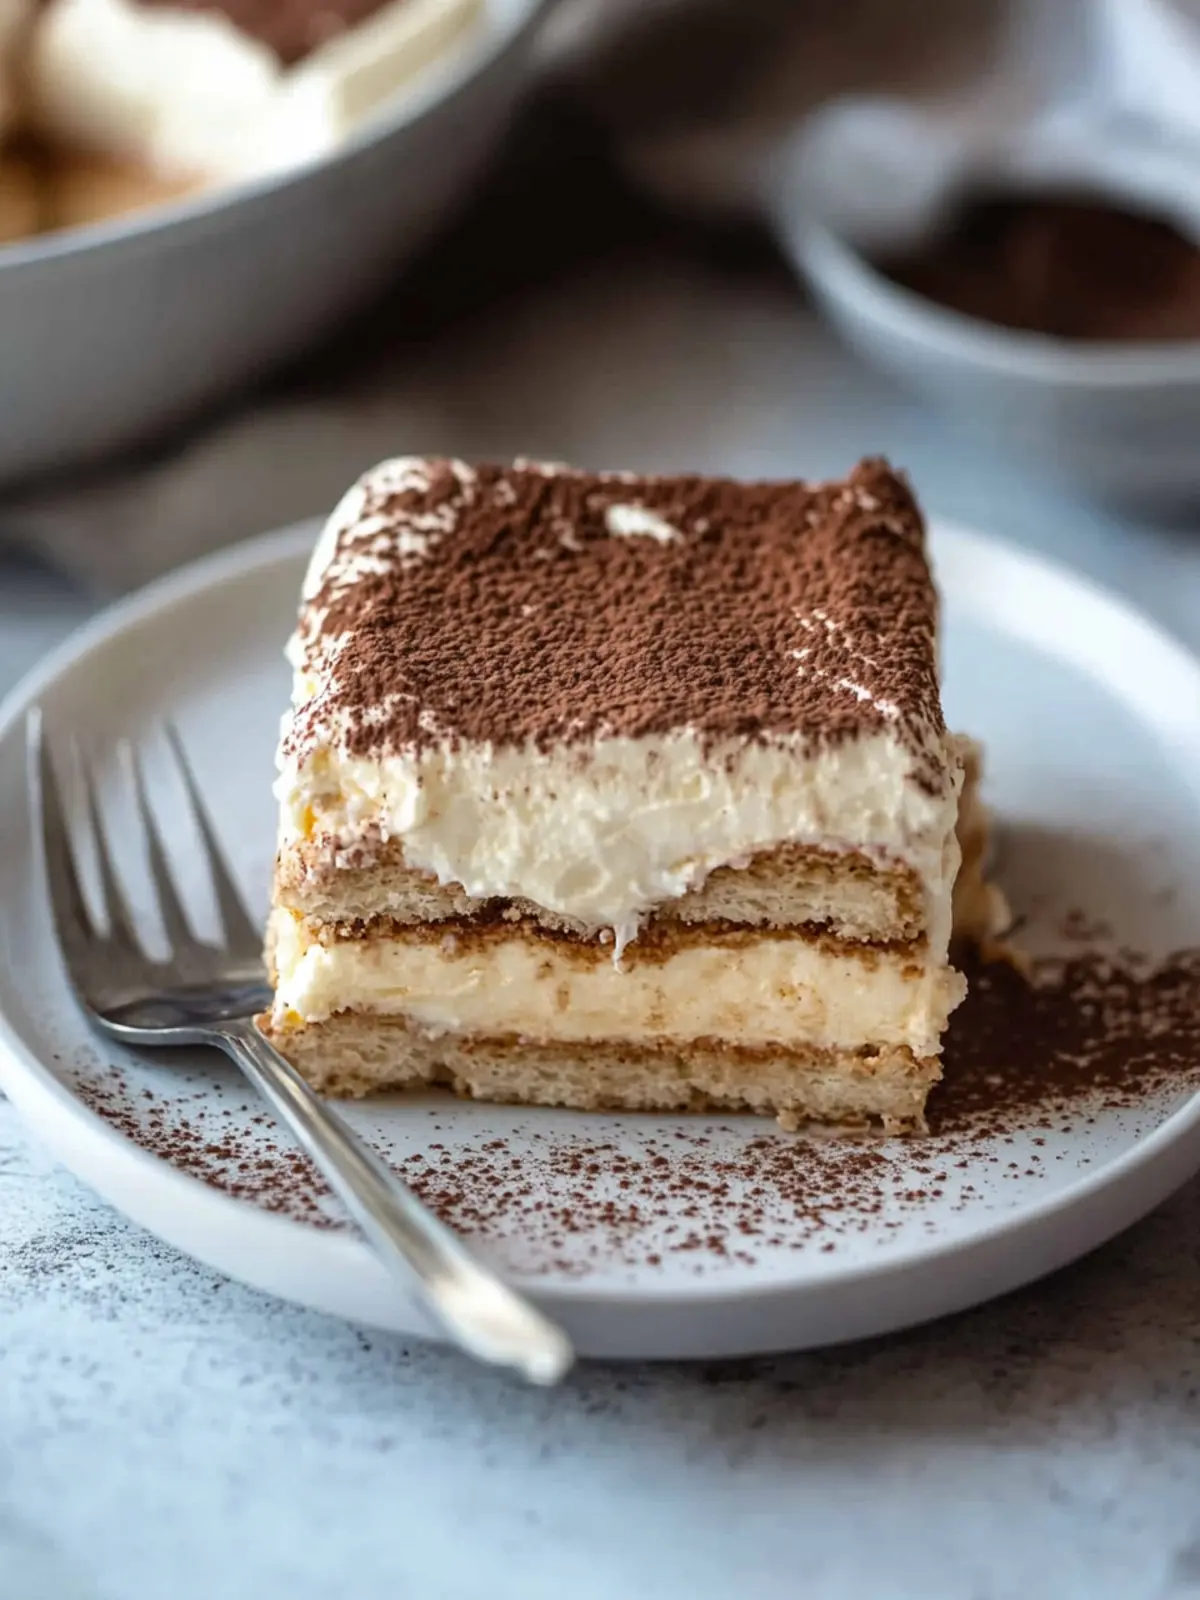
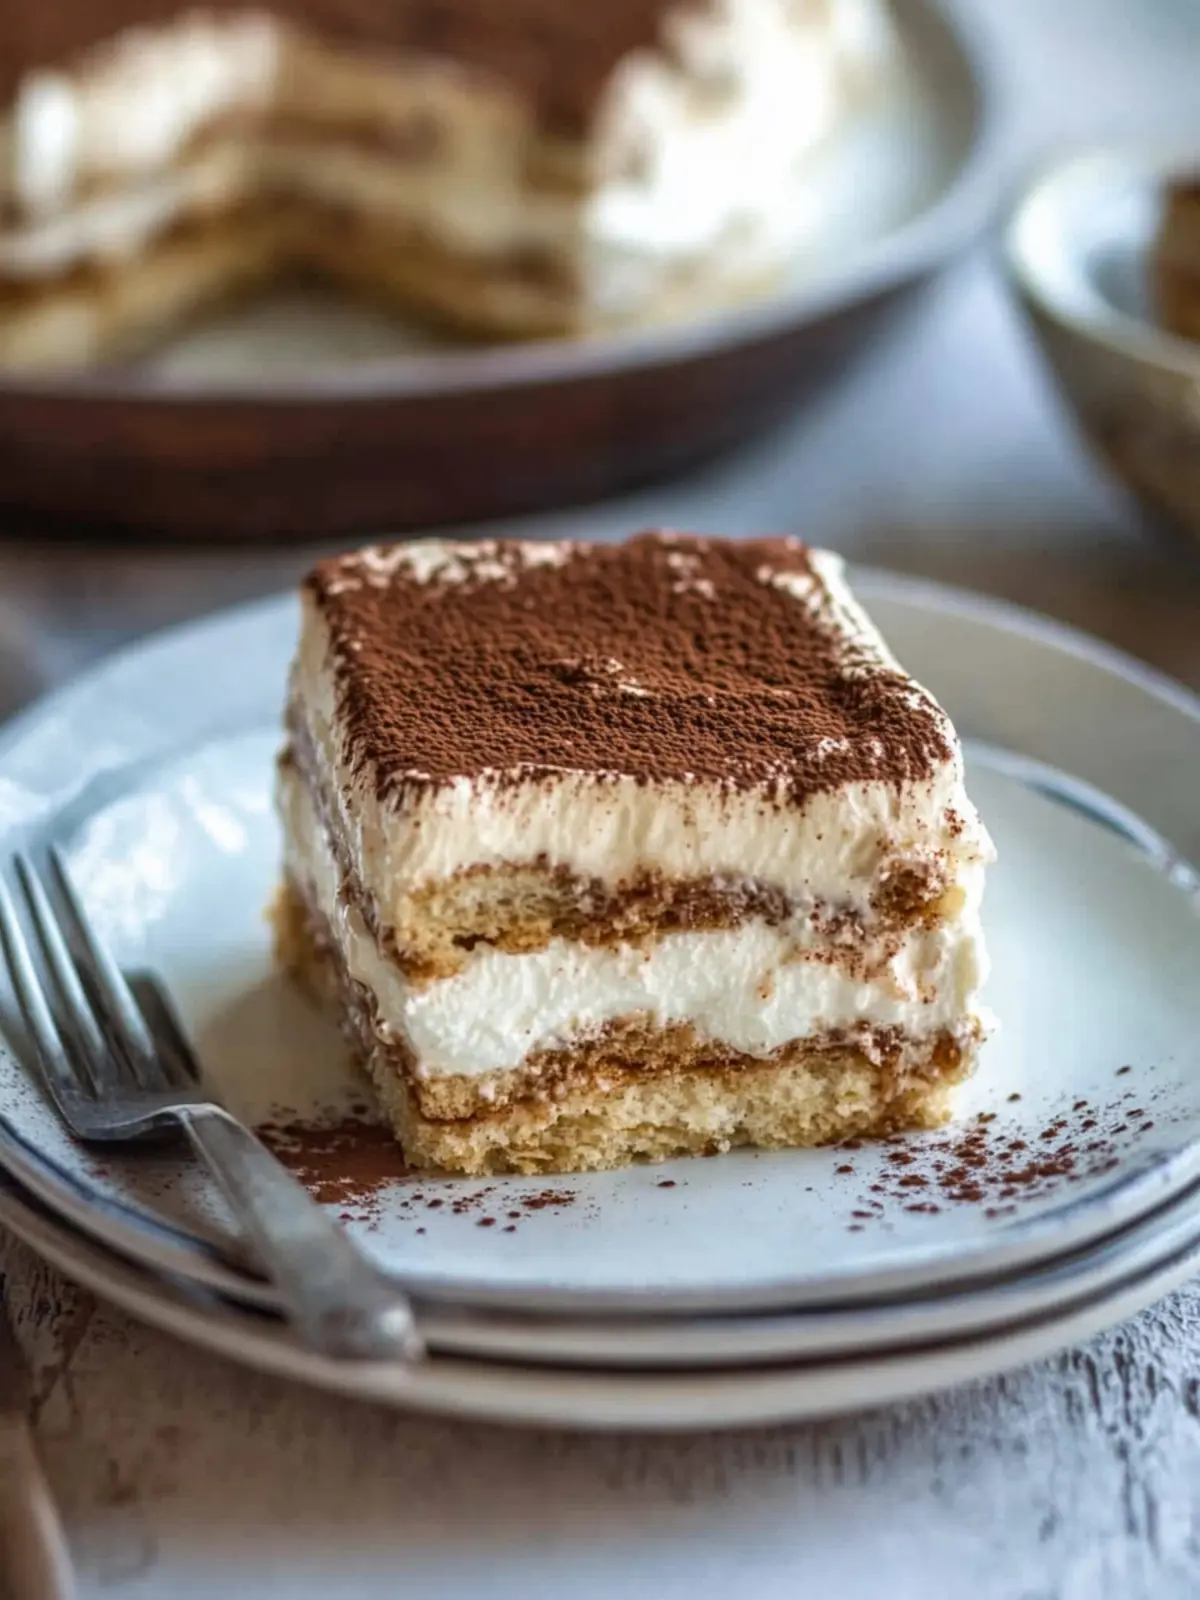
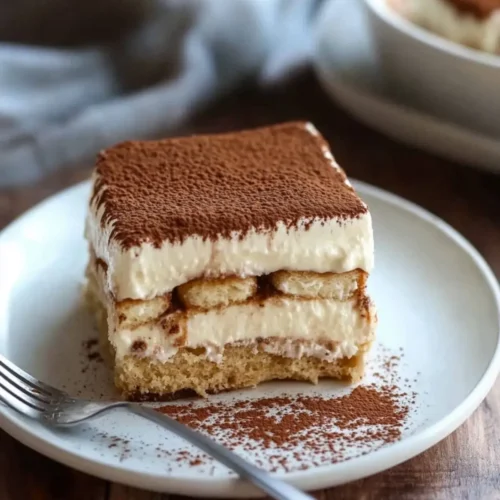
The moment I take my first bite of tiramisu, I’m transported to a cozy Italian café, the sun casting warm light through the window. The rich layers of mascarpone cream and coffee-soaked lady fingers create a perfect symphony of flavors, each spoonful evoking the romance of time spent with loved ones. You’d be surprised to learn that this decadent dessert can be whipped up in just ten minutes of active time!
Recently, I realized that life is too short to settle for boring desserts, especially when the answer lies in a classic tiramisu recipe. Whether you’re entertaining guests or seeking a delightful treat just for yourself, this easy recipe is a surefire crowd-pleaser. It’s not just about making dessert; it’s about crafting an experience that brings everyone together. So grab your ingredients, and let’s dive into this delightful world of indulgence!
Why is this tiramisu recipe so special?
Quick and Easy: With just 10 minutes of prep time, you can make this elegant dessert without stress.
Layers of Joy: Each bite delivers a delightful contrast of creamy mascarpone and coffee-soaked lady fingers that dance on your taste buds.
Versatile Delight: Perfect for all occasions, whether it’s a family dinner or a fancy gathering, this tiramisu is sure to impress.
Make-Ahead Marvel: Prepare it in advance, and let the flavors develop while you focus on your guests.
Satisfying and Rich: The combination of coffee liqueur and rich mascarpone creates a deep flavor profile that coffee lovers will adore.
Elegant Presentation: Dusting with cocoa powder adds a sophisticated touch, making it as beautiful as it is delicious.
Dive into this indulgent world and discover more dessert ideas in our Sweet Treats Collection.
Tiramisu Recipe Ingredients
For the Cream Mixture
• Heavy whipping cream – adds a luscious texture and richness to the dessert.
• Mascarpone cheese – provides a creamy, luxurious base that makes this tiramisu recipe shine.
• Granulated sugar – sweetens the mixture perfectly, balancing the coffee’s bitterness.
• Vanilla extract – enhances the overall flavor with its warm, aromatic notes.
For the Coffee Layer
• Cold espresso – the heart of the dessert, offering a robust coffee flavor that soaks the lady fingers.
• Coffee flavored liqueur (optional) – elevates the coffee taste and adds a hint of warmth; skip it for a non-alcoholic version.
For Assembly
• Lady Fingers – the perfect sponge that absorbs the coffee and cream, creating layers of delightful texture.
• Cocoa powder – for dusting, adding a rich finish with an elegant touch.
How to Make Tiramisu
Prepare the Cream: Start by adding heavy whipping cream to a mixing bowl. Beat on medium speed until you achieve stiff peaks—this should take about 2-3 minutes. Gradually mix in sugar and vanilla extract while continuing to beat. Finally, gently fold in mascarpone cheese until everything is combined seamlessly.
Dip the Lady Fingers: In a shallow bowl, combine the prepared cold espresso and optional coffee liqueur. Quickly dip each lady finger into the coffee mixture—ensure they’re coated but not overly soggy. Lay them in a single layer in an 8×8” dish to form the base.
Layer the Cream Mixture: Spread half of the mascarpone cream mixture generously over the layer of dipped lady fingers. This will create a luscious layer of flavor that complements the coffee.
Add More Lady Fingers: Repeat the dipping process with another layer of lady fingers, ensuring they soak just briefly. Lay them on top of the first cream layer to achieve delicious dimension.
Finish with Cream: Now, smooth the remaining mascarpone mixture over the top of the second layer of lady fingers. To enhance the presentation, dust cocoa powder liberally across the surface for that classic tiramisu finish.
Refrigerate: Cover the dish and refrigerate for at least 3-4 hours, or overnight if you can wait. This resting time allows the flavors to meld beautifully.
Optional: Garnish with chocolate shavings for an extra indulgent touch.
Exact quantities are listed in the recipe card below.
Tiramisu Recipe Variations
Feel free to sprinkle your own magic into this classic dessert and create something uniquely yours!
- Dairy-Free: Substitute heavy cream with coconut cream and use dairy-free mascarpone for a creamy alternative.
- Gluten-Free: Opt for gluten-free lady fingers or make your own using almond flour for an equally delicious base.
- Chocolate Layer: Add a layer of chocolate ganache between the mascarpone layers for a rich, sweet twist that’ll satisfy any chocoholic.
- Nutty Flavor: Fold in crushed hazelnuts into the mascarpone mixture. It adds delightful crunch and echoes the flavors of a classic Italian café.
- Fruit Infusion: Add a layer of fresh berries—like raspberries or strawberries—between cream layers for a burst of fruity freshness. Their natural sweetness complements the coffee beautifully!
- Spice It Up: Consider adding a hint of cinnamon or nutmeg to the mascarpone mixture for an autumn-inspired warmth infused throughout.
- Mocha Version: Replace some espresso with chocolate coffee for a mocha variation that layers chocolate and coffee in every bite.
- Make it Boozy: Instead of coffee liqueur, use amaretto or rum for a delightful flavor boost that will bring a little extra warmth to your tiramisu.
Expert Tips for Tiramisu Recipe
Choose Fresh Ingredients: Always use fresh heavy cream and mascarpone cheese for the best flavor and texture. Expired ingredients can lead to disappointing results.
Perfectly Dipped Lady Fingers: Don’t soak the lady fingers too long in the coffee mixture—they should be moist but not mushy. A quick dip on each side does the trick!
Whip to Stiff Peaks: When whipping the cream, ensure you reach stiff peaks. This is crucial for a stable mascarpone mixture that holds its shape beautifully.
Layer Smartly: Don’t rush through the layers. Make sure each layer is even for balanced bites. This will keep your tiramisu from collapsing.
Chill for Best Flavor: Allow the tiramisu to chill for a minimum of 3-4 hours—overnight is even better. This will enhance the flavors and improve the overall texture of your tiramisu recipe.
Have Fun with Garnish: Feel free to get creative with your cocoa dusting! Use a fine mesh sieve for an even layer or add a sprinkle of chocolate shavings to elevate your presentation.
Make Ahead Options
These tiramisu recipe options are perfect for busy home cooks looking to save time during meal prep! You can prepare the mascarpone cream mixture and the coffee layer up to 24 hours in advance; simply store them separately in airtight containers in the refrigerator to maintain freshness. Additionally, you can dip the lady fingers in espresso and assemble the layers up to 3 hours ahead of serving. Just remember to dust with cocoa powder right before serving to keep that beautiful finish. This way, when it’s time to enjoy your delightful dessert, all you’ll need to do is pull it from the fridge—providing delicious, stress-free results that are just as exquisite as if you made it from scratch!
What to Serve with Tiramisu?
Indulging in a decadent tiramisu is just the beginning of a delightful meal experience, and pairing it thoughtfully can elevate your dessert adventure.
Rich Espresso: This classic beverage enhances the coffee flavor in the tiramisu and provides a warm, comforting end to your meal.
Complimentary Sweets Platter: A selection of biscotti or chocolate-covered almonds creates a crunchy contrast, inviting guests to explore various textures alongside their dessert.
Fresh Berries: Juicy strawberries or raspberries brighten the plate with freshness, balancing the richness of the tiramisu beautifully. Their tartness provides a stunning finale.
Whipped Cream: A dollop of lightly sweetened whipped cream adds an airy touch, enhancing the creamy layers in your tiramisu while also inviting texture.
Chocolate Mousse: Serve a dainty portion of airy chocolate mousse next to your tiramisu for a luxurious double dessert offering that lingers on the palate.
Mint Tea: The refreshingly herbal notes of mint tea cleanse the palate, making it a perfect companion for this indulgent treat, encouraging more bites.
Affogato: This delightful combination of vanilla ice cream topped with a shot of hot espresso complements your tiramisu, creating a thrilling caffeine boost.
Vino Dolce: A sweet dessert wine, like Vin Santo, pairs wonderfully, enhancing the flavors of the mascarpone and coffee after each mouthful of tiramisu.
Homemade Chocolate Bark: The crunch and rich chocolate flavors of homemade bark provide a lovely textural complement, making for a visually stunning dessert spread.
Cocoa-dusted Truffles: These bite-sized delights echo the flavors in your tiramisu while adding a luxurious touch, perfect for sharing or savoring on your own.
How to Store and Freeze Tiramisu
Fridge: Store leftover tiramisu in an airtight container in the fridge for up to 3 days. This allows the flavors to continue developing even after serving.
Freezer: If needed, you can freeze tiramisu for later enjoyment. Wrap the dessert tightly in plastic wrap and aluminum foil, then freeze for up to 2 months.
Thawing: When ready to enjoy, transfer the frozen tiramisu to the fridge and let it thaw overnight. Avoid microwaving to maintain texture and flavor.
Reheating: Tiramisu is best served chilled, so no need to reheat. Just dust with fresh cocoa powder before serving for that classic look and taste!
Tiramisu Recipe FAQs
What type of coffee should I use for this tiramisu recipe?
Absolutely! For the best flavor, I recommend using strong, freshly brewed espresso. The richer the coffee, the more depth it will add to the dessert. If you don’t have espresso, a strong dark roast coffee can work in a pinch, but make sure to brew it double strength for maximum flavor.
How long can I store leftover tiramisu?
Very! You can store leftover tiramisu in an airtight container in the fridge for up to 3 days. Keep in mind that the flavors will continue to develop, making it even more delicious the next day. Just make sure to cover it well to keep it fresh and maintain its beautiful layers.
Can I freeze tiramisu?
Of course! To freeze your tiramisu, wrap it tightly in plastic wrap and then in aluminum foil to prevent freezer burn. It will last for up to 2 months. When you’re ready to enjoy it, simply transfer it to the fridge to thaw overnight. After thawing, be sure to dust with fresh cocoa powder before serving for that beautiful finish!
What if my mascarpone mixture is too runny?
No need to worry! If your mascarpone mixture turns out runny, it’s often because the heavy cream wasn’t whipped to stiff peaks. To fix it, try whipping it again to stiffen the cream. If you find it still isn’t thickening, you can add a bit of powdered sugar or even a touch of cornstarch—a little goes a long way!
Are there any dietary considerations for this tiramisu recipe?
Absolutely! For those with lactose intolerance or milk allergies, look for lactose-free mascarpone cheese and heavy whipping cream. If you’re considering a vegan version, you can use coconut cream instead of mascarpone and a dairy-free whipped cream. Just be sure to check that your lady fingers are vegan, as some brands may contain eggs.
Can I make tiramisu in advance?
Yes, indeed! Tiramisu is an excellent make-ahead dessert. You can prepare it a day before serving and let it chill in the fridge for at least 3-4 hours or overnight. This not only saves you time but also allows the flavors to meld together beautifully, creating an even richer dessert.
Decadent Tiramisu Recipe for the Ultimate Coffee Lovers
Equipment
- - Mixing bowl
- - Electric mixer
- Shallow bowl
- 8x8 inch dish
Ingredients
For the Cream Mixture
- 1 cup heavy whipping cream
- 16 ounces mascarpone cheese
- 3/4 cup granulated sugar
- 1 teaspoon vanilla extract
For the Coffee Layer
- 1 cup cold espresso
- 1/4 cup coffee flavored liqueur optional
For Assembly
- 24 pieces lady fingers
- 1/4 cup cocoa powder for dusting
Instructions
How to Make Tiramisu
- Prepare the Cream: Start by adding heavy whipping cream to a mixing bowl. Beat on medium speed until you achieve stiff peaks—this should take about 2-3 minutes. Gradually mix in sugar and vanilla extract while continuing to beat. Finally, gently fold in mascarpone cheese until everything is combined seamlessly.
- Dip the Lady Fingers: In a shallow bowl, combine the prepared cold espresso and optional coffee liqueur. Quickly dip each lady finger into the coffee mixture—ensure they're coated but not overly soggy. Lay them in a single layer in an 8x8'' dish to form the base.
- Layer the Cream Mixture: Spread half of the mascarpone cream mixture generously over the layer of dipped lady fingers. This will create a luscious layer of flavor that complements the coffee.
- Add More Lady Fingers: Repeat the dipping process with another layer of lady fingers, ensuring they soak just briefly. Lay them on top of the first cream layer to achieve delicious dimension.
- Finish with Cream: Now, smooth the remaining mascarpone mixture over the top of the second layer of lady fingers. To enhance the presentation, dust cocoa powder liberally across the surface for that classic tiramisu finish.
- Refrigerate: Cover the dish and refrigerate for at least 3-4 hours, or overnight if you can wait. This resting time allows the flavors to meld beautifully.