
As the sun begins to set and the graduation caps fly high into the sky, the air is filled with celebration and joy. Nothing embodies this festive spirit quite like a Graduation Charcuterie Board—a stunning centerpiece that not only tantalizes the taste buds but also brings people together. I found myself dreaming up this showstopper while envisioning my loved ones gathered around, laughter filling the room, and plates laden with a symphony of flavors.
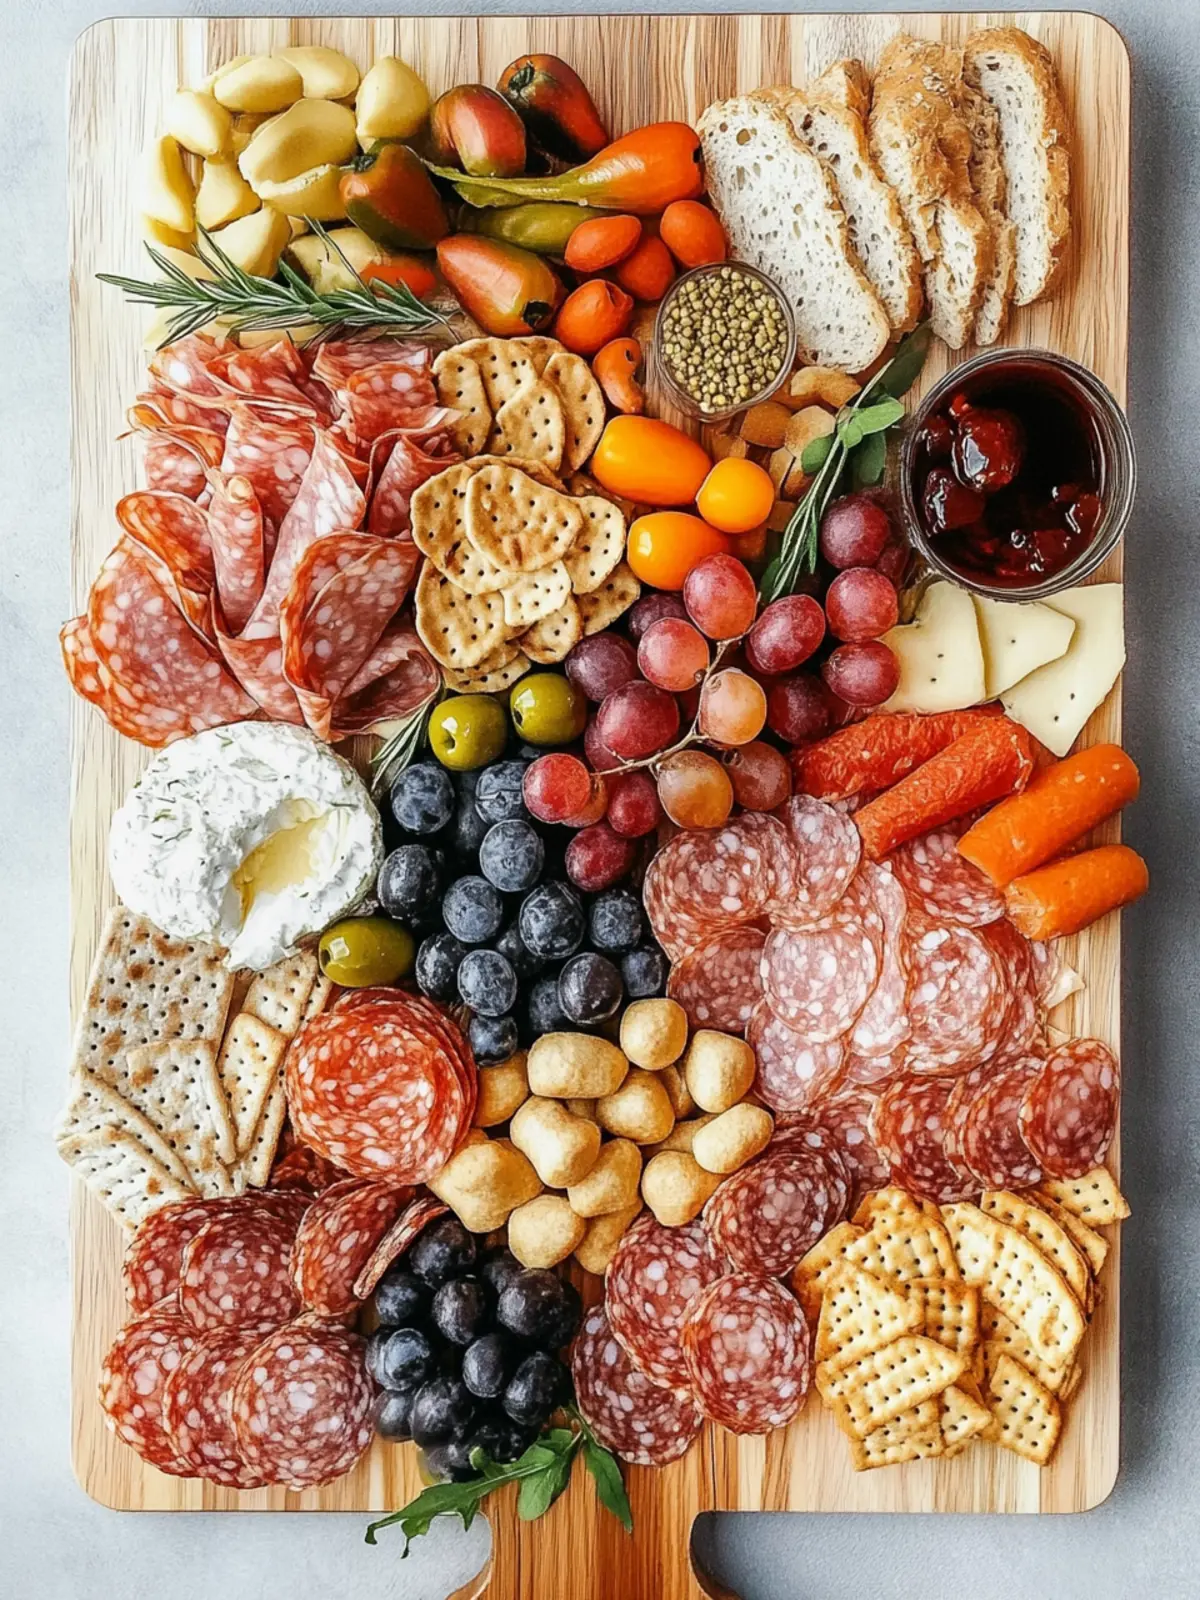
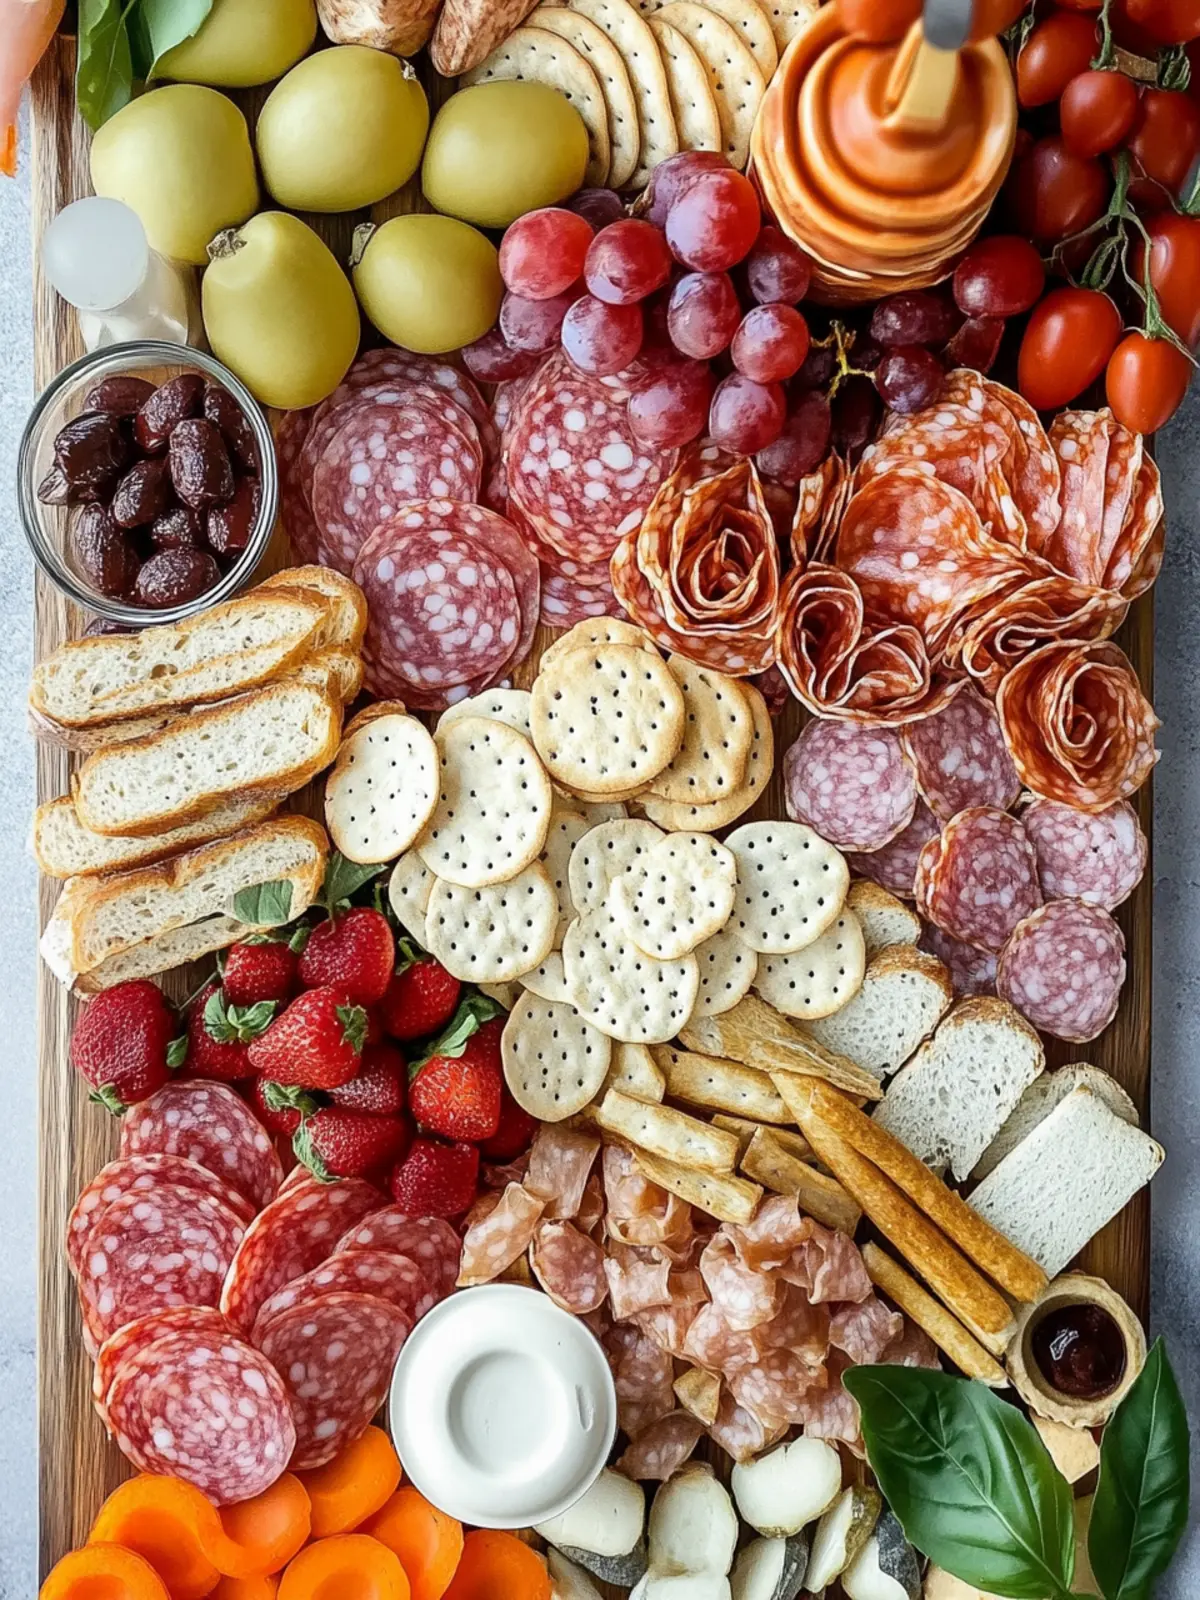
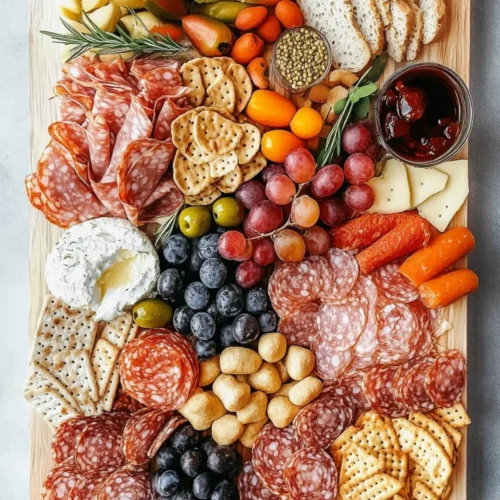
Imagine the delightful crunch of round crackers as they’re paired with luscious slices of salami and the decadence of cheese, all accented with vibrant berries and golden sprinkles for that extra sparkle. Every component tells a story, from the playful cookie diplomas made from Pirouettes to the elegant salami roses that add a dash of sophistication.
As we dive into this Graduation Charcuterie Board recipe, let’s celebrate the triumphs, the hard work, and the shared memories that will linger long after the last bite. It’s easy, eye-catching, and sure to leave everyone in awe—perfect for your next gathering!
Why is this Graduation Charcuterie Board Recipe special?
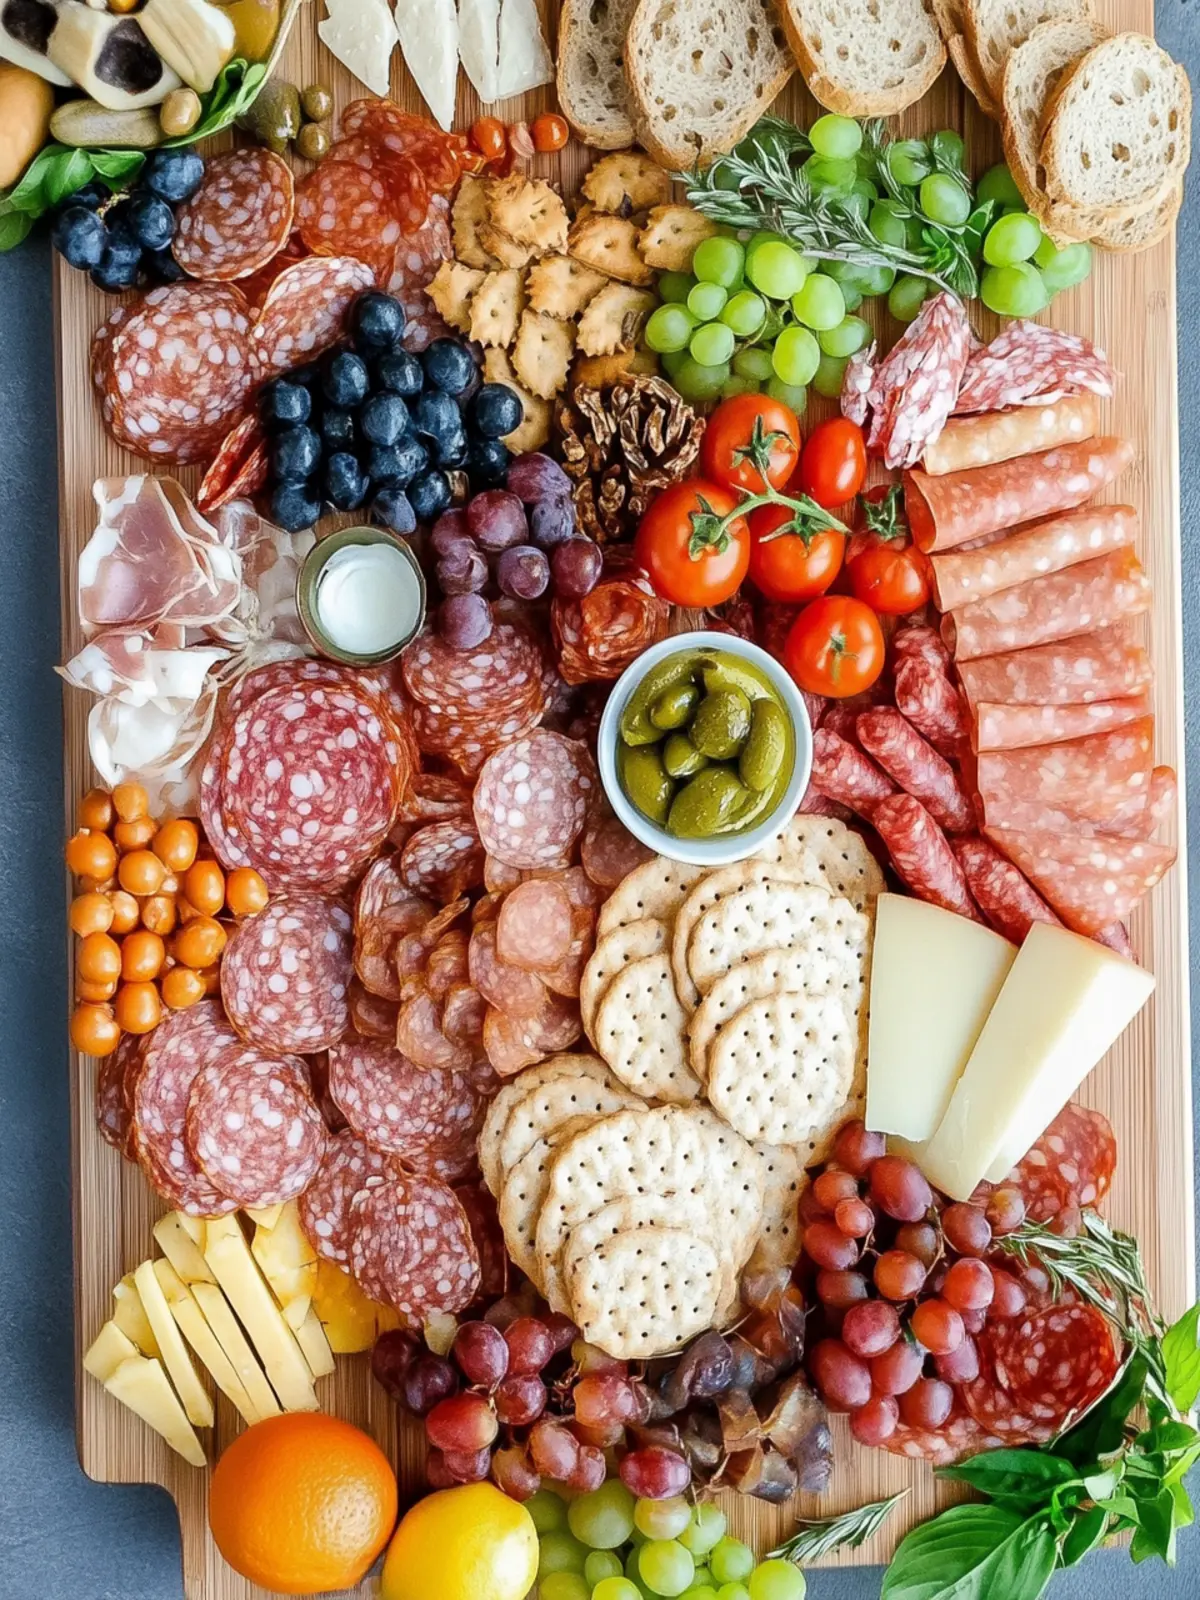
Visual Appeal: This charcuterie board is a feast for the eyes, with vibrant colors and a stunning presentation that impresses guests.
Easy to Assemble: With no cooking required, assembling this board is a breezy task, making it great for any home chef!
Flavorful Combinations: Enjoy a delightful mix of textures and tastes with savory meats, creamy cheeses, and fresh fruits.
Perfect for Celebrations: It’s a crowd-pleaser that fits the festive atmosphere of any graduation party—everyone will be reaching for seconds!
Versatile Options: You can easily customize it to match your preferences, offering endless opportunities for creativity and personalization.
Time-Saving Creation: Spend less time in the kitchen and more time celebrating by preparing this quick yet impressive board!
Graduation Charcuterie Board Ingredients
• Get ready to impress with these delicious selections!
For the Charcuterie Base
• 1 pack round crackers – A sturdy base for all your tasty treats.
• ½ pound sliced salami – Adds a burst of flavor and protein.
• 1 pack sliced and rolled prosciutto and mozzarella cheese – Perfect for a sophisticated touch to your board.
• 4 ounces cheddar cheese slices – A classic favorite that everyone loves.
• 4 ounces pepper jack cheese slices – Adds a delightful kick for the adventurous palate.
For the Sweet Treats
• 1 bag chocolate covered pretzels – Sweet and salty, a great contrast to the savory elements.
• 4-6 Pirouette cookies – Ideal for creating adorable cookie diplomas!
• 1 pack Rocher Chocolates – Luxurious little bites to elevate your board.
• 1 pack Biscotti Salted Caramel Cookies – For a crunchy, sweet surprise.
For the Fresh Fruits
• Pull and peel Twizzlers – Fun licorice that adds a playful twist!
• Green grapes – Sweet and refreshing, perfect for balancing flavors.
• Black grapes – Add depth and color to your presentation.
• Raspberries – A tart and sweet element that brightens the board.
• Blackberries – Juicy and vibrant, making the board pop.
• Edible gold sprinkles – An elegant finishing touch that dazzles!
With all these wonderful ingredients, this Graduation Charcuterie Board recipe promises not just a treat for the taste buds but a beautiful visual celebration as well!
How to Make Graduation Charcuterie Board
Clean all the fruit. Start by rinsing the green grapes, black grapes, raspberries, and blackberries under cold water. Pat them dry with a clean towel to keep everything fresh.
Pull apart the pull and peel Twizzlers. Carefully separate the strands, ensuring you have enough for each cookie diploma you plan to create.
Create the cookie diplomas. Lay a Pirouette cookie on top of one string of the Twizzler, then twist both ends of the licorice to form loops. Tie the loops tight for a cute diploma look!
Craft the salami roses. Grab two slices of salami and fold each in half twice. Slide one end of a folded slice into the other to make a lovely flower. Press down to secure the shape.
Arrange the green grapes in one corner of the board and the black grapes in the opposite corner. This adds a pop of color and keeps things visually appealing.
Place the round crackers in the center of the board, forming a big circle to create a charming base for your arrangement.
Distribute the chocolate-covered pretzels between the grapes at the top of the board. Sprinkle the edible gold glitter on the pretzels for that touch of sparkle!
Surround the upper half of the crackers with the folded salami flowers. Layer your cheese slices around the salami, starting with the pepper jack for a delightful flavor kickoff.
Add the prosciutto and mozzarella rolls on the outside of the cheese, balancing them on both sides of the board for a gourmet look.
Position the Pirouette cookie diplomas diagonally under the prosciutto rolls. This adds a festive element to the spread and showcases your creativity.
Set the Biscotti cookies under the cookie diplomas at the bottom of the board. Their crunch will complement the softer elements perfectly.
Line the Rocher chocolates around the base of the crackers. This will not only add elegance but also a delightful chocolate surprise!
Fill the gaps with raspberries and blackberries. Their vibrant colors will enhance the board’s charm while providing bursts of flavor.
Optional: Sprinkle more gold sprinkles on top or add an Acrylic sign that says “Congratulations” to make your display even more festive!
Exact quantities are listed in the recipe card below.
What to Serve with Graduation Charcuterie Board?
Elevate your celebration with delightful pairings that enhance this stunning spread.
- Sparkling White Wine: A crisp sip complements the savory and sweet flavors, making it perfect for toasting the graduate.
- Zesty Bruschetta: The freshness of tomatoes and basil adds a vibrant kick that balances rich meats and cheeses beautifully.
- Fruit Salad Medley: A light, refreshing fruit salad offers a fruity contrast to the savory elements, making every bite a burst of joy.
- Soft Bread Sticks: These add a delightful crunch and a fun element that encourages guests to reach for more throughout the celebration.
- Classic Deviled Eggs: Creamy, seasoned eggs enhance the board’s texture while providing a classic appetizer that everyone loves.
- Chilled Lemonade: Refreshing and sweet, lemonade is a nostalgic favorite that appeals to both kids and adults alike, perfect for outdoor fêtes.
- Chocolate Mousse Cups: Indulge in a rich dessert that mirrors the chocolate treats on your board—a sweet way to end the celebration!
- Nutty Granola Bars: An energizing snack that guests can grab and munch on while mingling, adding a wholesome element to the table.
- Coffee or Herbal Tea: Warm drinks can make the event cozy and elevate the celebratory mood as guests unwind after indulging.
Expert Tips for Graduation Charcuterie Board
Mix Textures: Balance crunchy, creamy, and chewy elements on your board—this enhances the eating experience and keeps guests engaged.
Fruit Freshness: Use fresh fruit to add brightness; avoid overripe options that can detract from the overall presentation of your graduation charcuterie board recipe.
Salami Roses: Practice makes perfect! Don’t get discouraged if your salami flowers don’t initially look perfect; keep folding for more bloom-like shapes.
Spacing Matters: Arrange items with enough space in between; this allows each component to shine and makes it easy for guests to grab tidbits.
Personal Touch: Customize your board with favorite cheeses or special sweets that resonate with the graduate; this personal flair makes the board even more memorable!
Make Ahead Options
These Graduation Charcuterie Board components are perfect for busy home cooks looking to save time on event day! You can prep the fruits (green and black grapes, raspberries, blackberries) up to 3 days in advance by washing and drying them thoroughly, then storing them in an airtight container in the refrigerator to keep them fresh. The cookie diplomas and salami roses can also be assembled up to 24 hours before serving; just keep them covered in the fridge to maintain their quality. When it’s time to enjoy, simply arrange everything on your board and add the cheeses, crackers, and sprinkles just before serving for that freshly assembled look!
How to Store and Freeze Graduation Charcuterie Board
Fridge: Store any leftover components in airtight containers. They can remain fresh for up to 3 days, ensuring you can enjoy the deliciousness a bit longer.
Freezer: Avoid freezing this charcuterie board, as fresh fruits and crackers do not retain their texture after thawing. It’s best enjoyed fresh!
Reheating: If you have leftover cheese, let it sit at room temperature for about 30 minutes before serving; this brings out the flavors beautifully.
Assembly Tips: If you assemble your board ahead of time, cover it tightly with plastic wrap to maintain freshness. Just be sure to add delicate elements like fruits right before serving for the best flavor.
Graduation Charcuterie Board Variations
Feel free to let your creativity shine as you customize this delightful charcuterie board!
Vegan Option: Swap the meats and cheese for plant-based alternatives like hummus, cashew cheese, and roasted veggies for a colorful spread.
Embrace vibrant flavors with marinated artichoke hearts and olives to delight everyone at the table.Gluten-Free: Use gluten-free crackers or veggie slices like cucumber and bell pepper as the base to cater to gluten-sensitive guests.
These additions not only keep it inclusive but add a refreshing crunch to balance the richness of the board.Spicy Kick: Add spicy pepperoni or jalapeño cheese slices for those who enjoy a little heat in their bites.
The zest will surely awaken the taste buds and keep conversations buzzing with excitement!Fruity Twist: Incorporate additional fruits like strawberries, kiwi, or figs for more variety and sweetness to the mix.
These juicy delights will not only elevate flavors but make your board visually striking as well!Sweet Treats Boost: Include additional candies like gummy bears or chocolate-covered almonds for an even sweeter layer of indulgence.
A mix of textures and flavors will keep your guests reaching for more treats throughout the celebration.Nut Lover’s Delight: Toss in mixed nuts or candied pecans to introduce a satisfying crunch and a boost of protein.
These tasty morsels can enhance the experience while giving that extra layer of richness to enjoy!Dairy-Free Cheese: Choose nut-based cheese options to create an equally creamy and tasty offering for those avoiding dairy.
With so many delicious flavors available, no one will miss the traditional cheese in this crowd-pleasing layout.Herb Infusion: Garnish with fresh herbs like basil or rosemary to add a fragrant touch while elevating the overall presentation.
Their aromatic qualities will enhance the flavors, enticing everyone to dive into the celebration!
Embark on this fun journey of customization and let each bite tell a unique story in your graduation festivities!
Graduation Charcuterie Board Recipe FAQs
How do I choose the best fruit for my charcuterie board?
Absolutely! When selecting fruit, look for vibrant, firm options. Avoid any that show dark spots or feel mushy, as these indicate overripeness. Grapes should be plump and juicy, while berries should be bright and colorful. It’s always best to wash and dry them right before assembling your board to ensure maximum freshness!
How long can I store leftovers from the graduation charcuterie board?
Very! You can store any leftover components in airtight containers in the refrigerator for up to 3 days. Make sure to separate the fruits from the crackers and cheeses to maintain their ideal textures. Enjoy those fabulous flavors as you reminisce about the celebrations!
Can I freeze any items from the charcuterie board?
Not really! It’s best to avoid freezing the graduation charcuterie board because fresh fruits and crackers lose their delightful textures when thawed. Instead, aim to enjoy this feast fresh and the way it was intended—vibrant and full of flavor!
What if my salami roses aren’t turning out correctly?
No worries at all! If your salami flowers aren’t looking perfect, just keep practicing. Start by folding two slices in half, and then fold each slice in half again. Gently slide one end into the other to form the rose shape. If they don’t hold together, don’t hesitate to press gently to keep them in place. Remember, even imperfect flowers are beautiful in their own way!
How should I present this charcuterie board for a graduation party?
I recommend arranging your board on a large wooden or slate platter for an elegant feel. Space your ingredients evenly, allowing for vibrant pops of color from fruits and sweets against the rich hues of the meats and cheeses. Adding a decorative Acrylic sign that says “Congratulations” elevates the presentation and makes your board even more festive!
Are there any dietary considerations for the graduation charcuterie board?
Definitely! Make sure to consider any dietary restrictions your guests may have. If someone is gluten-free, substitute regular crackers with gluten-free options. Additionally, you can opt for dairy-free cheese alternatives for those with lactose intolerance. Creating an inclusive board makes everyone feel special and included in the celebration!
Celebrate with a Stunning Graduation Charcuterie Board Recipe
Equipment
- - Cutting board
- - Knife
- serving platter
Ingredients
Charcuterie Base
- 1 pack round crackers A sturdy base for all your tasty treats.
- ½ pound sliced salami Adds a burst of flavor and protein.
- 1 pack sliced and rolled prosciutto and mozzarella cheese Perfect for a sophisticated touch to your board.
- 4 ounces cheddar cheese slices A classic favorite that everyone loves.
- 4 ounces pepper jack cheese slices Adds a delightful kick for the adventurous palate.
Sweet Treats
- 1 bag chocolate covered pretzels Sweet and salty, a great contrast to the savory elements.
- 4-6 Pirouette cookies Ideal for creating adorable cookie diplomas!
- 1 pack Rocher Chocolates Luxurious little bites to elevate your board.
- 1 pack Biscotti Salted Caramel Cookies For a crunchy, sweet surprise.
Fresh Fruits
- 1 Pull and peel Twizzlers Fun licorice that adds a playful twist!
- 1 bunch green grapes Sweet and refreshing, perfect for balancing flavors.
- 1 bunch black grapes Add depth and color to your presentation.
- 1 cup raspberries A tart and sweet element that brightens the board.
- 1 cup blackberries Juicy and vibrant, making the board pop.
- 1 pack edible gold sprinkles An elegant finishing touch that dazzles!
Instructions
Preparation
- Clean all the fruit. Start by rinsing the green grapes, black grapes, raspberries, and blackberries under cold water. Pat them dry with a clean towel to keep everything fresh.
- Pull apart the pull and peel Twizzlers. Carefully separate the strands, ensuring you have enough for each cookie diploma you plan to create.
- Create the cookie diplomas. Lay a Pirouette cookie on top of one string of the Twizzler, then twist both ends of the licorice to form loops. Tie the loops tight for a cute diploma look!
- Craft the salami roses. Grab two slices of salami and fold each in half twice. Slide one end of a folded slice into the other to make a lovely flower. Press down to secure the shape.
- Arrange the green grapes in one corner of the board and the black grapes in the opposite corner. This adds a pop of color and keeps things visually appealing.
- Place the round crackers in the center of the board, forming a big circle to create a charming base for your arrangement.
- Distribute the chocolate-covered pretzels between the grapes at the top of the board. Sprinkle the edible gold glitter on the pretzels for that touch of sparkle!
- Surround the upper half of the crackers with the folded salami flowers. Layer your cheese slices around the salami, starting with the pepper jack for a delightful flavor kickoff.
- Add the prosciutto and mozzarella rolls on the outside of the cheese, balancing them on both sides of the board for a gourmet look.
- Position the Pirouette cookie diplomas diagonally under the prosciutto rolls. This adds a festive element to the spread and showcases your creativity.
- Set the Biscotti cookies under the cookie diplomas at the bottom of the board. Their crunch will complement the softer elements perfectly.
- Line the Rocher chocolates around the base of the crackers. This will not only add elegance but also a delightful chocolate surprise!
- Fill the gaps with raspberries and blackberries. Their vibrant colors will enhance the board’s charm while providing bursts of flavor.
- Optional: Sprinkle more gold sprinkles on top or add an Acrylic sign that says 'Congratulations' to make your display even more festive!