
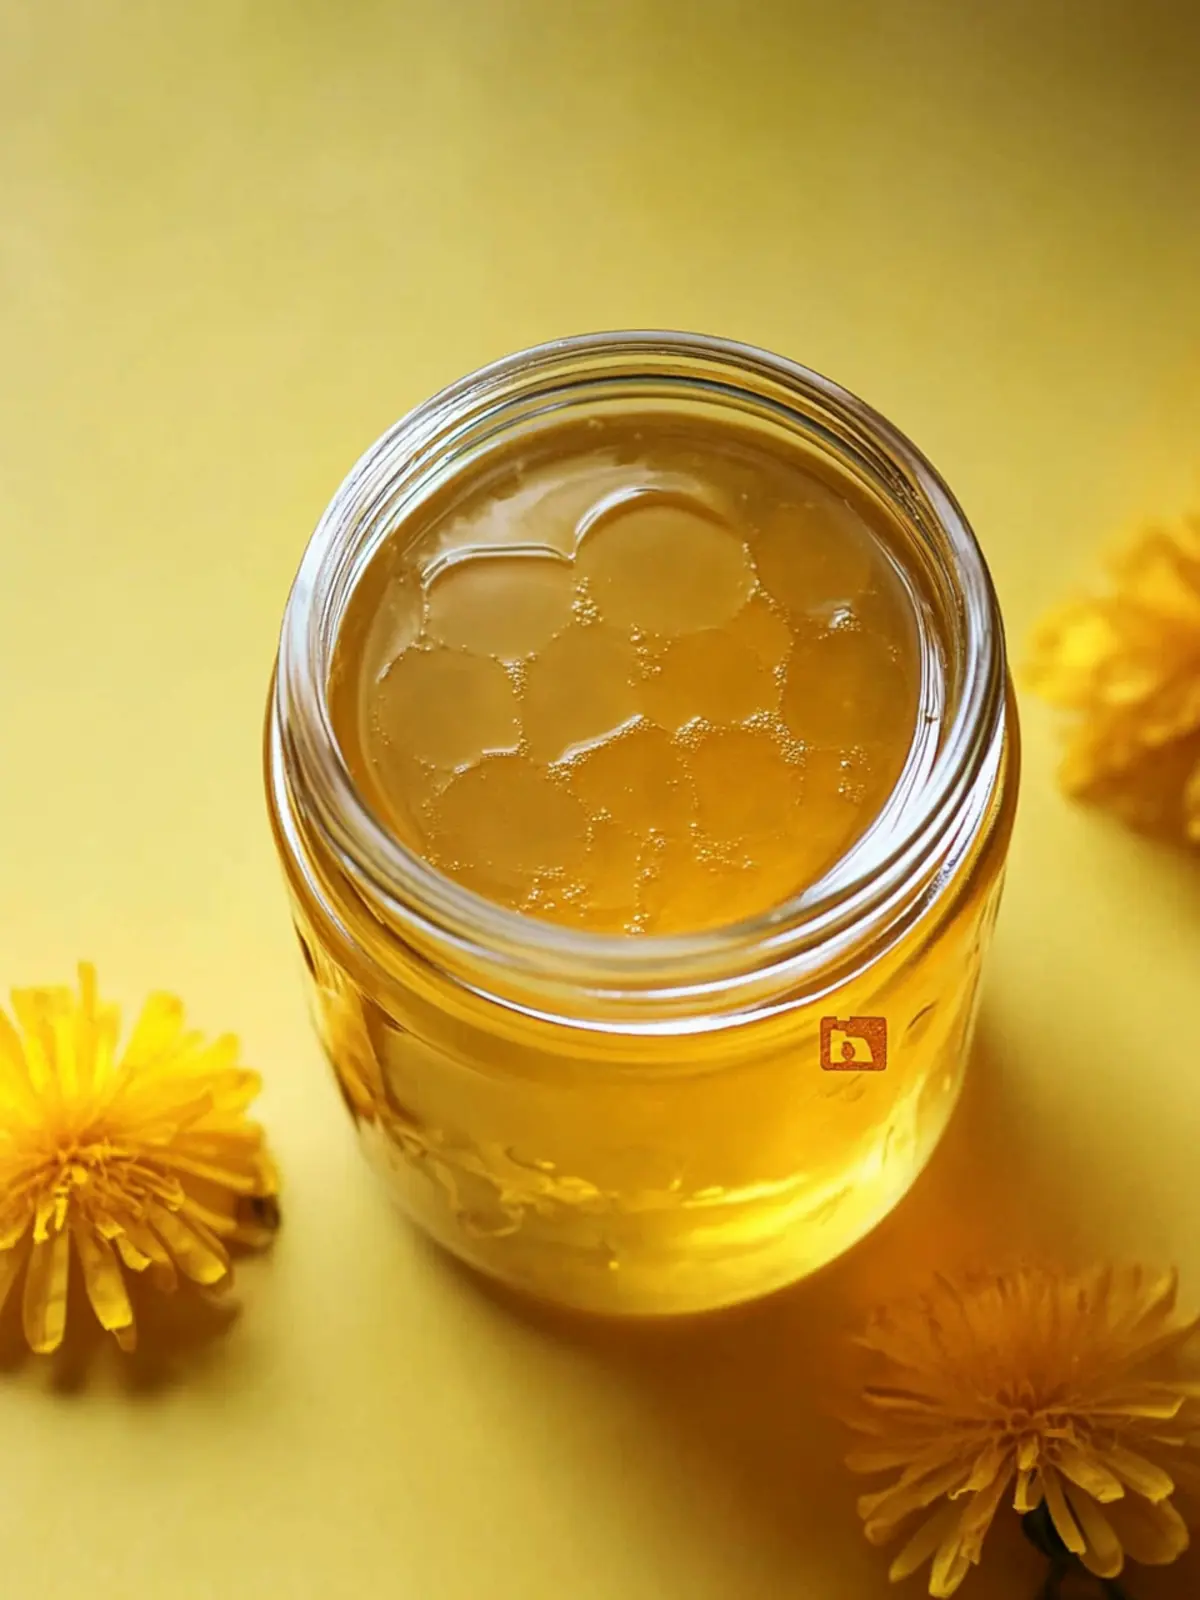
You’d never guess that those vibrant yellow blooms sprouting in your backyard could transform into a delightful spread that bursts with sunshine in a jar—dandelion jelly! The first time I tasted this unique treat, I was captivated by its sweet, floral notes and the nostalgia it evoked. It reminds me of lazy afternoons spent in my grandmother’s garden, plucking dandelions and dreaming up new recipes.
This simple yet enchanting jelly is not just a delightful addition to your breakfast table; it’s a sustainable way to savor nature’s bounty. With just a few ingredients—including sugar, lemon juice, and the star of the show, dandelion blossoms—this recipe proves that homemade goodness is only a few steps away. Whether it’s served on warm toast or drizzled over desserts, dandelion jelly is sure to impress anyone looking for a unique twist on traditional preserves. Join me as we explore how to capture the essence of spring in this easy homemade treat!
Why is dandelion jelly so special?
Unique and Flavorful: This jelly showcases the vibrant flavor of foraged dandelion blossoms, turning an often-misunderstood flower into a delightful treat.
Sustainable Choice: Not only does it reduce waste by utilizing common backyard blooms, but it also brings awareness to the beauty of edible plants.
Easy to Make: The straightforward preparation and boiling method means you can whip this up with minimal fuss and basic canning skills.
Perfect for Gifting: Packaged in cute jars, dandelion jelly makes a heartwarming gift for friends and family, sharing the love of homemade delights.
Versatile Use: Enjoy it on toast, in desserts, or even as a sauce for savory dishes—a delicious way to elevate any meal!
For more delicious homemade preserves, check out my guide on canning techniques for all your preserving needs.
Dandelion Jelly Ingredients
For the Jelly
• 4 cups Dandelion Blossoms – Harvest bright, sunny blossoms for a sweet, floral flavor.
• 4 ½ cups Sugar – Balances the natural bitterness of dandelions, making the jelly deliciously sweet.
• 2 Tablespoons Lemon Juice – Adds acidity which enhances the flavor and helps with preservation.
• 1 package Powdered Pectin – Essential for achieving that perfect jelly consistency.
• Water (for tea preparation; quantity as needed) – Used to brew the dandelion tea, extracting wonderful flavors.
• Yellow Food Coloring (optional) – Enhances the vibrant color of your dandelion jelly if desired.
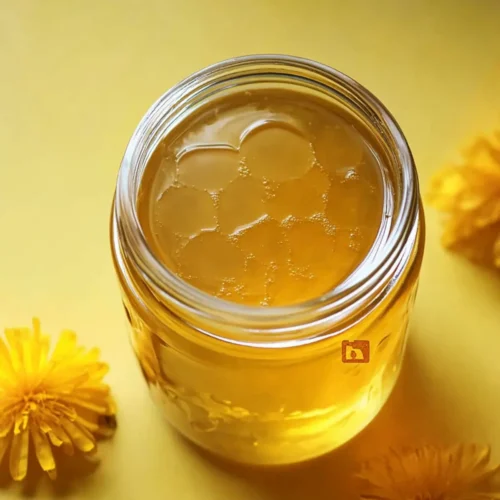
This delightful dandelion jelly is a great way to utilize those cheerful blossoms and create a unique spread that will brighten up your pantry!
How to Make Dandelion Jelly
Snip petals: Begin by snipping off the base of each dandelion flower, leaving just the sunny yellow petals. Measure out 4 cups of those delicate petals, ensuring they’re free from debris.
Brew tea: Pour boiling water over the flower petals, using a ratio of 1 cup of water for every 1 cup of blossoms. Let this mixture steep at room temperature overnight to capture all the wonderful flavors.
Strain liquid: Strain the mixture through a coffee filter, jelly bag, or cheese cloth. Add extra water until you reach a total of 3 cups of liquid—this will be your dandelion tea base.
Prepare jars: Get your canning jars ready, and heat the water bath canner without boiling it. This step is essential for safe canning.
Combine ingredients: In a large saucepan, mix your dandelion tea, lemon juice, and powdered pectin. Bring this concoction to a rolling boil, stirring occasionally.
Add sugar: Gradually add the sugar to the boiling mixture, stirring continuously. Allow it to return to a boil, then keep it bubbling for 1-2 minutes until everything is well combined.
Color it up: Remove the saucepan from the heat and, if desired, stir in yellow food coloring to enhance that lovely jelly hue.
Jar the jelly: Pour the hot jelly into your prepared jars, leaving 1/4” headspace. Gently remove air bubbles, wipe the rims clean, and secure the lids with seals and rings.
Water bath: Carefully lower the filled jars into the hot water bath canner. Bring the water to a boil, and begin timing your processing.
Processing time: Process the jars according to your altitude:
- 0-6,000 ft: 10 minutes
- Above 6,000 ft: 15 minutes
Cool down: After processing, turn off the heat, remove the lid, and let the canner rest for about 5 minutes, allowing the jars to stabilize.
Remove jars: Carefully take the jars out of the canner and let them rest for another 5 minutes to cool slightly.
Final cooling: Place the jars a few inches apart on a thick towel to cool completely for around 12 hours, sealing in all those vibrant flavors.
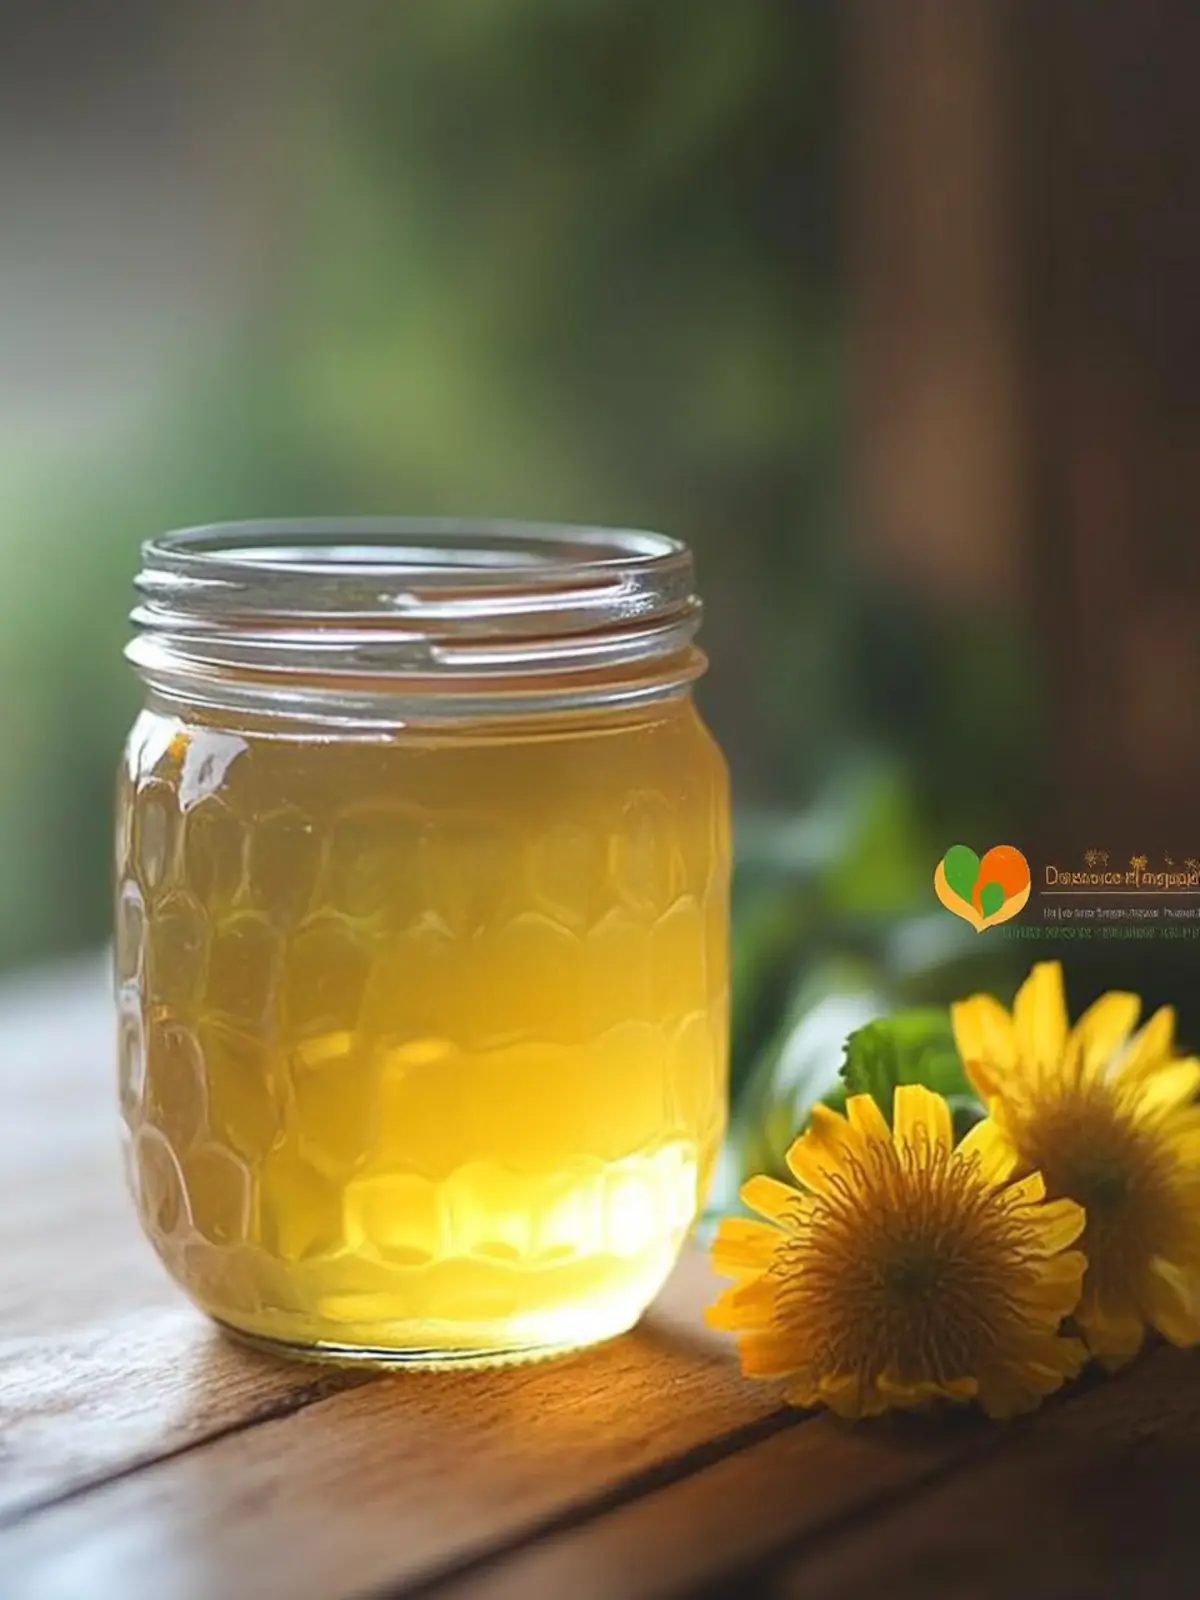
Store securely: Once cooled, remove the metal bands, check the seals, label the jars, and store in a cool, dark place to enjoy the taste of spring all year long.
Optional: Pair with toasted bagels for a delightful breakfast treat!
Exact quantities are listed in the recipe card below.
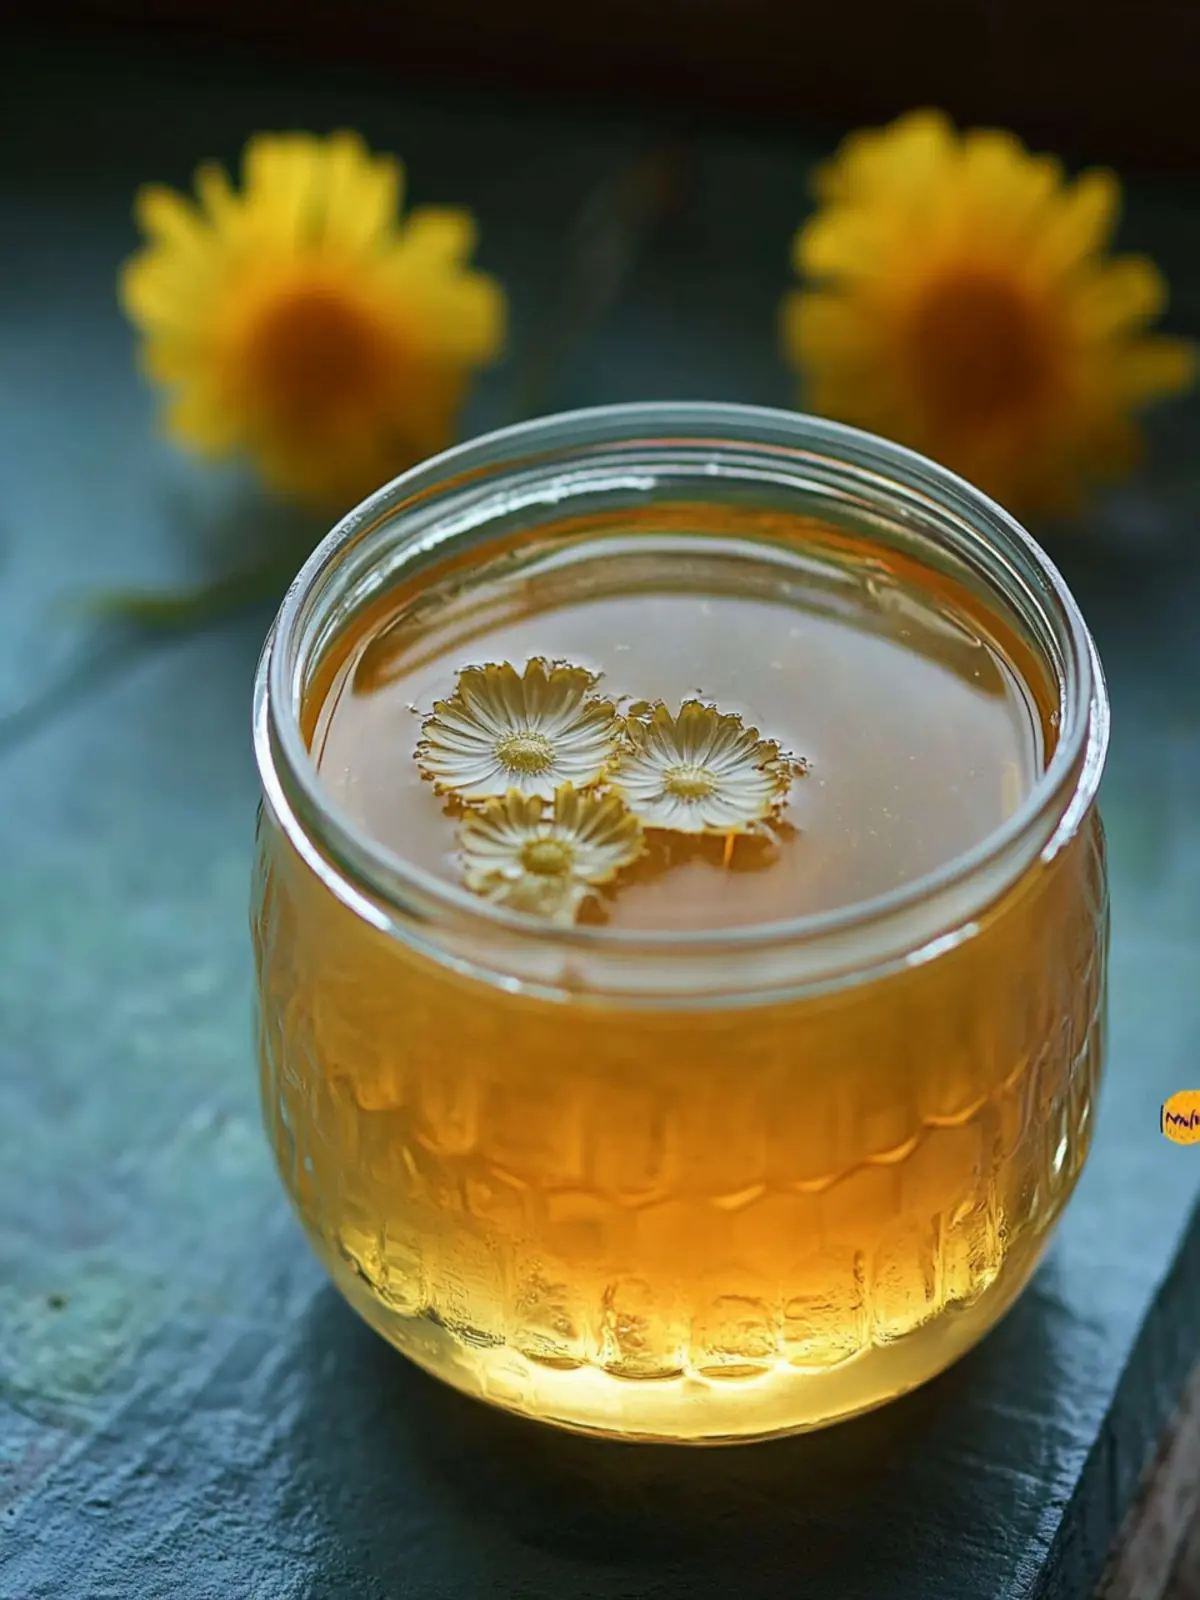
How to Store and Freeze Dandelion Jelly
Room Temperature: Store unopened jars of dandelion jelly in a cool, dark place for up to a year. Ensure jars are free of any nicks or dents to prevent spoilage.
Fridge: Once opened, keep dandelion jelly in the refrigerator with the lid tightly sealed. It should last for up to 3 weeks while remaining fresh and delicious.
Freezer: For long-term storage, dandelion jelly can be frozen in airtight containers or freezer-safe jars. It will maintain its quality for up to 1 year, but be aware that texture may change slightly upon thawing.
Reheating: If you want to enjoy some warmth, gently reheat jelly in a saucepan over low heat, stirring until it’s spreadable.
What to Serve with Dandelion Jelly?
Bring a touch of spring to your table with delightful accompaniments that enhance the sweet, floral flavor of your homemade jelly.
Warm Toast: A classic pairing that allows the jelly to melt slightly, creating a luscious, sweet spread.
Cream Cheese: The creamy tang of cream cheese complements the floral notes perfectly, making an elegant appetizer on crackers.
Pancakes or Waffles: Slather some dandelion jelly on warm pancakes or waffles for a cozy breakfast that’s bursting with sunshine.
Yogurt Parfaits: Layer with yogurt and granola for a refreshing breakfast or snack that balances sweetness and crunch.
Cheese Board: Serve alongside soft cheeses like brie or goat cheese for a sweet-and-savory contrast, elevating your cheese board.
Herbal Tea: A cozy cup of herbal tea will enhance the flavors of this jelly and provide a comforting pause during the day.
Fruit Salad: Fresh fruits add a bright, refreshing contrast—try drizzling a little jelly over seasonal fruits for an unexpected twist.
Indulge in these pairings for a delightful culinary experience that highlights the essence of dandelion jelly in your meals!
Expert Tips for Dandelion Jelly
Choose Fresh Blossoms: Make sure to pick only the freshest, brightest yellow dandelion blossoms; wilting petals can alter the flavor of your dandelion jelly.
Proper Brewing: Allow the dandelion petals to steep overnight to extract maximum flavor. Skipping this step can lead to a less flavorful jelly.
Measure Liquid Carefully: After straining, ensure you have exactly 3 cups of liquid; too much or too little can affect the jelling process.
Sterilize Jars: Always sterilize your canning jars to prevent spoilage. Use a water bath or run them through the dishwasher for extra care.
Check Seals: After cooling, ensure your jars are properly sealed by pressing the center of each lid; it should not pop back. Store any unsealed jars in the fridge and use them first.
Following these tips will help you create delightful dandelion jelly that’s sure to impress!
Make Ahead Options
Preparing dandelion jelly ahead of time is a lifesaver for busy home cooks! You can snip and measure the flower petals a day in advance; simply refrigerate the petals to keep them fresh. Brew the dandelion tea as directed, and let it steep at room temperature overnight before straining. This allows the flavors to meld beautifully—just as delicious as if you made it the same day! When you’re ready to finish the recipe, combine the strained tea with lemon juice and pectin, then proceed with cooking and canning. Your lovingly prepared dandelion jelly will be ready to enjoy, saving you precious time while still bringing that delightful taste of spring to your pantry!
Variations & Substitutions for dandelion jelly
Feel free to explore these exciting twists and modifications to make the recipe your own!
Herbal Infusion: Consider steeping some mint or chamomile with your dandelion petals for a refreshing herbal note. It adds a subtle layer that can elevate the floral flavors.
Fruit Twist: Add a cup of pureed fruit like strawberries or peaches to your dandelion tea mixture for a sweet, fruity version that bursts with vibrant colors and flavors. This fruity enhancement is especially lovely on toast or in desserts.
Honey Alternative: Swap out granulated sugar for honey in equal parts for a more natural sweetness and a hint of floral notes. The result is a unique sweetener that adds depth and richness to your jelly.
Spicy Kick: For those who love a bit of heat, add finely minced jalapeño or a teaspoon of chili flakes to the mixture while boiling. This playful heat contrasts beautifully with the sweetness of the jelly!
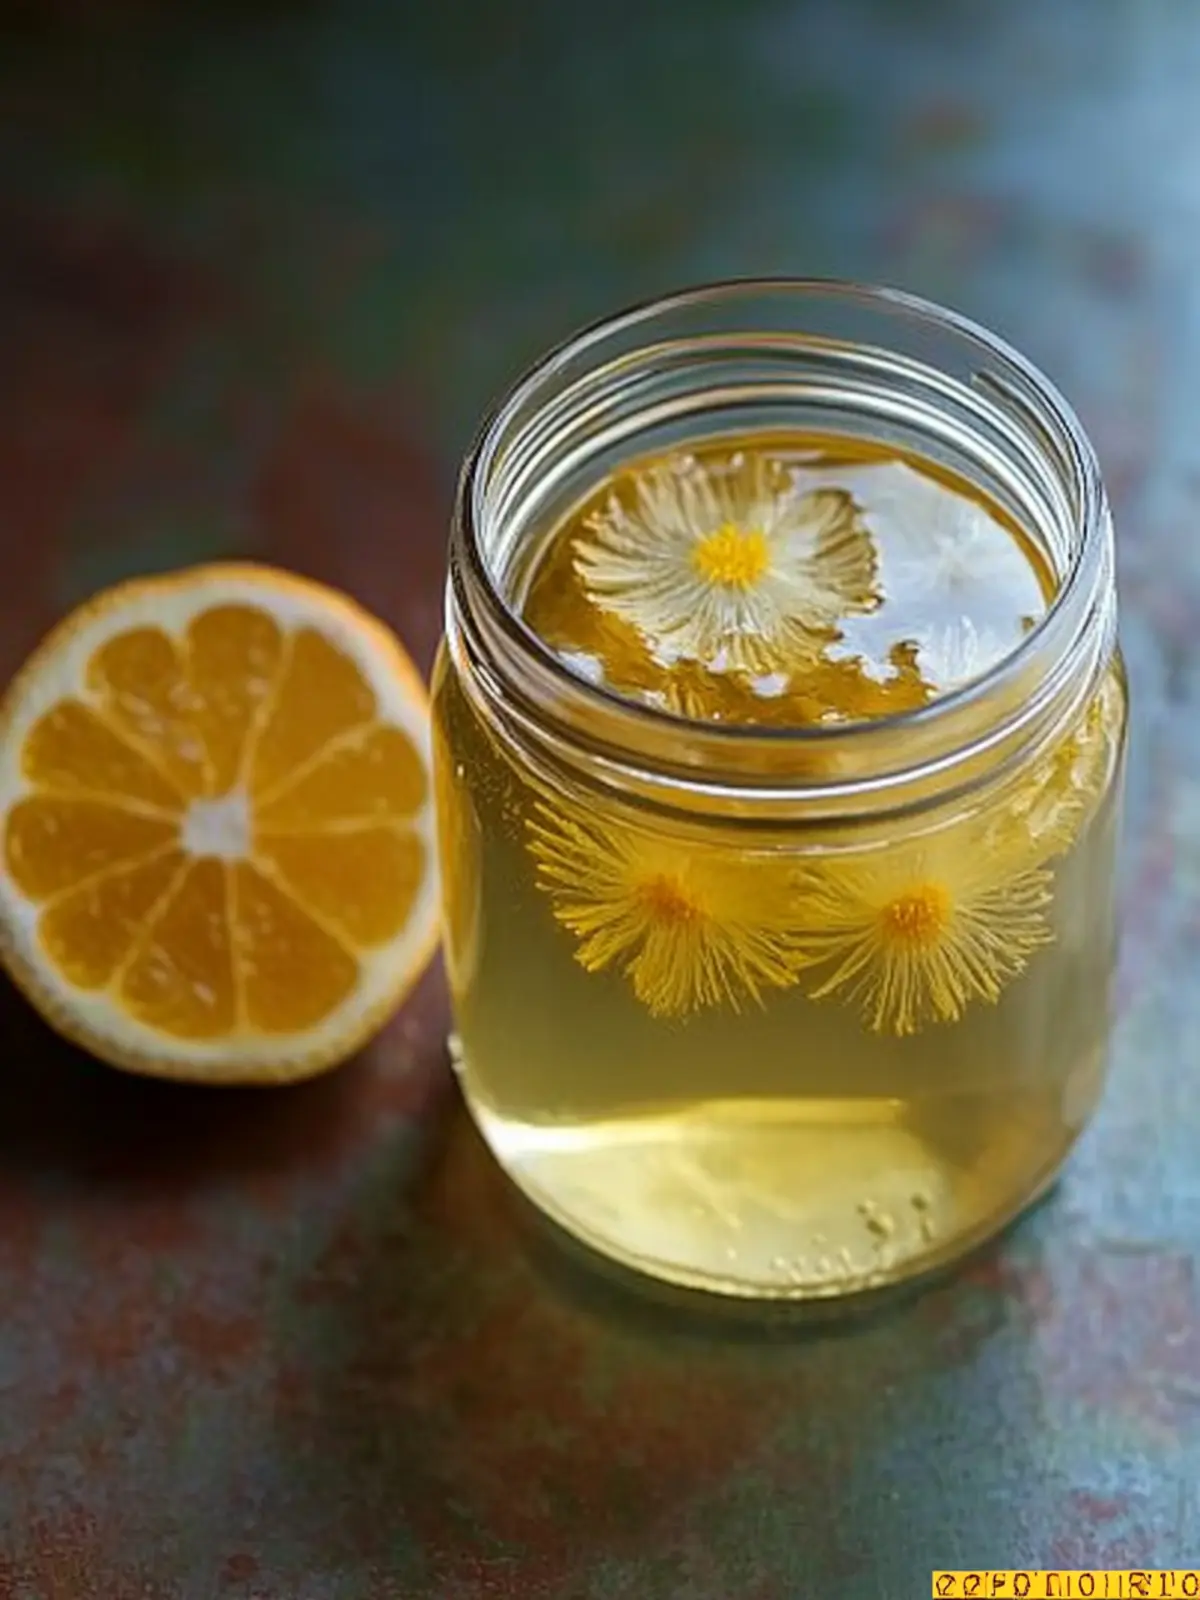
Zesty Flavor: Substitute the lemon juice with orange juice for a sweet citrus twist. The bright zestiness will enhance the jelly’s flavor while offering a delightful aroma that reminds you of sun-kissed afternoons.
Vegan Swap: To make this jelly vegan, simply substitute powdered pectin with agar-agar, following the package instructions carefully. You’ll have a delicious plant-based version without compromising on flavor or texture.
Colorful Boost: Instead of yellow food coloring, use beet juice for a natural, earthy pink hue that adds an unexpected visual element to your jelly. It’s as delightful to the eyes as it is to the palate.
Boozy Addition: For an adult-only twist, try stirring in a few tablespoons of your favorite liqueur, like elderflower or orange liqueur, just after removing from heat. This adds a sophisticated flair that can enhance cheese platters or charcuterie boards.
With these variations, your homemade dandelion jelly can be custom-tailored to suit your taste buds or the occasion. Enjoy the creative process!
Dandelion Jelly Recipe FAQs
What kind of dandelion blossoms should I use?
Absolutely! For the best flavor, choose only the freshest, brightest yellow dandelion blossoms. Avoid any that are wilting or have dark spots, as these can alter the taste of your dandelion jelly. Aim for blossoms that are fully opened, indicating peak flavor.
How should I store dandelion jelly once it’s made?
Once you’ve crafted your dandelion jelly, store the unopened jars in a cool, dark place. They can last up to a year when properly sealed. After opening, keep your jelly in the refrigerator, where it will stay fresh for about 3 weeks—just make sure the lid is tightly sealed!
Can I freeze dandelion jelly?
Absolutely! To freeze dandelion jelly, transfer it into airtight containers or freezer-safe jars, ensuring there’s a little space at the top for expansion. It will last up to a year in the freezer. Keep in mind that the texture might change slightly after thawing, so I recommend gently reheating it in a saucepan over low heat for the best consistency.
What if my jelly doesn’t set?
If your dandelion jelly doesn’t set after the canning process, don’t worry—this can happen! First, check that you used the right proportions of sugar and pectin. If it still hasn’t set after a day, you can reprocess it. Simply, pour the jelly back into a saucepan, add a bit more pectin (about 1-2 tablespoons), and heat to a rolling boil for a few minutes. Once it reaches the right consistency, jar it again following proper canning procedures.
Is dandelion jelly safe for pets?
While dandelions are generally safe for dogs and some other pets, it’s best to avoid sharing jelly as it contains sugar and other ingredients that may not be healthy for them. Always consult your veterinarian if you’re unsure about any new treats for your pets.
How long does it take to prepare dandelion jelly?
The preparation time for dandelion jelly may seem lengthy, around 13 hours and 30 minutes total, but most of that time is passive, allowing the flower petals to steep overnight. Active cooking time is only about 10 minutes, so it truly is a simple process that brings a rewarding end result!
Delightful Dandelion Jelly: Nature’s Sweet Gift to Your Pantry
Equipment
- canning jars
- Water bath canner
- - Saucepan
- Coffee filter
Ingredients
For the Jelly
- 4 cups Dandelion Blossoms Harvest bright, sunny blossoms for a sweet, floral flavor.
- 4.5 cups Sugar Balances the natural bitterness of dandelions.
- 2 tablespoons Lemon Juice Enhances the flavor and helps with preservation.
- 1 package Powdered Pectin Essential for achieving perfect jelly consistency.
- Water For brewing dandelion tea, quantity as needed.
- Yellow Food Coloring Optional for enhancing the vibrant color.
Instructions
How to Make Dandelion Jelly
- Snip off the base of each dandelion flower, leaving just the sunny yellow petals. Measure out 4 cups of those delicate petals, ensuring they’re free from debris.
- Pour boiling water over the flower petals, using a ratio of 1 cup of water for every 1 cup of blossoms. Let this steep at room temperature overnight.
- Strain the mixture through a coffee filter, jelly bag, or cheese cloth. Add extra water until you reach a total of 3 cups of liquid.
- Get your canning jars ready, and heat the water bath canner without boiling it.
- In a large saucepan, mix your dandelion tea, lemon juice, and powdered pectin. Bring this to a rolling boil, stirring occasionally.
- Gradually add the sugar to the boiling mixture, stirring continuously. Allow it to return to a boil and bubble for 1-2 minutes.
- Remove from heat and stir in yellow food coloring, if desired.
- Pour the hot jelly into your prepared jars, leaving 1/4” headspace. Remove air bubbles and secure the lids.
- Carefully lower the filled jars into the hot water bath canner. Bring the water to a boil and begin timing your processing.
- Process the jars: 10 minutes for 0-6,000 ft or 15 minutes above 6,000 ft.
- After processing, turn off the heat, remove the lid, and let the canner rest for about 5 minutes.
- Carefully take the jars out of the canner and let them cool for another 5 minutes.
- Place the jars a few inches apart on a thick towel to cool completely for around 12 hours.
- Remove the metal bands, check seals, label the jars, and store in a cool, dark place.