
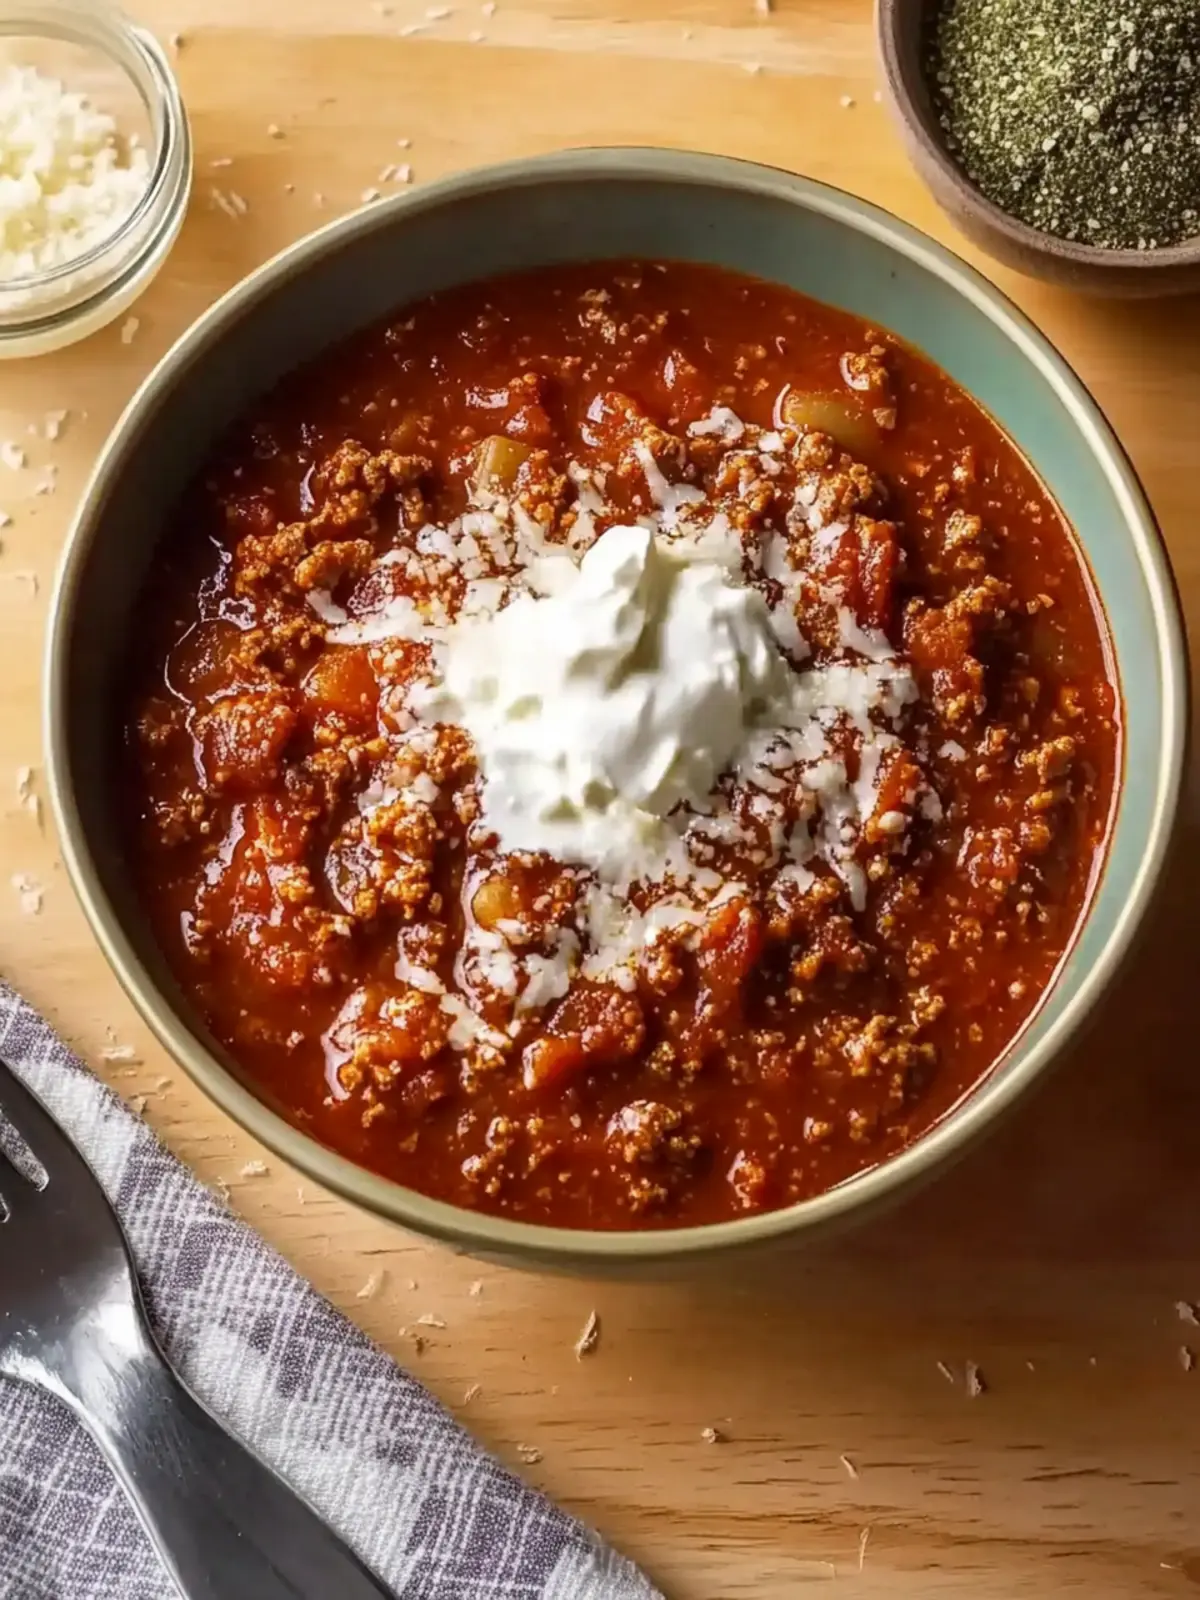
There’s nothing quite like walking into a home filled with the rich, inviting scent of chili bubbling away on the stove—especially when that chili is a hearty Homemade Lone Star Chili. I remember the first time I took a spoonful; it was an explosion of flavor, with each bite warming me from the inside out. The secret? A splash of beer to elevate this dish to a level far beyond any canned version. It’s quick to whip up, making use of pantry staples most of us have on hand, which means fewer trips to the grocery store and more time to enjoy with friends and family. Whether you’re hosting a game day gathering or simply craving something comforting after a long week, this chili doesn’t just fill your stomach—it fills your heart. So grab your apron, and let’s turn a few ingredients into a soul-soothing bowl of Texas tradition!
Why Is Homemade Lone Star Chili Irresistible?
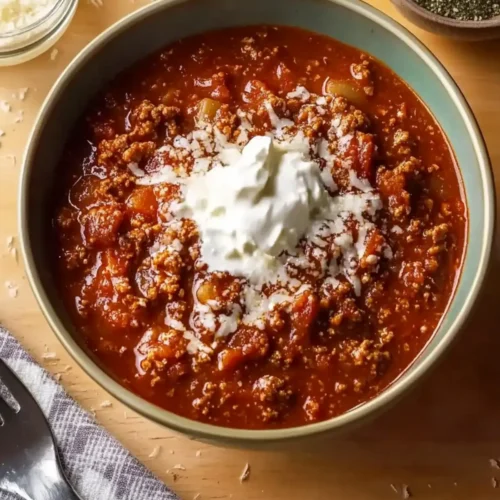
Homemade Lone Star Chili is a feast for the senses!
- Warm and Cozy: The enticing aroma of chili wafting through your home creates a welcoming vibe.
- Layered Flavor: The deep, rich taste from beer adds complexity that will leave you craving more.
- Quick Preparation: Ready in under an hour, it’s the perfect solution for busy weeknights or surprise guests.
- Customizable: With options for toppings like cheese and jalapeños, everyone can create their perfect bowl.
- Pantry-Friendly: Made with ingredients you likely have on hand, you can whip this up anytime the craving strikes.
Warm up with a comforting bowl and explore other delicious variations to elevate your chili game this season!
Homemade Lone Star Chili Ingredients
For the Chili Base
- Ground Beef – Choose an 80/20 or 85/15 blend for great moisture and flavor; leaner cuts need extra oil.
- Chili Powder – Fresh is best for authentic flavor; check the expiration date for potency!
- Ground Cumin – Adds warmth; use freshly ground for a deeper taste that blooms in oil.
- Cayenne Pepper – Adjust this ingredient to control the heat level of your homemade Lone Star chili.
- Tomato Sauce – Acts as the flavor base while adding moisture; canned works perfectly in a pinch.
- Diced Tomatoes and Green Chilies (Rotel) – These provide texture and a delightful fresh kick; there’s versatility in flavor.
- Cornmeal – Thickens the chili and lends a charming texture; masa harina makes a great swap.
For the Aromatics
- Onion – Use diced onions; they create a savory base, especially when caramelized.
- Garlic – Freshly minced garlic adds depth; it’s a must for enhancing flavors!
For the Liquid Magic
- Beer (Mexican Lager) – This not only brings a unique depth of flavor but helps deglaze the pot, enhancing richness; feel free to swap with beef broth or water if needed.
- Olive Oil – Essential for browning the beef and sautéing those aromatic veggies for a flavorful start.
Get ready to create a soul-warming bowl of Homemade Lone Star Chili that celebrates the heart of Texas cuisine!
How to Make Homemade Lone Star Chili
Heat Olive Oil: Begin by heating a splash of olive oil in a large pot over medium-high heat until it shimmers, indicating it’s ready for browning.
Brown Ground Beef: Add the ground beef to the pot and cook for 5-7 minutes, breaking it apart until most of the pink is gone. Transfer the beef to a plate, leaving all the rendered fat in the pot.
Sauté Aromatics: In the same pot, add the diced onion to the rendered fat and sauté for 4-5 minutes until softened. Once the onion is translucent, toss in the minced garlic and cook for an additional 30 seconds, releasing its wonderful aroma.
Bloom the Spices: Stir in the chili powder, ground cumin, and cayenne pepper for about 1 minute. This step helps to bloom the spices and intensify their flavors.
Deglaze with Beer: Return the browned beef to the pot. Pour in the beer and stir, scraping up any flavorful browned bits from the bottom of the pot for a deeper taste.
Combine Sauce Ingredients: Add the diced tomatoes, tomato sauce, and salt, ensuring the liquid mostly covers the solids. This mixture sets the foundation of your rich chili.
Simmer to Perfection: Lower the heat and let your chili simmer gently over medium-low for approximately 1 hour, stirring occasionally to meld those developing flavors.
Thicken with Cornmeal: After about 45 minutes, taste your chili and adjust any seasonings as needed. Stir in the cornmeal during the last 2-3 minutes of cooking to achieve a thick, hearty texture.
Optional: Garnish with fresh cilantro or jalapeño slices before serving for an extra burst of flavor.
Exact quantities are listed in the recipe card below.
Make Ahead Options
These Homemade Lone Star Chili make-ahead options are perfect for busy home cooks looking to save time during hectic weeknights! You can prepare the chili base (steps 1-6) up to 24 hours in advance. Just allow the chili to cool completely before transferring it to an airtight container and refrigerating it. On the day you’re ready to serve, simply reheat the mixture on the stove over low heat until warmed through, stirring as needed, then proceed to thicken it with cornmeal (step 8). This method not only keeps the chili delicious but also allows the flavors to deepen and improve overnight, ensuring each bite is even more satisfying!
Tips for the Best Lone Star Chili
Choose the Right Beef: Opt for an 80/20 or 85/15 blend for the perfect balance of moisture and flavor. Leaner ground beef may require extra oil to avoid dryness.
Fresh Spices Matter: Always use fresh chili powder and ground cumin, as their flavors significantly impact the taste of your homemade Lone Star chili.
Sauté Thoroughly: Take the time to caramelize your onions well. This step adds a layer of sweetness and depth that elevates the entire dish.
Bloom the Spices: Always bloom your spices in the oil for about a minute before adding other ingredients. This releases essential oils and amplifies the flavors.
Allow Ample Simmer Time: Give your chili at least an hour to simmer, which melds flavors and creates a deeper, richer profile. Adjust the consistency with water or beer if it thickens too much.
What to Serve with Homemade Lone Star Chili?
Experience the delight of a full meal when you pair this robust chili with the perfect accompaniments.
- Shredded Cheddar: This creamy cheese melts beautifully on top, adding a savory richness that balances the chili’s spices.
- Crispy Cornbread: The subtly sweet, buttery flavor of cornbread complements the chili’s heat and provides a delightful texture contrast.
- Fresh Cilantro: Sprinkle this vibrant herb on top for a burst of freshness that brightens each spoonful of chili.
- Tortilla Chips: Crunchy and salty, they offer the perfect vessel for scooping up chili, enhancing the experience with added texture.
- Sliced Jalapeños: For those who crave extra heat, fresh jalapeños provide a zesty kick that beautifully elevates the dish.
- Fritos: Serve with a side of Fritos for a classic Texas touch! Their salty crunch is addictive and perfect for dipping.
- Mexican Rice: Fluffy rice absorbs the chili’s rich flavors, creating a filling and comforting meal suitable for any occasion.
- Creamy Avocado: Add slices of avocado for a cool, creamy contrast that mellows out the chili’s spices with every bite.
- Dark Beer: Pair your chili with a cold glass of dark beer to enhance the overall flavors, making every bite even more enjoyable.
Homemade Lone Star Chili Variations
Feel free to take this classic dish and make it your own with these delightful twists and substitutions!
Lean Beef: Substitute ground turkey or chicken for a lighter version that still packs a flavorful punch.
Spicy Upgrade: Add diced habanero or serrano peppers for an extra kick to your homemade Lone Star chili. The heat will awaken your taste buds and create a delightful contrast with the rich flavors.
Vegetarian Delight: Replace the ground beef with lentils or beans for a hearty vegetarian option while still enjoying the classic essence of chili. You can even add extra vegetables for added nutrition and depth.
Smoky Flavor: Incorporate smoked paprika for that enticing smoky note, which adds a whole new layer of flavor and fragrances that will have the family raving.
Extra Creaminess: Stir in a dollop of sour cream or Greek yogurt just before serving for a creamy finish that complements the spices beautifully.
Herbal Twist: Toss in some fresh cilantro or chopped green onions before serving to add freshness that brightens the entire dish. This vibrant touch will make each bite a lively experience.
Sweet and Savory: Try adding a tablespoon of brown sugar or a splash of maple syrup to balance the heat with a touch of sweetness, rounding out your flavors for a comforting evening meal.
Top It Off: Experiment with toppings like crispy bacon bits or avocado slices that add delightful texture and flavor, transforming each serving into an impressive feast.
With each variation, you’re not just making chili; you’re creating a unique experience every time. Enjoy personalizing this heartwarming dish to your family’s taste!
How to Store and Freeze Homemade Lone Star Chili
Room Temperature: Let the chili cool down before storing. It can sit out for up to 2 hours, but be sure to transfer it into the fridge or freezer promptly to maintain safety.
Fridge: Store your homemade Lone Star chili in an airtight container for up to 4 days. The flavors deepen as it sits, making for even tastier leftovers!
Freezer: Portion the chili into freezer-safe containers or bags, and it can be frozen for up to 3 months. Thaw in the fridge overnight before reheating for the best texture.
Reheating: To enjoy your chili again, reheat it on the stovetop over medium heat, stirring occasionally until heated thoroughly, or use the microwave for a quicker option.
Homemade Lone Star Chili Recipe FAQs
What type of ground beef is best for Homemade Lone Star Chili?
I recommend using an 80/20 or 85/15 blend of ground beef for that perfect balance of moisture and flavor in your chili. If you prefer leaner ground beef, you may need to add a splash of oil to ensure it doesn’t dry out during cooking.
How should I store leftover chili after cooking?
After letting the chili cool down for about 2 hours, store it in an airtight container in the refrigerator for up to 4 days. The flavors actually improve as it sits, making those leftovers even more delicious!
Can I freeze my Homemade Lone Star Chili?
Absolutely! Portion your chili into freezer-safe containers or bags and it can be frozen for up to 3 months. Just make sure to label and date your containers. To thaw, place it in the fridge overnight before reheating.
What is the best way to reheat chili?
To reheat your chili, you can use either the stovetop or microwave. If using the stovetop, warm it over medium heat, stirring occasionally until heated through. If you’re short on time, a microwave is fine—just stir it during heating to ensure even warmth.
How can I adjust the spice level in my chili?
For a spicier kick, you can increase the amount of cayenne pepper or add diced jalapeños when cooking the onions. Taste the chili as it simmers and adjust the heat levels to match your preference. Remember, you can always add more, but you can’t take it away!
Are there any dietary considerations for Homemade Lone Star Chili?
It’s always wise to check for allergies! This chili contains gluten from the beer, but you can substitute it with beef broth or water to make it gluten-free. Also, if you’re cooking for pets, avoid giving them any chili that contains garlic or onion, as these can be harmful to them.
Ultimate Homemade Lone Star Chili for Cozy Nights In
Equipment
- - Large pot
Ingredients
Chili Base
- 1 lb Ground Beef 80/20 or 85/15 blend
- 2 tbsp Chili Powder Fresh for authentic flavor
- 1 tbsp Ground Cumin Use freshly ground
- 1 tsp Cayenne Pepper Adjust for heat level
- 15 oz Tomato Sauce
- 10 oz Diced Tomatoes and Green Chilies (Rotel)
- 1 tbsp Cornmeal Masa harina makes a great swap
Aromatics
- 1 medium Onion Diced
- 3 cloves Garlic Freshly minced
Liquid Magic
- 12 oz Beer (Mexican Lager) Or beef broth/water
- 2 tbsp Olive Oil For browning beef
Instructions
Cooking Steps
- Heat Olive Oil: Begin by heating a splash of olive oil in a large pot over medium-high heat until it shimmers, indicating it’s ready for browning.
- Brown Ground Beef: Add the ground beef to the pot and cook for 5-7 minutes, breaking it apart until most of the pink is gone. Transfer the beef to a plate, leaving all the rendered fat in the pot.
- Sauté Aromatics: In the same pot, add the diced onion to the rendered fat and sauté for 4-5 minutes until softened. Once the onion is translucent, toss in the minced garlic and cook for an additional 30 seconds.
- Bloom the Spices: Stir in the chili powder, ground cumin, and cayenne pepper for about 1 minute.
- Deglaze with Beer: Return the browned beef to the pot. Pour in the beer and stir, scraping up any flavorful browned bits.
- Combine Sauce Ingredients: Add the diced tomatoes, tomato sauce, and salt.
- Simmer to Perfection: Lower the heat and let your chili simmer gently over medium-low for approximately 1 hour, stirring occasionally.
- Thicken with Cornmeal: Stir in the cornmeal during the last 2-3 minutes of cooking.