
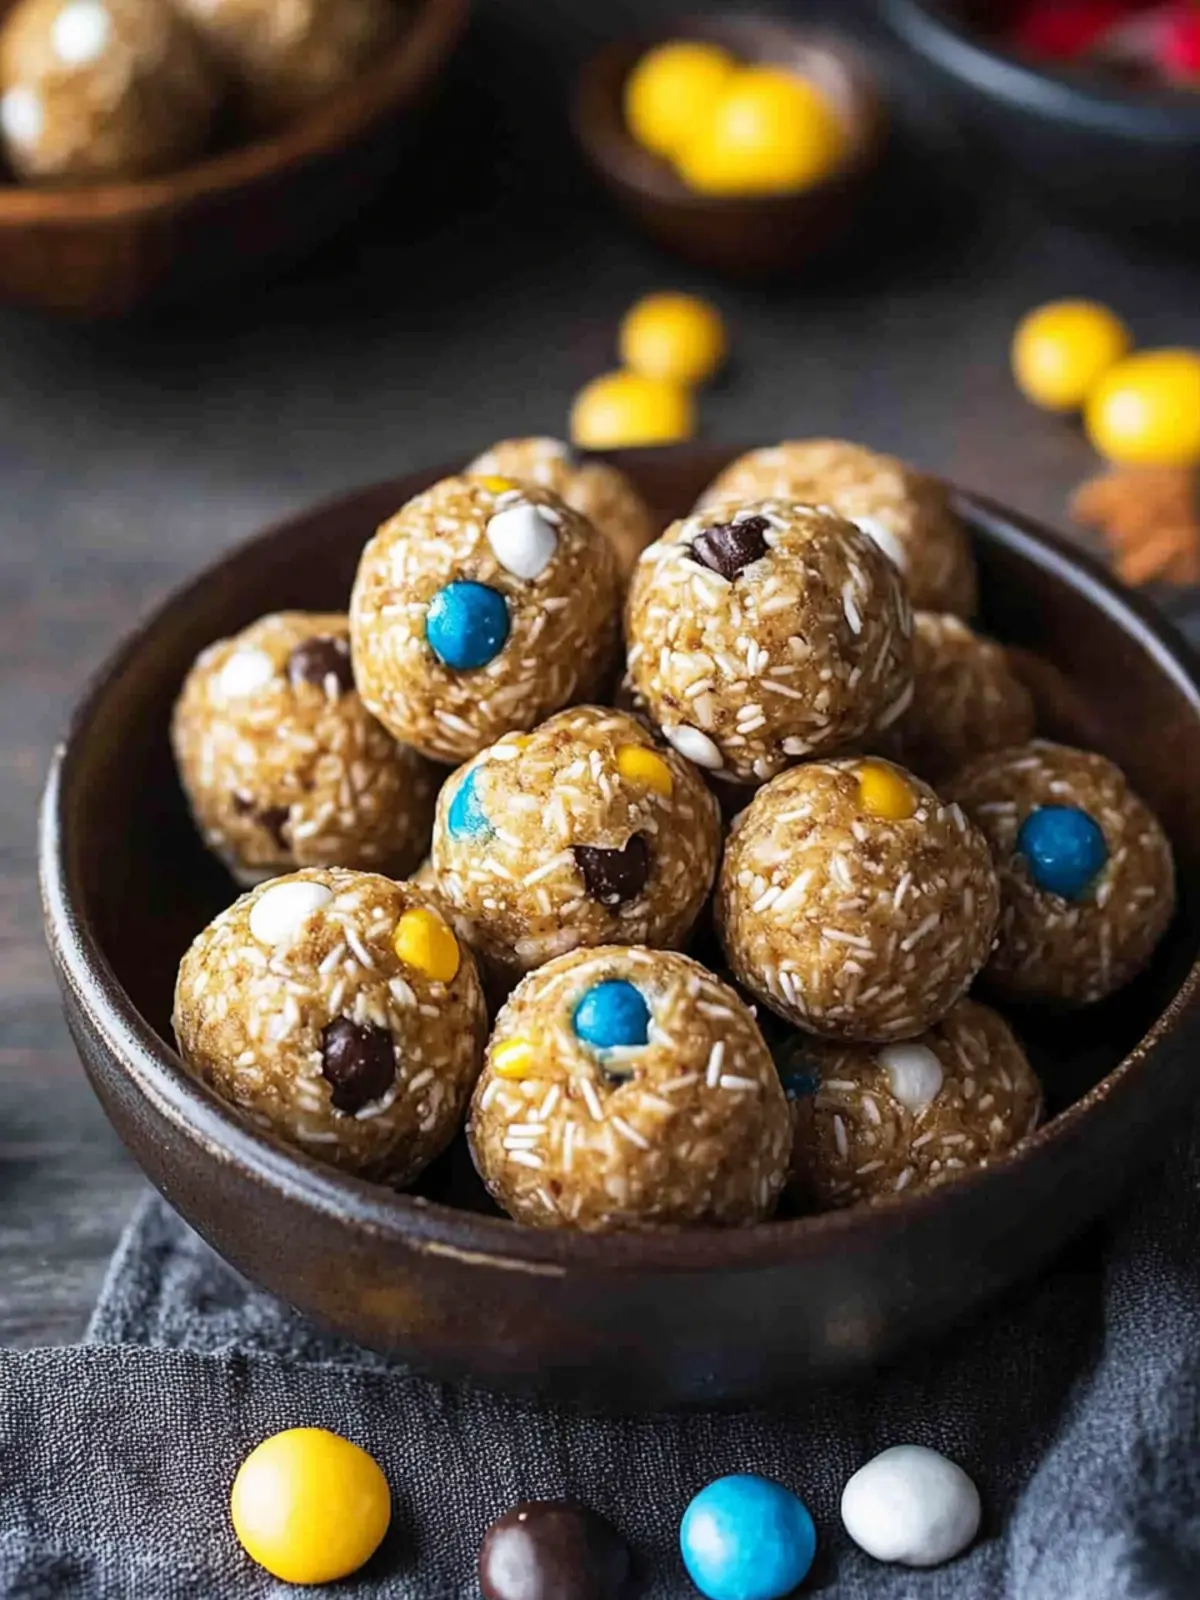
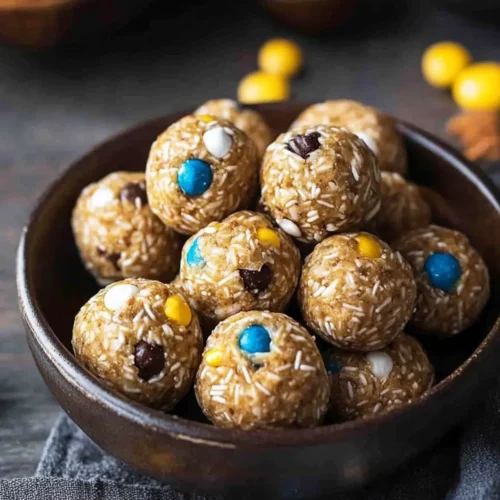
After a long day filled with errands and responsibilities, who doesn’t crave a little indulgence without the guilt? These no-bake Monster Cookie Protein Balls are the answer I’ve been searching for! Picture this: a harmonious blend of creamy peanut butter, chewy oats, and chocolatey fun, all rolled into bite-sized energy bites that don’t require an oven.
I stumbled upon this recipe during a quest to make snacking healthier but still utterly delicious—it’s a win-win situation! Ideal for meal prep, these protein-packed treats are quick and easy to whip up, making them perfect for busy families or a tasty post-workout boost. Even better? Kids can join the fun in the kitchen, though, I must admit, the temptation of those M&Ms often leads to a few disappearing act! So, grab your mixing bowl—let’s create a wholesome snack that combines the nostalgia of monster cookies with the goodness your body craves.
Why are protein balls the perfect snack?
Ultimate Convenience: These no-bake protein balls are quick to prepare, meaning you can have a healthy snack ready in minutes.
Kid-Friendly Fun: Kids can easily help shape the balls, turning snack time into a fun family activity.
Nutrient-Packed: With wholesome ingredients, they deliver a satisfying balance of protein, fiber, and healthy fats.
Versatile Options: Swap ingredients to fit your dietary needs or flavor preferences—endless customization awaits!
Easy Storage: Make a batch ahead of time and store them in the fridge or freezer, perfect for busy days ahead!
Dive into these delicious treats and discover how delightful healthy snacking can be!
Protein Balls Ingredients
• Here’s what you need to whip up these delightful protein balls!
For the Base
- Natural Peanut Butter – Binds ingredients and adds creaminess. Substitution: Use fresh-ground peanut butter; ensure it’s well-stirred and drippy.
- Protein Powder – Boosts nutritional content for energy and satiety. Substitution: Choose a familiar brand, either whey or plant-based, to avoid texture issues.
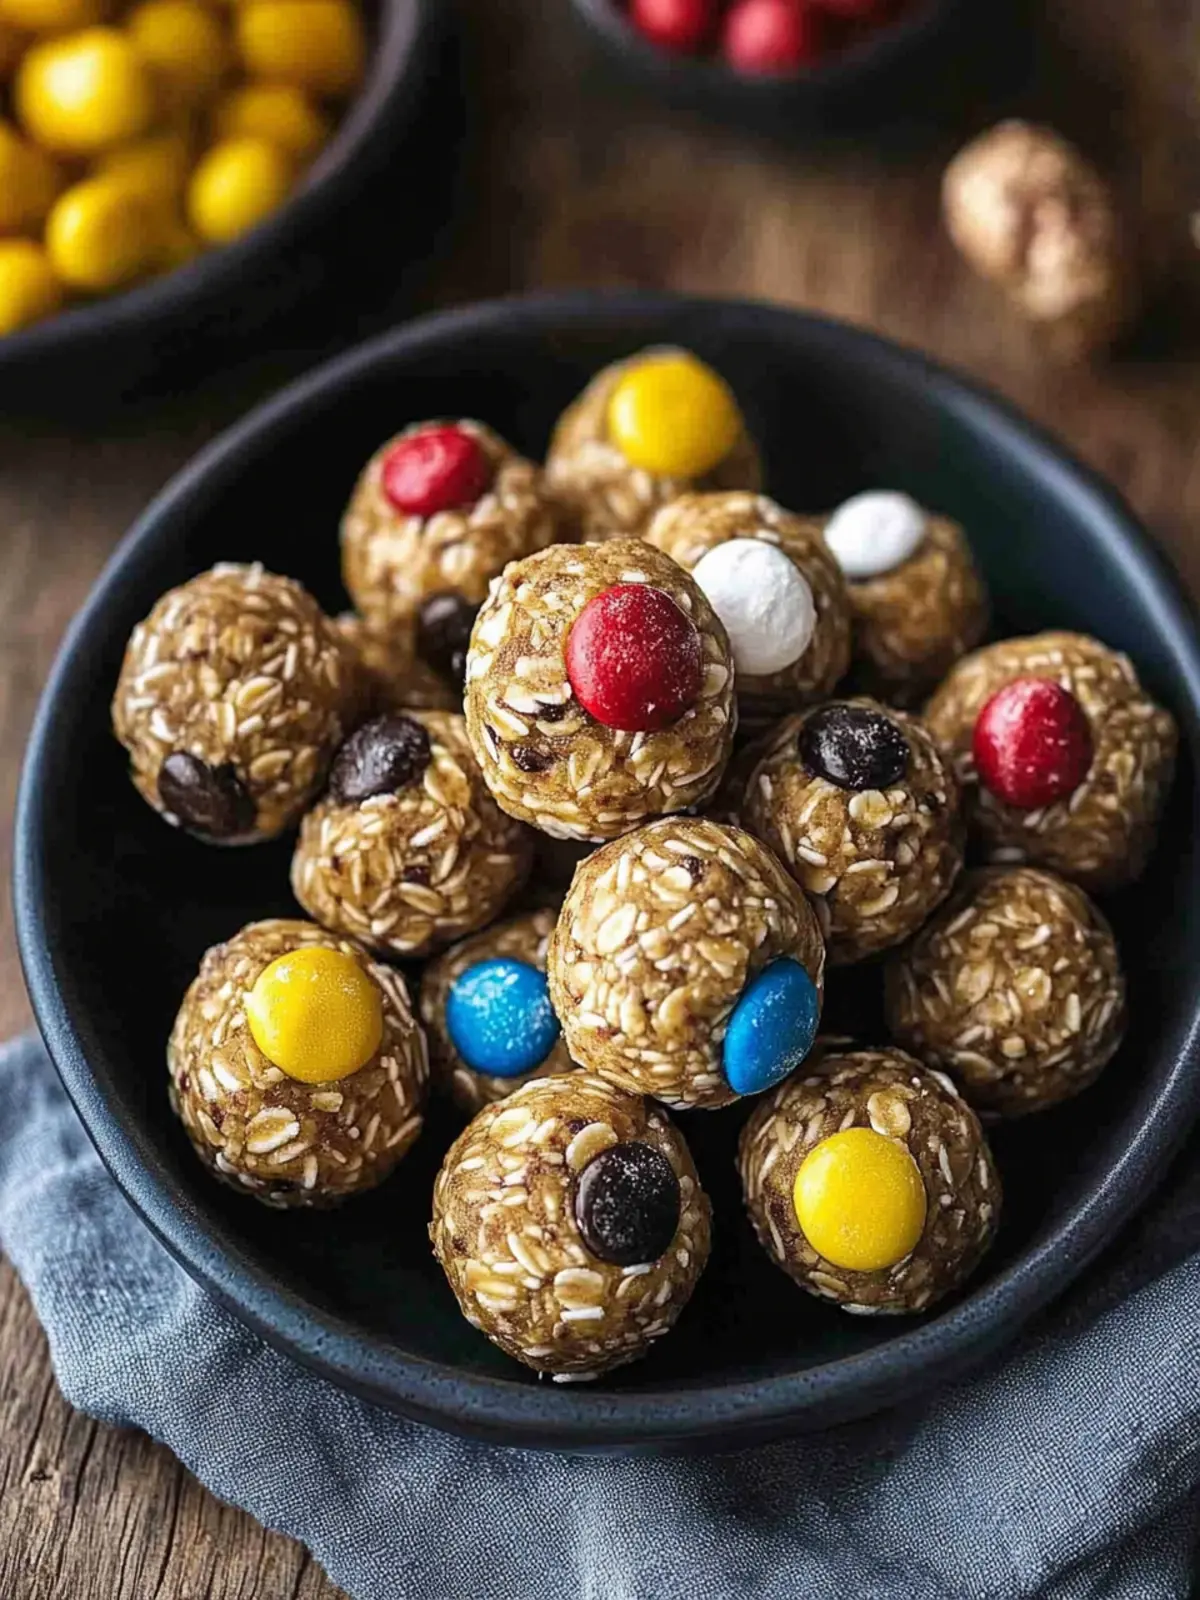
- Rolled Oats – Provides structure and chewiness. Note: Use whole rolled oats for best texture.
- Honey – Acts as a sweetener and binding agent. Substitution: Maple syrup for a vegan option.
- Vanilla Extract – Enhances flavor. Optional: Use almond extract for a different flavor profile.
For the Sweetness
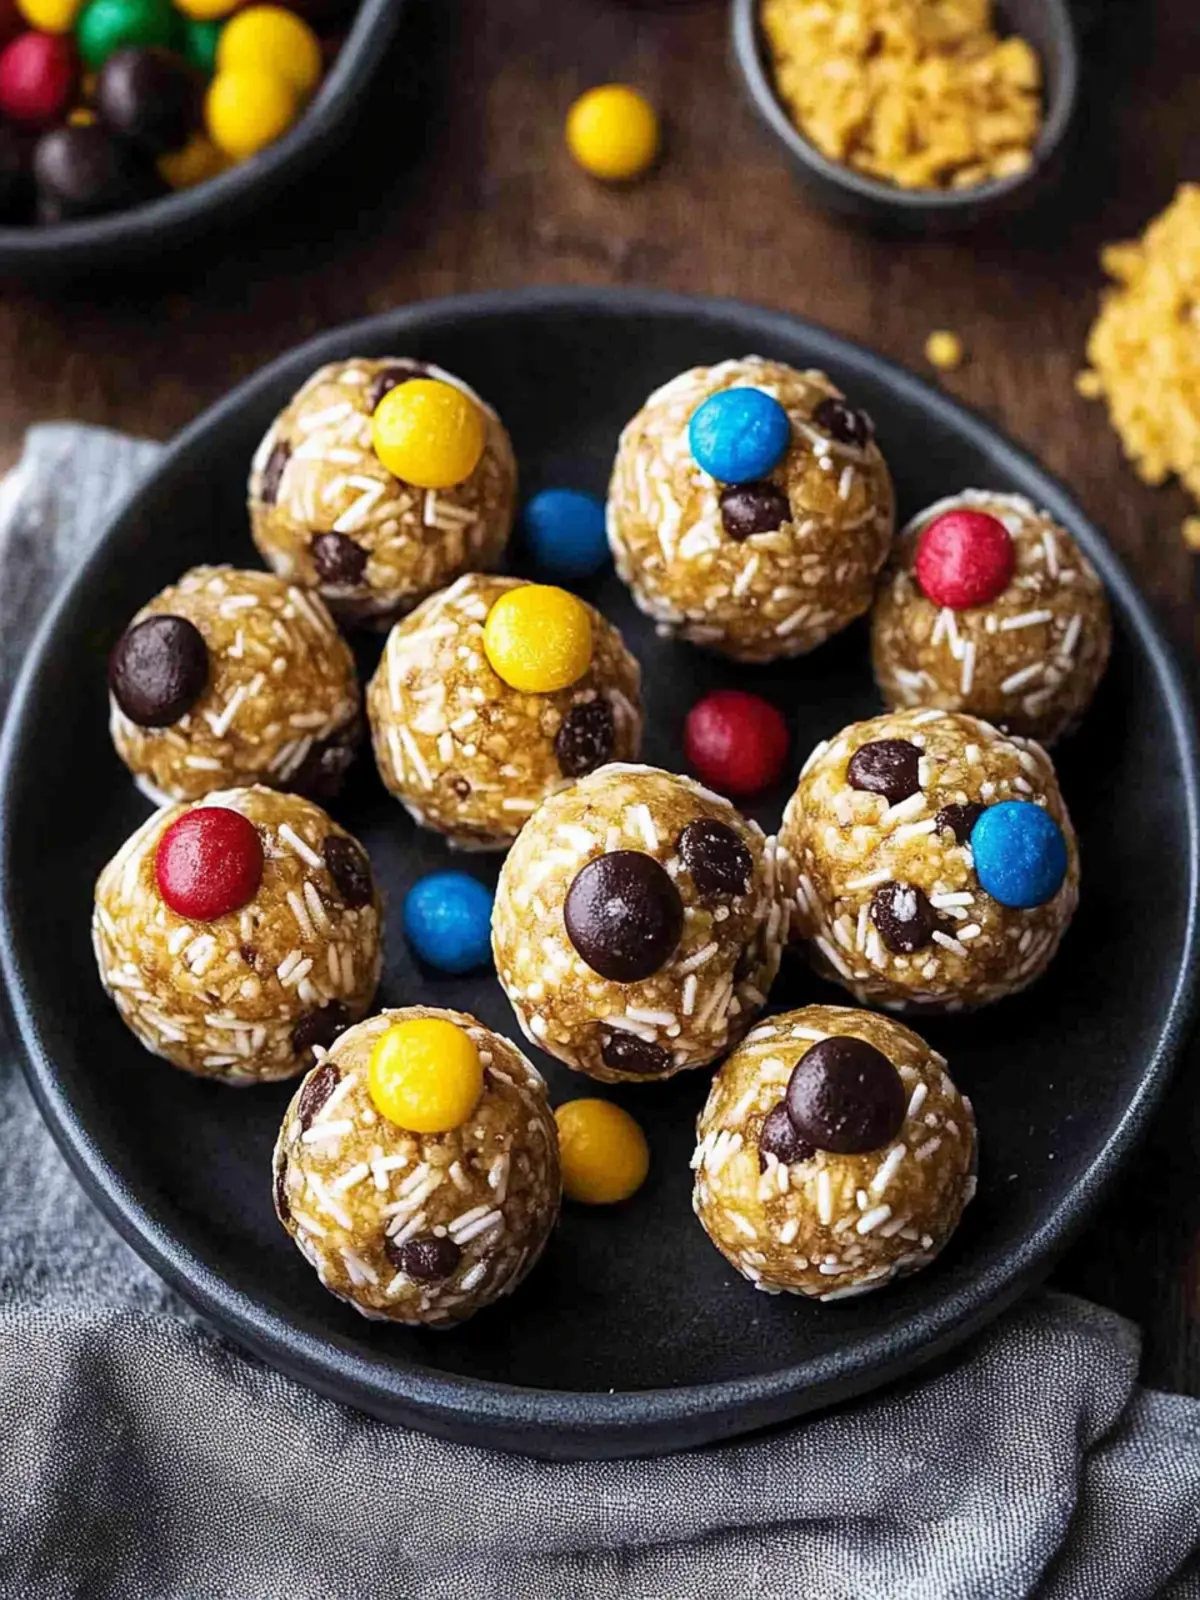
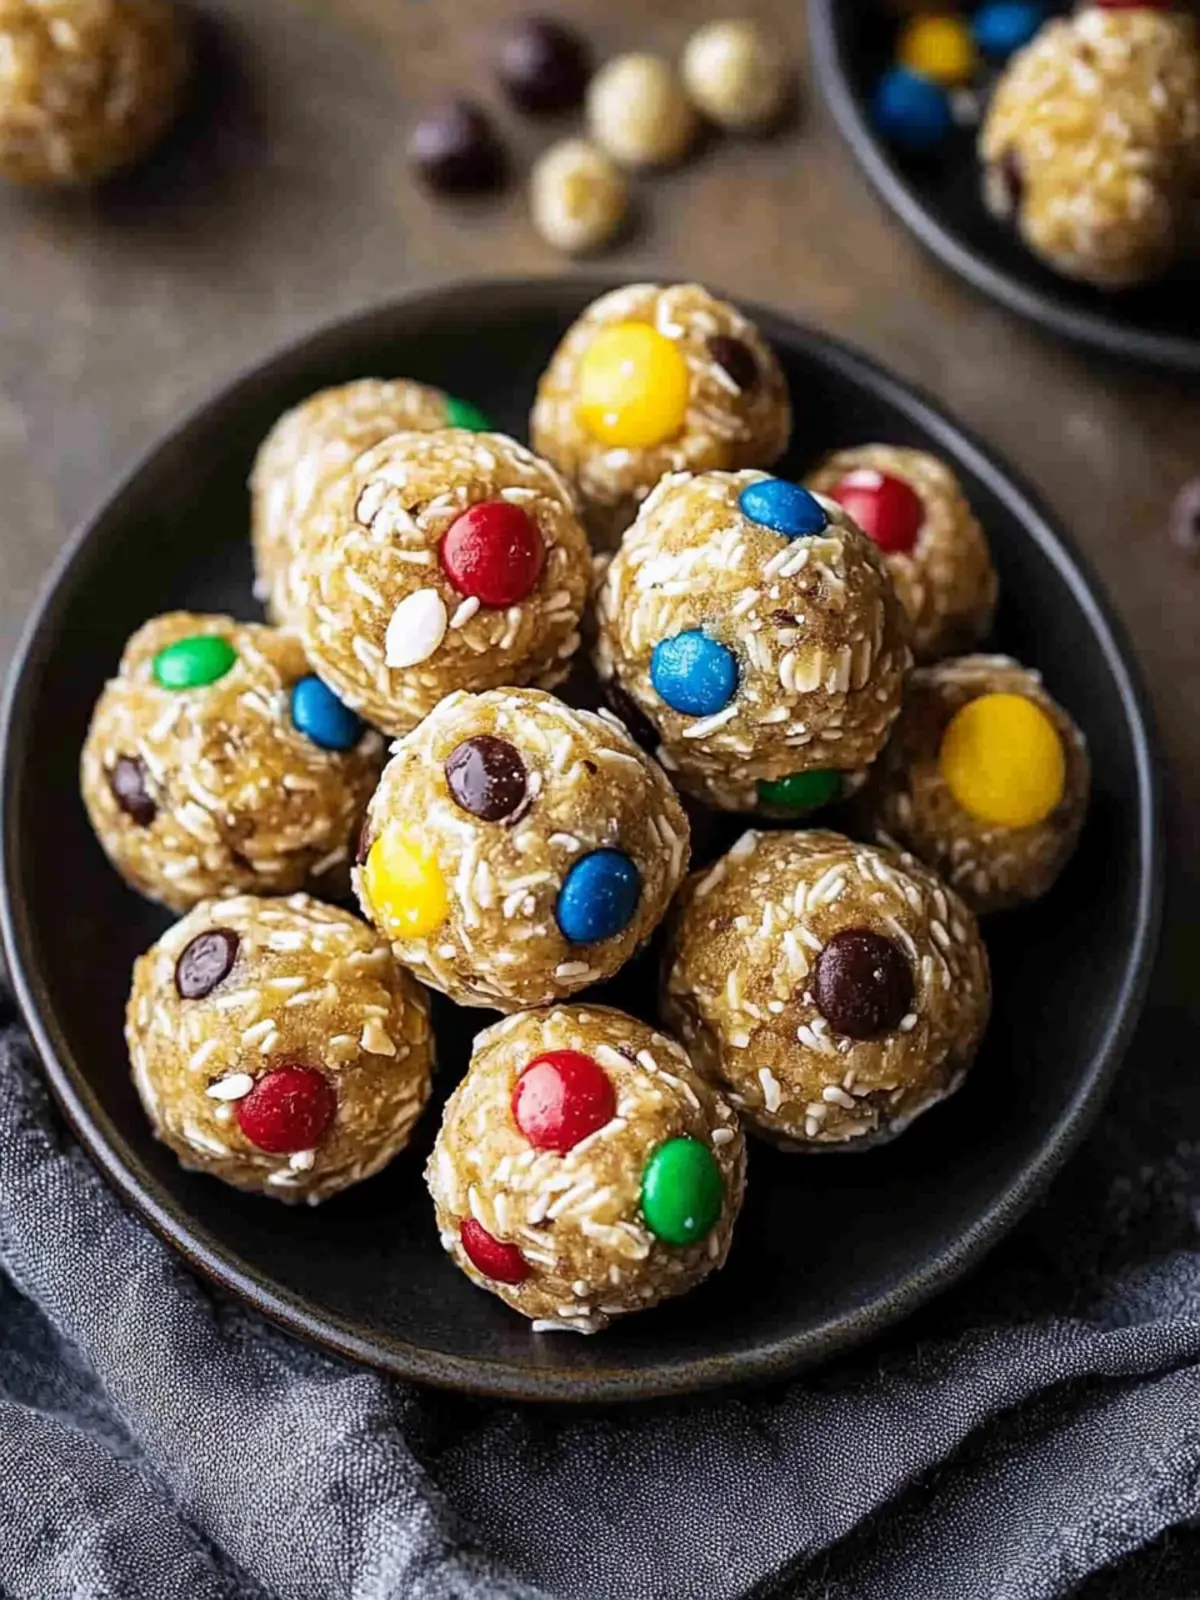
- Mini Chocolate Chips – Adds sweetness and texture. Substitution: Use dark chocolate chips or carob chips for variety.
- M&Ms – Provides fun color and sweetness. Substitution: Any desired candy or omit for a healthier option.
For the Nutritive Boost
- Chia Seeds – Enhances nutritional value and adds fiber. Optional: Can be omitted if not available.
Gather these ingredients to bring your no-bake Monster Cookie Protein Balls to life!
How to Make Protein Balls
Mix Ingredients: In a mixing bowl, combine the natural peanut butter, protein powder, rolled oats, chia seeds, honey, vanilla extract, salt, mini chocolate chips, and M&Ms until everything is well blended and forms a thick dough.
Adjust Consistency: If the mixture feels too dry or crumbly, gradually add water one teaspoon at a time and mix until a cohesive dough forms. Aim for a sticky yet manageable texture.
Shape Balls: Using a 1-tablespoon scoop, portion out the dough and roll each portion between your palms to form round balls. Enjoy the fun of getting your hands a little sticky!
Chill/Store: Place the formed balls in an airtight container. Refrigerate for up to 1 week for optimal freshness, or freeze for up to 3 months. Thaw in the fridge or at room temperature before enjoying.
Optional: For a touch of extra fun, roll the balls in crushed nuts or shredded coconut before chilling.
Exact quantities are listed in the recipe card below.
What to Serve with Monster Cookie Protein Balls?
These energy-packed treats are the perfect companion for a wholesome meal or snack that will delight your taste buds!
Cold Glass of Milk: Brings a classic pairing that balances the sweetness of the protein balls, providing hydration and a creamy texture.
Protein Shake: A satisfying protein boost, excellent for post-workout recovery that complements the flavors of the monster balls perfectly.
Fresh Fruit Salad: Offers a burst of freshness and vibrant colors, enhancing your snack time with juicy, sweet, and tangy bites.
Yogurt Parfait: Layering yogurt with these protein balls and fruit adds creaminess and probiotics, making it both indulgent and nutritious.
Nut Butter Dip: A touch of almond or hazelnut butter can elevate the experience, offering a rich, creamy contrast to the chewy texture of the balls.
Chocolate Smoothie: Blend up a chocolate-flavored smoothie, echoing the chocolate elements in the protein balls for a deliciously rich treat.
Herbal Tea: A warm cup of chamomile or mint tea relaxes the senses, providing a soothing contrast to the sweet and crunchy bites.
Trail Mix: Pair your protein balls with a handful of trail mix for a delightful mix of crunchy, salty, and sweet flavors, perfect for on-the-go snacking.
Dark Chocolate Squares: For a sweet finish, enjoy a square or two of dark chocolate to enrich the chocolatey experience and satisfy that craving.
There’s no end to the luscious combinations you can create with these delightful protein-packed bites!
Make Ahead Options
These no-bake Monster Cookie Protein Balls are perfect for meal prep enthusiasts! You can mix the ingredients and form the protein balls up to 24 hours in advance, storing them in an airtight container in the fridge. This helps maintain their chewiness and keeps them fresh. Additionally, if you want them on hand for longer, they can be frozen for up to 3 months. Just remember to separate layers with parchment paper to prevent sticking. When you’re ready to enjoy, simply thaw them in the fridge overnight or at room temperature for a quick and convenient snack that’s just as delicious as when they were freshly made.
Protein Balls Variations
Feel free to let your creativity shine as you personalize these delicious protein balls to suit your taste!
- Nut-Free: Substitute peanut butter with sunbutter or tahini for a safe alternative for school lunches or nut allergies.
- Vegan: Replace honey with maple syrup or agave nectar for a completely plant-based option. Enjoy the same sweet flavor without any animal products!
- Flavor Boost: Add cocoa powder for a rich chocolatey twist or peanut butter powder for an extra boost of nutty flavor. Imagine the delightful richness melting in your mouth!
- Fruity Fun: Fold in dried fruits like cranberries or raisins for bursts of sweetness and chewy texture. It’s a lovely surprise in every bite!
- Protein Punch: Swap your protein powder for a flavored variety, like chocolate or vanilla, to elevate the taste and keep your taste buds dancing. Each version keeps it exciting!
- Crunchy Texture: Mix in crushed nuts or seeds for added crunch and a satisfying bite. It’s like a tasty treasure hunt in the middle of your snack!
- Spicy Kick: Enhance your protein balls with a dash of cayenne or cinnamon for a flavorful twist that warms the heart. Just the right amount of zing will add an enticing surprise!
- Granola Style: Incorporate granola for a delightful texture and additional sweetness that gives your protein balls that delightful homemade dessert feel!
Customization is key here—have fun experimenting!
How to Store and Freeze Protein Balls
Fridge: Keep your protein balls in an airtight container in the fridge for up to 1 week. This keeps them fresh and ready for snacking!
Freezer: For longer-lasting enjoyment, freeze the protein balls in a freezer-safe container for up to 3 months. Just remember to separate layers with parchment paper to prevent sticking.
Thawing: When ready to eat, thaw the frozen protein balls in the fridge overnight or at room temperature for about 30 minutes. Enjoy a delicious, nutritious treat anytime!
Meal Prep: These protein balls are perfect for meal prep; make a double batch and store some in the fridge and some in the freezer for convenience throughout the week!
Expert Tips for Protein Balls
Use Room Temperature Ingredients: Ensuring your peanut butter is at room temperature aids in better mixing and prevents clumping in your protein balls.
Avoid Overmixing: Combine ingredients until just mixed. Overworking can lead to tough protein balls, which we want to avoid for the perfect chewiness.
Adjusting Consistency: Be cautious when adding extra water; a little goes a long way! If your mix feels too dry, it’s better to err on the side of caution to achieve the right texture.
Chill for Optimal Flavor: Allow the protein balls to chill in the fridge for at least 30 minutes. This helps set the flavors and makes them easier to handle while enjoying that delightful chew.
Creative Mix-Ins: Experiment with fun additions like dried fruits, nuts, or seeds for added nutrition and variety in your protein balls. Every batch can be unique!
Proper Storage: Ensure you store your protein balls with parchment paper between layers in an airtight container to prevent sticking and maintain freshness for a week.
Monster Cookie Protein Balls Recipe FAQs
What kind of peanut butter should I use?
Absolutely! For the best results, use natural peanut butter that’s creamy and well-stirred. This helps bind the ingredients together nicely. Avoid those brands that contain added sugars or oils for a healthier option.
How long can I store the protein balls in the fridge?
In an airtight container, these protein balls can be stored in the fridge for up to 1 week. Make sure they’re sealed well to keep them fresh and prevent any absorption of fridge odors.
Can I freeze my protein balls?
Very! To freeze your protein balls, arrange them in a single layer on a baking sheet and freeze for about 1-2 hours until solid. Then, transfer them to a freezer-safe container, separating layers with parchment paper to prevent sticking. They can be frozen for up to 3 months! When you’re ready to enjoy, simply thaw them in the fridge overnight or at room temperature for about 30 minutes.
What if my mixture is too dry?
No problem! If your mixture feels too dry while mixing, simply add water gradually, one teaspoon at a time, until the dough holds together. Mix after each addition, being careful not to add too much at once. It’s all about achieving that perfect sticky yet manageable texture!
Are these protein balls safe for kids?
Absolutely! These Monster Cookie Protein Balls are kid-friendly, packed with nutritious ingredients that provide energy. Just be mindful if your child has any nut allergies, in which case you can easily substitute natural peanut butter with sunbutter or almond butter for a similar binding effect.
Can I customize the ingredients?
Yes, the more the merrier! Feel free to swap out ingredients to suit your taste or dietary needs. You can replace chocolate chips with dried fruits or nuts, use maple syrup instead of honey for a vegan option, or even toss in some seeds for an extra nutritional boost. Don’t hesitate to get creative!
Protein Balls Made Easy: Delightful No-Bake Monster Treats
Equipment
- - Mixing bowl
- tablespoon scoop
Ingredients
For the Base
- 1 cup Natural Peanut Butter Substitution: Use fresh-ground peanut butter; ensure it's well-stirred and drippy.
- 1 scoop Protein Powder Substitution: Choose a familiar brand, either whey or plant-based, to avoid texture issues.
- 1 cup Rolled Oats Note: Use whole rolled oats for best texture.
- 1/4 cup Honey Substitution: Maple syrup for a vegan option.
- 1 teaspoon Vanilla Extract Optional: Use almond extract for a different flavor profile.
For the Sweetness
- 1/2 cup Mini Chocolate Chips Substitution: Use dark chocolate chips or carob chips for variety.
- 1/2 cup M&Ms Substitution: Any desired candy or omit for a healthier option.
For the Nutritive Boost
- 2 tablespoons Chia Seeds Optional: Can be omitted if not available.
Instructions
Directions
- In a mixing bowl, combine the natural peanut butter, protein powder, rolled oats, chia seeds, honey, vanilla extract, salt, mini chocolate chips, and M&Ms until everything is well blended and forms a thick dough.
- If the mixture feels too dry or crumbly, gradually add water one teaspoon at a time and mix until a cohesive dough forms. Aim for a sticky yet manageable texture.
- Using a 1-tablespoon scoop, portion out the dough and roll each portion between your palms to form round balls. Enjoy the fun of getting your hands a little sticky!
- Place the formed balls in an airtight container. Refrigerate for up to 1 week for optimal freshness, or freeze for up to 3 months. Thaw in the fridge or at room temperature before enjoying.