
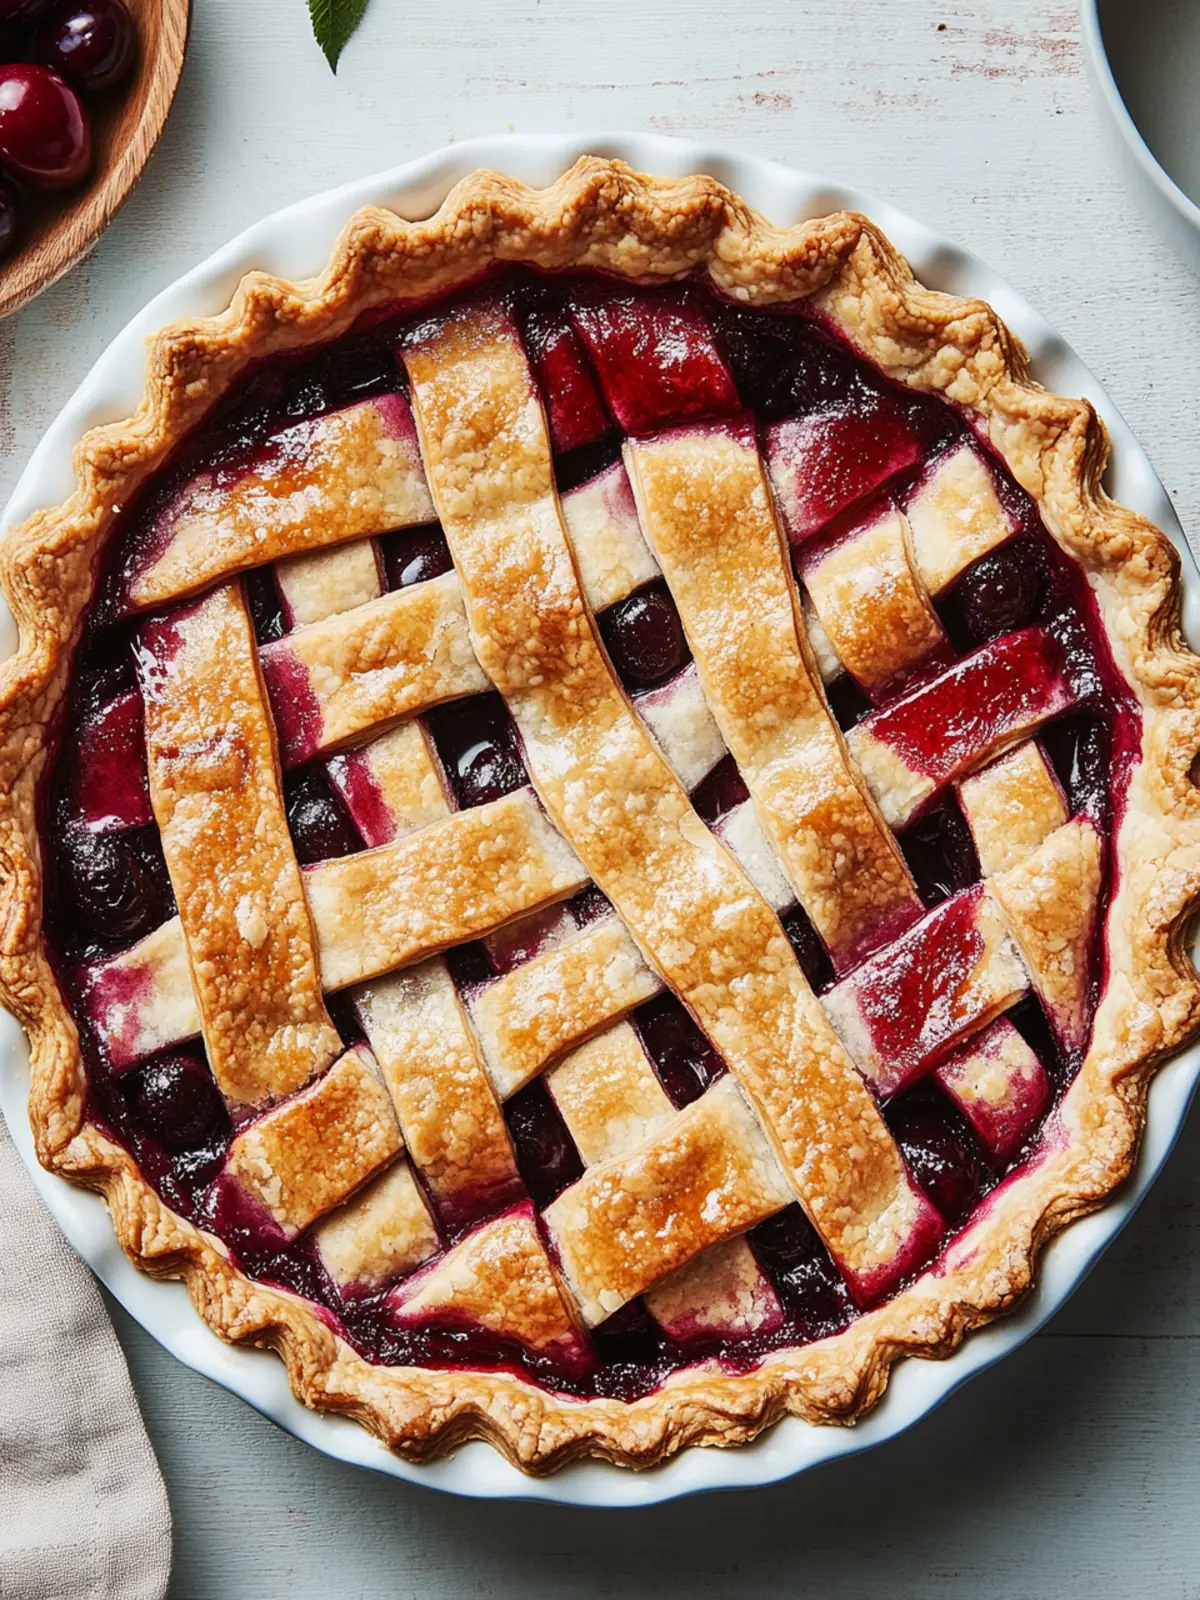
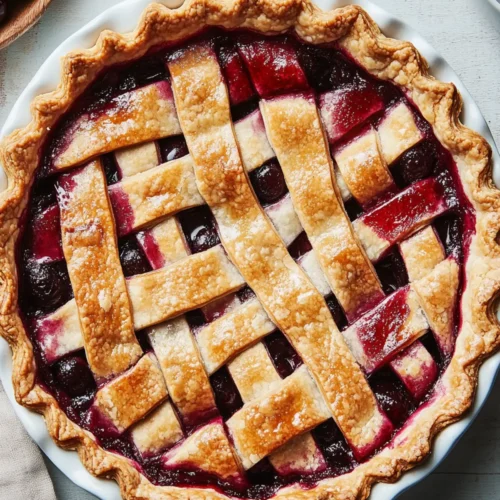
As summer whispers its warm goodbyes, I find myself craving the vibrant taste of fresh cherries. There’s a moment—when the sun dips low and the air turns sweet—that scents of a just-baked cherry pie beckon like an old friend. This classic cherry pie recipe is a delightfully nostalgic journey, capturing the perfect balance between tart and sweet, all enveloped in a flaky, golden lattice crust. Picture this: a slice revealing a luscious, jammy filling that dances on your palate, making every bite an irresistible reminder of simpler times spent at home.
Recently, as I was rummaging through my kitchen, I stumbled upon a jar of cherries that had been hidden at the back of my pantry. It inspired me to create something special, and this pie was the result—an easy yet impressive dessert that’s perfect for any occasion, whether you’re gathering for family dinner or enjoying a sunny picnic. Let’s roll up our sleeves and dive into this cherry pie adventure that promises to delight friends and family alike!
Why choose this cherry pie recipe?
Deliciously Classic: This cherry pie recipe brings together the perfect balance of sweet and tart flavors, making it a timeless favorite.
Lattice Crust: The beautiful lattice crust isn’t just for looks; it lets juices escape while creating a stunning presentation.
Easy to Make: You don’t need to be a pro in the kitchen—this recipe is straightforward enough for beginner bakers!
Versatile Options: Swap cherries for your favorite summer fruits to put your spin on this classic dessert.
Crowd-Pleasing Treat: Serve it at gatherings or indulge at home; this pie is sure to impress and satisfy every sweet tooth!
If you’re in a pinch, check out my tips on make-ahead options for a seamless baking experience.
Cherry Pie Ingredients
Delicious Essentials for Your Cherry Pie
• Here’s everything you’ll need to create the perfect cherry pie recipe!
For the Cherry Filling
• Fresh Cherries – A mix of tart and sweet cherries provides the signature flavor and perfect filling texture.
• Granulated Sugar – Sweetens the filling, enhancing the cherries’ natural flavors; brown sugar can add richness.
• Cornstarch – Acts as a thickener for the filling, achieving that desirable jammy consistency; arrowroot works as a gluten-free alternative.
• Lemon Juice – Brightens the filling with acidity; lime juice works well if you don’t have lemon.
• Ground Cinnamon & Ground Ginger – Infuses warmth and depth; nutmeg is a lovely alternative spice.
• Almond or Vanilla Extract – Introduces aromatic notes; feel free to use one based on your pantry.
• Kosher Salt – Balances sweetness and elevates overall flavors; it’s essential not to skip this!
For the Pie Dough
• Store-bought Pie Dough (or Homemade) – Forms the base and crust of the pie; homemade dough yields a flakier texture.
• All-Purpose Flour – For dusting when rolling out dough; gluten-free flour is an option for a gluten-free crust.
• Large Egg – Used for the egg wash to give the crust a beautiful color and shine; milk wash is a good substitute.
• Turbinado Sugar – Sprinkled on top for added crunch and sweetness; it can be omitted if desired.
Ready to create a masterpiece? Let’s turn these ingredients into a delightful cherry pie that will warm your heart!
How to Make Cherry Pie
Make Filling: In a pot, combine pitted cherries, granulated sugar, cornstarch, lemon juice, ginger, cinnamon, almond extract, and salt. Bring to a boil and simmer for 15 minutes until thickened. Let the mixture cool completely.
Prepare Dough: Allow the chilled pie dough to rest at room temperature for a few minutes. Roll one piece into a 12” round and fit it into a 9” pie plate. Cut the second round into uniform strips for the lattice top.
Chill Dough: Place both doughs back in the refrigerator for about 15 minutes to firm up, which helps prevent shrinkage while baking.
Preheat Oven: Set your oven to 425°F, and place a baking sheet on the middle rack to catch any drips as the pie bakes.
Assemble Pie: Pour the cooled cherry filling into the prepared crust. Create the lattice top by weaving the dough strips, crimping the edges to seal, then brush with egg wash and sprinkle with turbinado sugar for added texture.
Final Chill: Refrigerate the assembled pie for 30 minutes. This ensures a crisp crust after baking.
Bake: Position the pie on the preheated baking sheet and bake for 25 minutes. Then, reduce the oven temperature to 375°F, continuing to bake for an additional 45 to 60 minutes until the crust is golden brown and the filling is bubbling. Allow to cool completely before slicing.
Optional: Serve warm with a scoop of vanilla ice cream for a delicious pairing!
Exact quantities are listed in the recipe card below.
Make Ahead Options
These cherry pie recipe components are perfect for busy home cooks looking to save time during the week! You can prepare the cherry filling up to 3 days in advance; just be sure to let it cool completely before refrigerating to maintain that luscious, jammy texture. The pie crust can also be made ahead; wrap it tightly in plastic wrap and refrigerate for up to 24 hours. On baking day, simply roll out the dough, fill it with the prepared cherry mixture, and assemble your lattice top. Bake immediately for a fresh pie that tastes just as delightful as if made the same day!
Storage Tips for Cherry Pie
Room Temperature: Cherry pie can be stored at room temperature for up to 2 days. Keep it covered loosely with foil or a clean kitchen towel to prevent drying out.
Fridge: If you plan to enjoy it later, store the pie in the refrigerator. It will stay fresh for up to 5 days when properly covered with plastic wrap or a pie dome.
Freezer: For longer storage, freeze the pie for up to 2 months. Wrap it tightly in plastic wrap and then in aluminum foil to protect against freezer burn.
Reheating: To reheat, place slices in a preheated oven at 350°F for about 10-15 minutes until heated through. Enjoy your cherry pie recipe warm for the best flavors!
Expert Tips for Cherry Pie
• Choose the Right Cherries: Use a mix of tart and sweet cherries for a balanced flavor; avoid overripe fruit to prevent a mushy filling.
• Mix Well: Ensure cherries are thoroughly mixed with sugar and cornstarch to avoid a soupy cherry pie.
• Cool the Filling: Always let the cherry filling cool completely before assembling the pie; this prevents a soggy bottom crust.
• Chill the Dough: Chilling the dough before baking helps prevent shrinkage, leading to a beautifully flaked crust.
• Practice the Lattice: If you’re new to lattice crusts, consider watching a tutorial—it’s less daunting with a little guidance!
What to Serve with Cherry Pie?
As the aroma of your fresh cherry pie fills the air, consider these delightful pairings to complete your homemade feast.
- Vanilla Ice Cream: The creamy richness perfectly balances the tart sweetness of the cherry pie, making each bite a dream.
- Whipped Cream: Fluffy and light, this classic topping adds a luscious cloud to your pie, enhancing its flavors beautifully.
- Coffee: A warm brew contrasts the dessert’s sweetness and brightens the palate, making it a comforting choice for after-dinner indulgence.
- Cheese Plate: A selection of mild cheeses, like brie or goat cheese, provides a savory contrast to the pie’s sweetness, creating an unexpected flavor harmony.
- Fresh Berries: Serve alongside a bowl of mixed berries for a refreshing and vibrant complement to the rich cherries.
- Peach Cobbler: The fruity, sweet flavors of peach cobbler can create a delightful double dessert experience for gatherings or special occasions.
Pair these suggestions with your cherry pie recipe, and watch your meal unfold into a perfect summer celebration!
Cherry Pie Variations & Substitutions
Feel free to get creative and adjust this delightful cherry pie recipe to suit your tastes and dietary preferences!
- Berry Blend: Swap cherries for a mix of berries like blueberries, raspberries, or strawberries for a colorful twist.
- Peachy Keen: Use freestone peaches instead of cherries for a sweet and juicy variation with a summer vibe.
- Almond Topping: Sprinkle almond slices on top of your lattice for a wonderful nuttiness that complements the cherries beautifully.
- Ginger Kick: Add grated fresh ginger to the cherry filling for an extra zing that brightens the flavors.
- Spiced Rum: Mix in a tablespoon of spiced rum or bourbon for a cozy depth of flavor that warms the heart.
- Nut Crust: Use crushed nuts like pecans or walnuts in place of half the flour for a crunchy, gluten-free crust with a unique texture.
- Coconut Flake Crust: Replace part of the flour with unsweetened shredded coconut to give the crust a tropical flair.
Each variation carries the potential to create a new family favorite while honoring the sweet, summery essence of this timeless pie!
Cherry Pie Recipe FAQs
What kind of cherries should I use for the pie?
Absolutely! For the best flavor, opt for a mix of tart and sweet cherries. Tart cherries, like Montmorency, provide a wonderful contrast to the sweetness of regular Bing cherries. Look for plump, firm cherries with a deep red color and avoid any that have dark spots or are overly soft.
How should I store my cherry pie?
You can keep your cherry pie at room temperature for up to 2 days, covered loosely with foil or a clean towel. For longer freshness, refrigerate it, and it will stay good for 5 days when wrapped well in plastic wrap. If you want to save it for later, freeze the pie for up to 2 months!
Can I freeze cherry pie, and if so, how?
Absolutely! To freeze your cherry pie, first, let it cool completely. Wrap it tightly in plastic wrap, then cover it with aluminum foil to prevent freezer burn. For the best quality, try to use it within 2 months. When you’re ready to enjoy it, either thaw it in the fridge overnight or bake it straight from the freezer—just add an extra 10-15 minutes to your baking time!
What should I do if my cherry pie filling turns out too runny?
If your filling ends up soupy, don’t worry—this can often happen! To avoid this next time, make sure to mix your cherries with the sugar and cornstarch thoroughly and let the filling cool completely before assembling. If it’s already baked, consider letting the pie cool further at room temperature to allow it to set. If all else fails, serve it with some whipped cream or ice cream to balance the consistency!
Are there any dietary considerations for this cherry pie recipe?
Very! While the classic cherry pie recipe is generally suitable for vegetarians, if you have gluten sensitivities, you can easily substitute all-purpose flour and pie dough with gluten-free options. Always check for allergens in any sugar or crust ingredients and opt for natural, safe choices according to dietary needs.
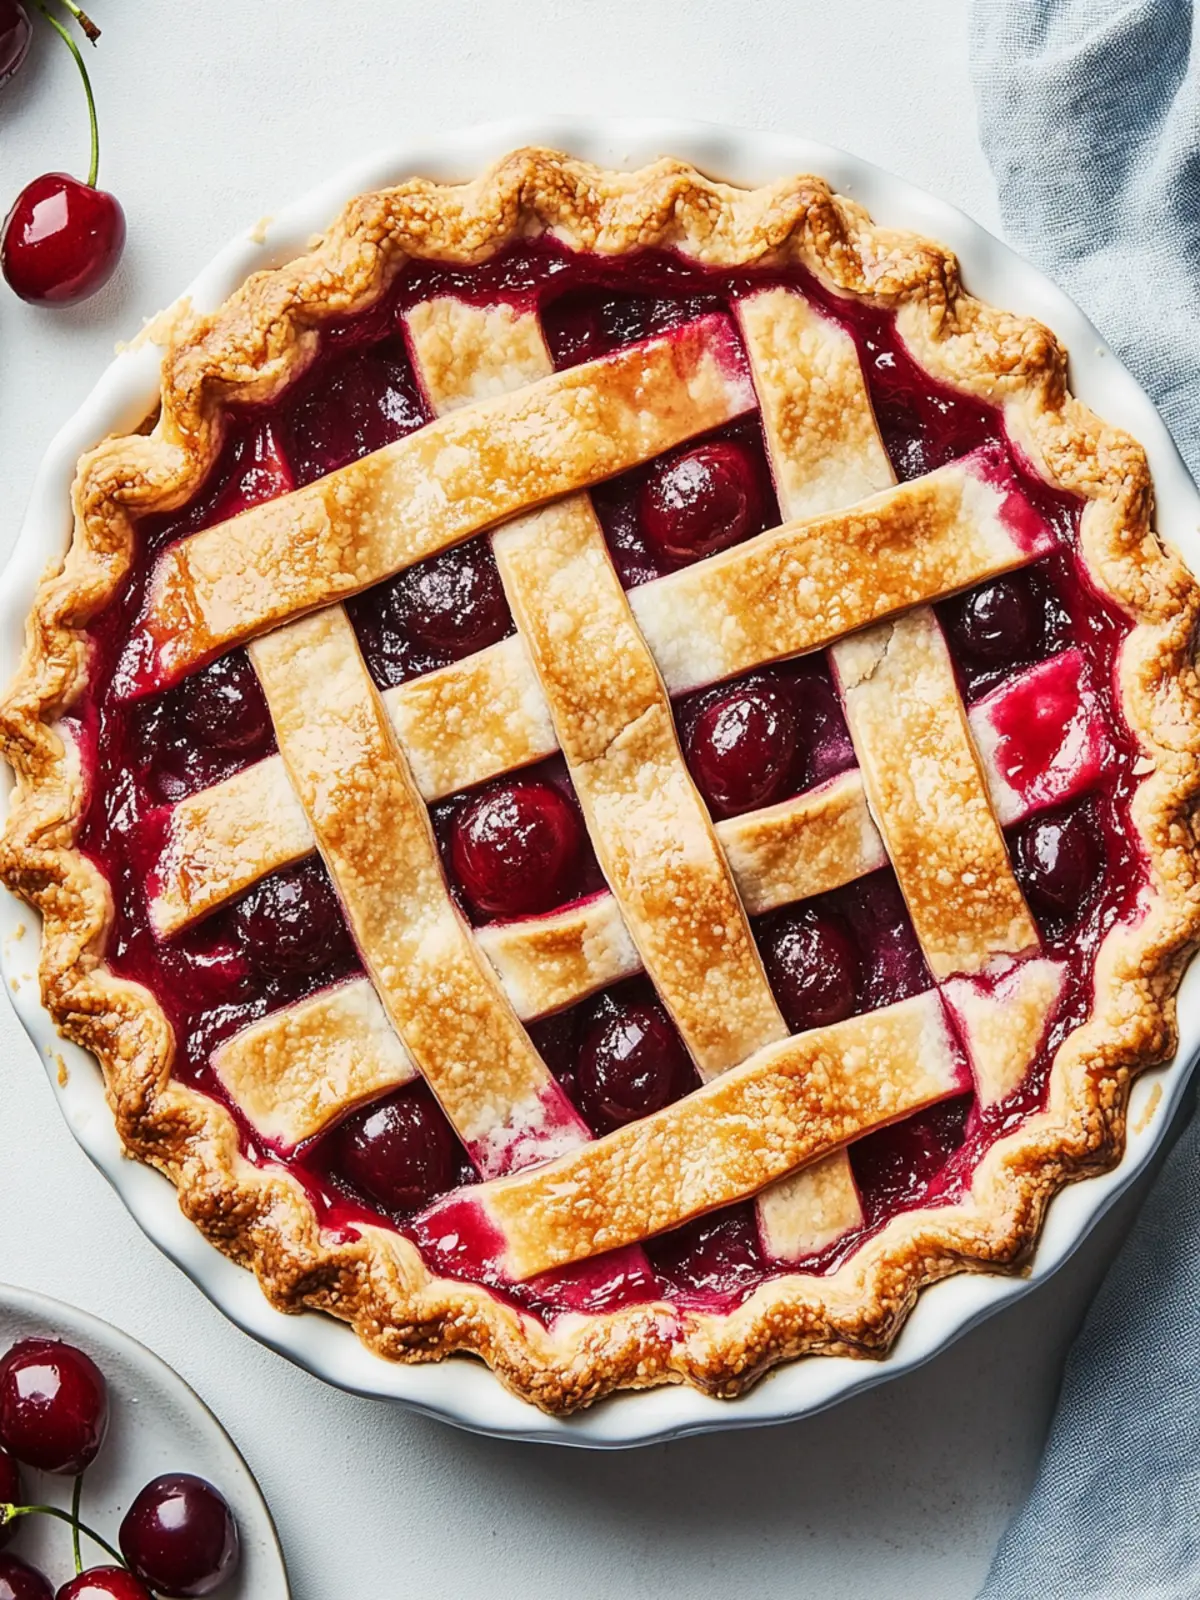
Irresistible Cherry Pie Recipe with Flaky Lattice Crust
Equipment
- - 9-inch pie plate
- - Pot
- Rolling Pin
- - Baking sheet
Ingredients
For the Cherry Filling
- 4 cups pitted fresh cherries Mix of tart and sweet
- 1 cup granulated sugar
- 0.5 cup cornstarch Or arrowroot for gluten-free
- 2 tablespoons lemon juice Can substitute with lime juice
- 1 teaspoon ground cinnamon
- 0.5 teaspoon ground ginger
- 1 teaspoon almond or vanilla extract
- 0.25 teaspoon kosher salt
For the Pie Dough
- 1 pack store-bought pie dough Can use homemade dough for flakier texture
- 0.25 cup all-purpose flour For dusting when rolling out dough
- 1 large egg For egg wash
- 1 tablespoon turbinado sugar For sprinkling on top
Instructions
Filling Preparation
- In a pot, combine pitted cherries, granulated sugar, cornstarch, lemon juice, ginger, cinnamon, almond extract, and salt. Bring to a boil and simmer for 15 minutes until thickened. Let the mixture cool completely.
Dough Preparation
- Allow the chilled pie dough to rest at room temperature for a few minutes. Roll one piece into a 12” round and fit it into a 9” pie plate. Cut the second round into uniform strips for the lattice top.
- Place both doughs back in the refrigerator for about 15 minutes to firm up, which helps prevent shrinkage while baking.
Baking
- Preheat your oven to 425°F, and place a baking sheet on the middle rack to catch any drips as the pie bakes.
- Pour the cooled cherry filling into the prepared crust. Create the lattice top by weaving the dough strips, crimping the edges to seal, then brush with egg wash and sprinkle with turbinado sugar for added texture.
- Refrigerate the assembled pie for 30 minutes. This ensures a crisp crust after baking.
- Position the pie on the preheated baking sheet and bake for 25 minutes. Then, reduce the oven temperature to 375°F, continuing to bake for an additional 45 to 60 minutes until the crust is golden brown and the filling is bubbling. Allow to cool completely before slicing.