
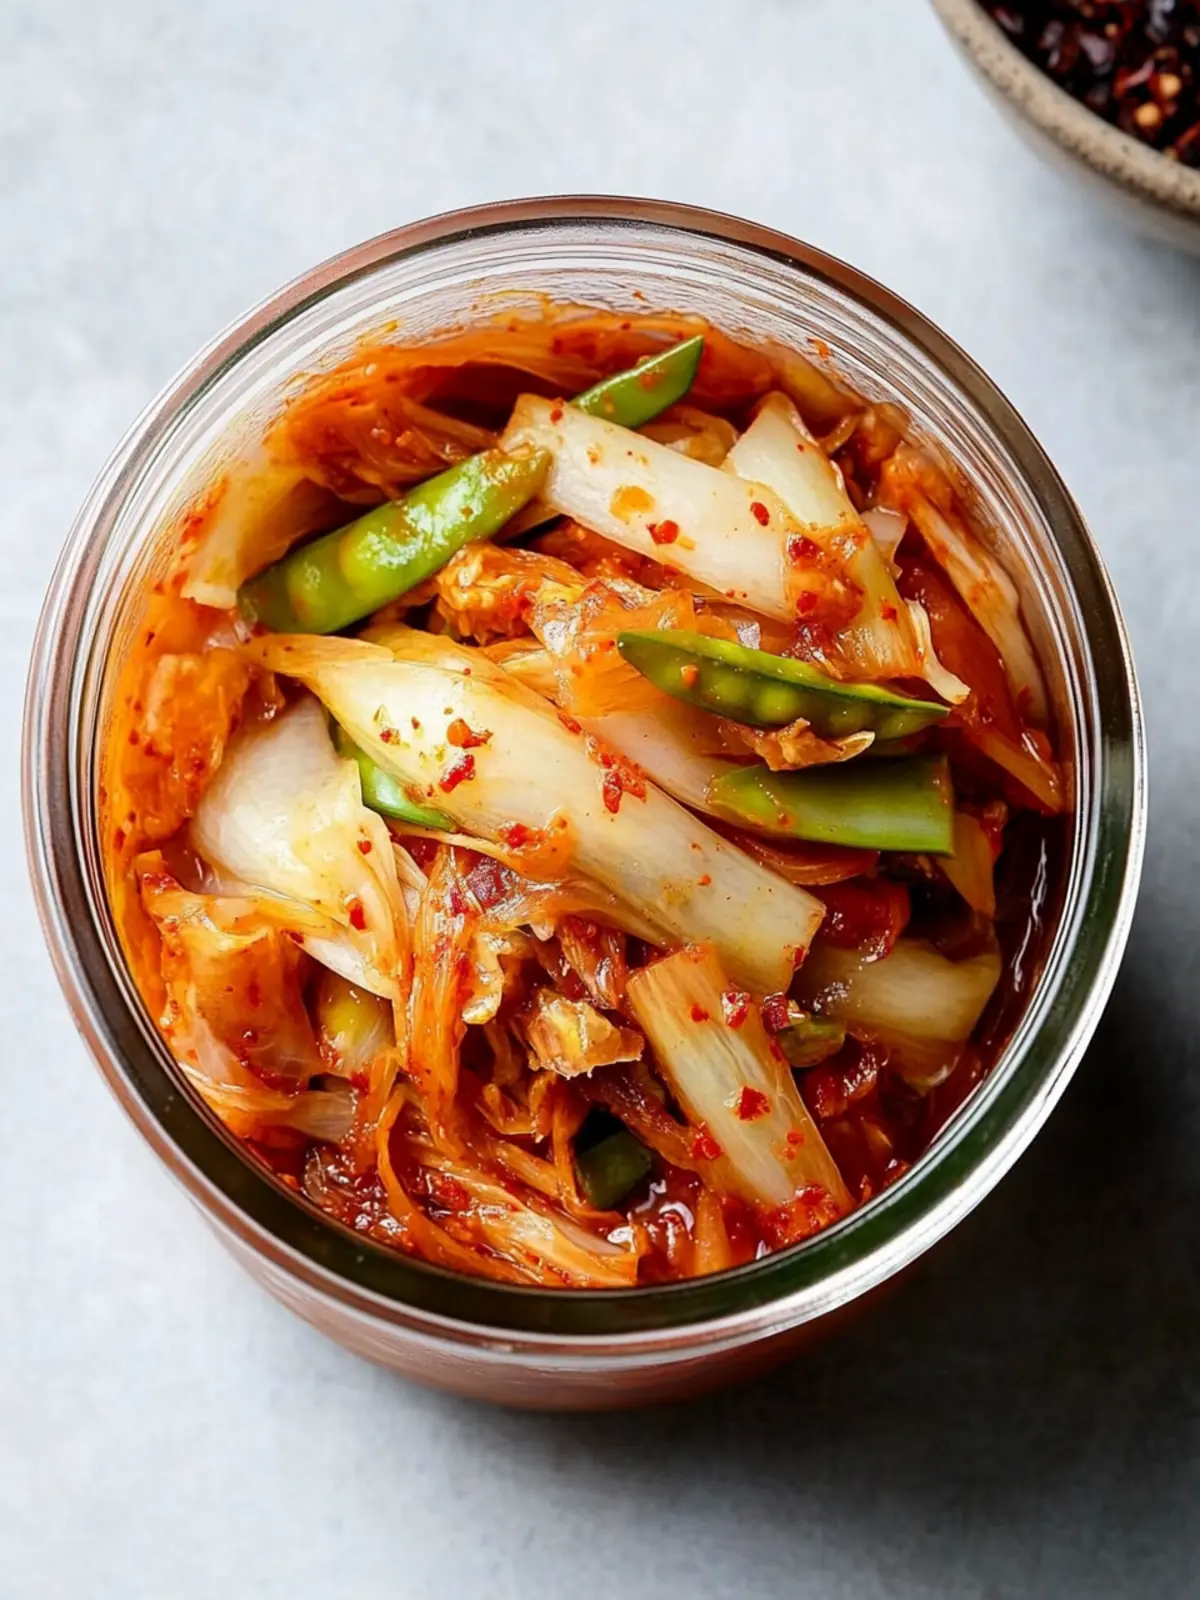
As the season shifts and the air cools, there’s nothing quite like the invigorating zing of homemade kimchi to warm your soul and liven up your meals. I recently found myself craving that bold, spicy crunch, and decided to venture into the world of fermentation—trust me, it’s easier than it sounds! With just a handful of fresh veggies and some pantry staples, you can craft this vibrant, probiotic-packed side dish that elevates any meal from ordinary to extraordinary.
Making my own kimchi has not only satisfied my taste buds but has also introduced a unique flair to my dinner table—whether it’s served with rice, tucked into tacos, or enjoyed straight from the jar! What’s better? This recipe is completely customizable; you can adjust the spice level or even toss in your favorite seasonal vegetables. Ready to embark on a flavorful journey that combines tradition with a personal twist? Let’s dive into this delectable homemade kimchi recipe!
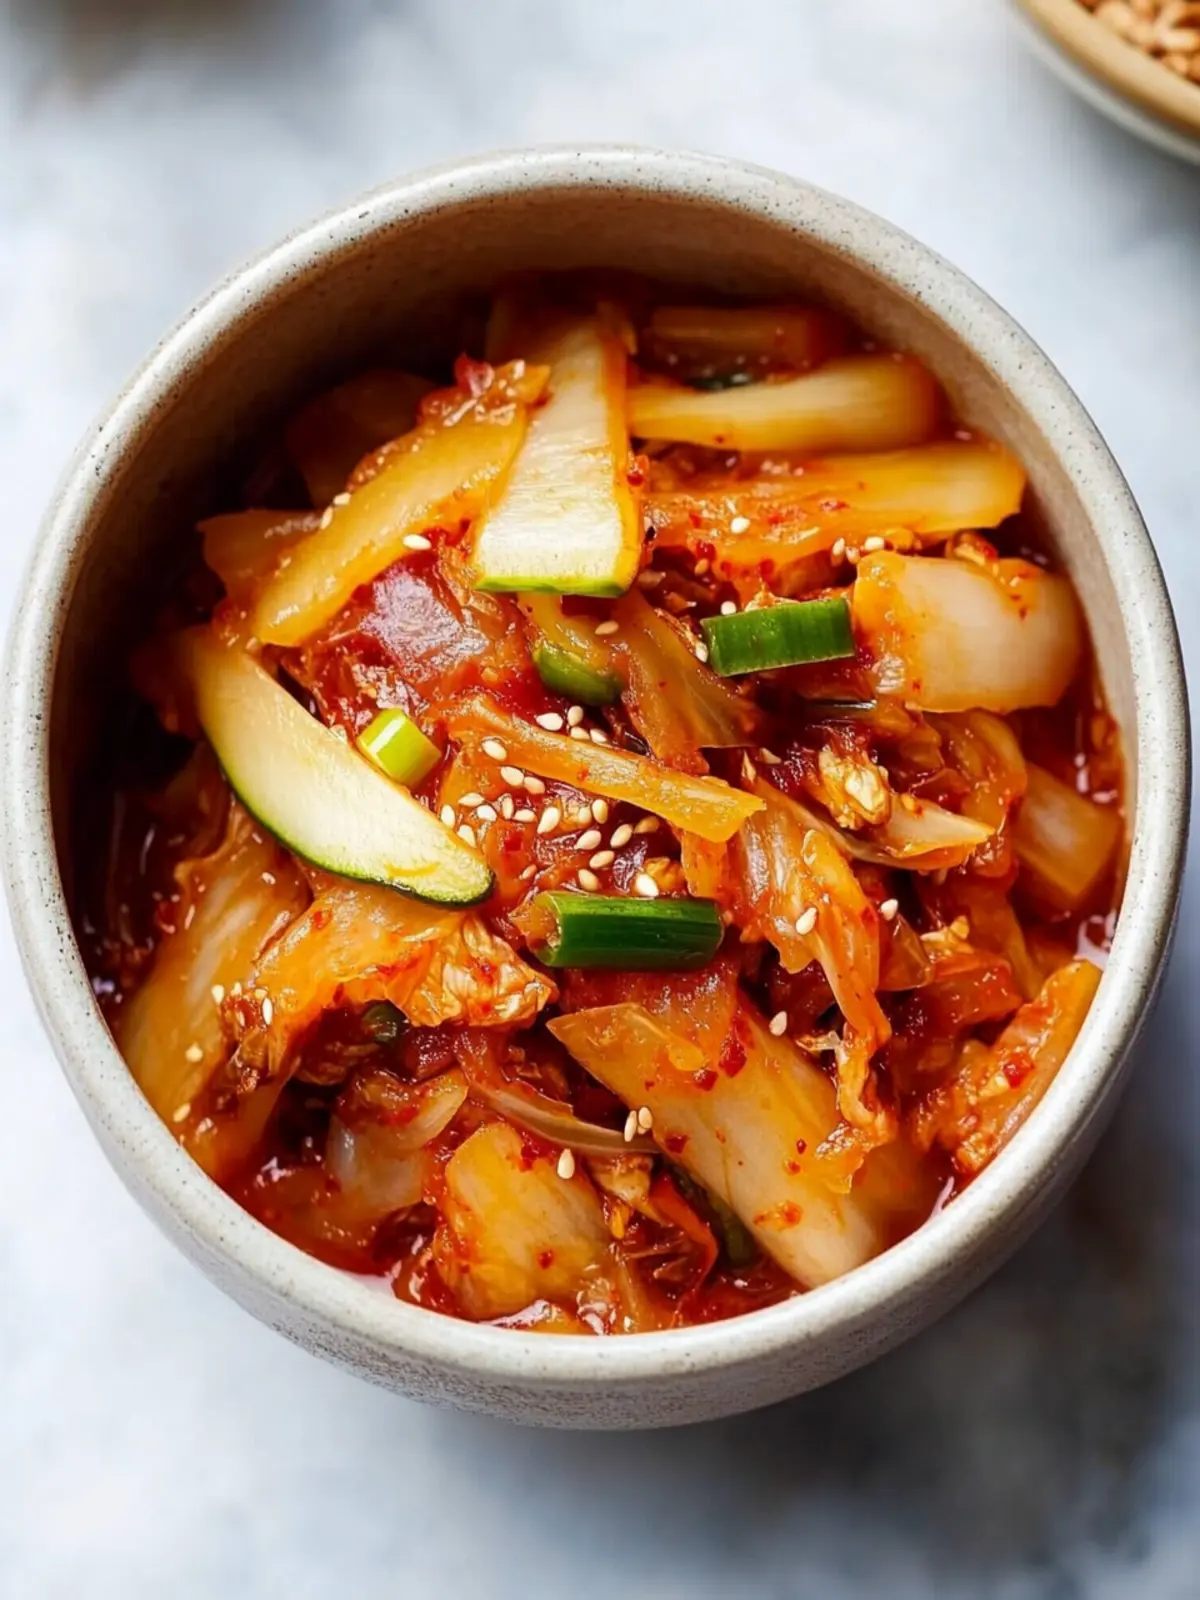
Why is this Kimchi Recipe Homemade special?
Flavorful, each bite bursts with the perfect balance of tanginess and spice. Simple steps make this fermentation journey accessible, even for beginners. Versatile options allow you to experiment with heat and ingredients, tailoring it to your unique palate. Nutritious, packed with probiotics that support gut health, it’s a delicious addition to any meal. Plus, crowd-pleasing, this kimchi elevates everything from rice to tacos, making it a hit at your dinner table! Want to learn more about fermentation? Check out our guide on fermenting vegetables at home.
Kimchi Recipe Homemade Ingredients
For the Kimchi Base
• Napa or Chinese Cabbage – This is the essential ingredient providing the structure of your kimchi; it’s best for its crunch.
• Coarse Sea Salt or Kosher Salt – Vital for wilting the cabbage and nurturing fermentation; avoid additives.
• Daikon Radish – Adds a delightful crunch and hint of sweetness; cut into matchsticks for even distribution.
• Carrot – Offers a natural sweetness and vibrant color, cut into matchsticks for consistency.
• Scallions – Both parts deliver a wonderful onion flavor depth; use them all!
For the Flavor Agents
• Garlic – Infuses aromatic complexity and enhances the ferments; fresh is a must for the best taste.
• Ginger – Introduces warmth and a touch of spice; remember to peel and grate it!
• Gochugaru (Korean Chili Flakes) – This provides heat and rich color; adjust to match your spice preference!
• Granulated Sugar – Balances the spice while helping the fermentation process; adjust based on your sweet tooth.
• Fish Sauce – Boosts umami and depth of flavor; substitute with soy sauce for a vegetarian-friendly version.
With these ingredients, you’re well on your way to creating a delightful homemade kimchi that not only tantalizes the taste buds but also provides a beneficial probiotic boost!
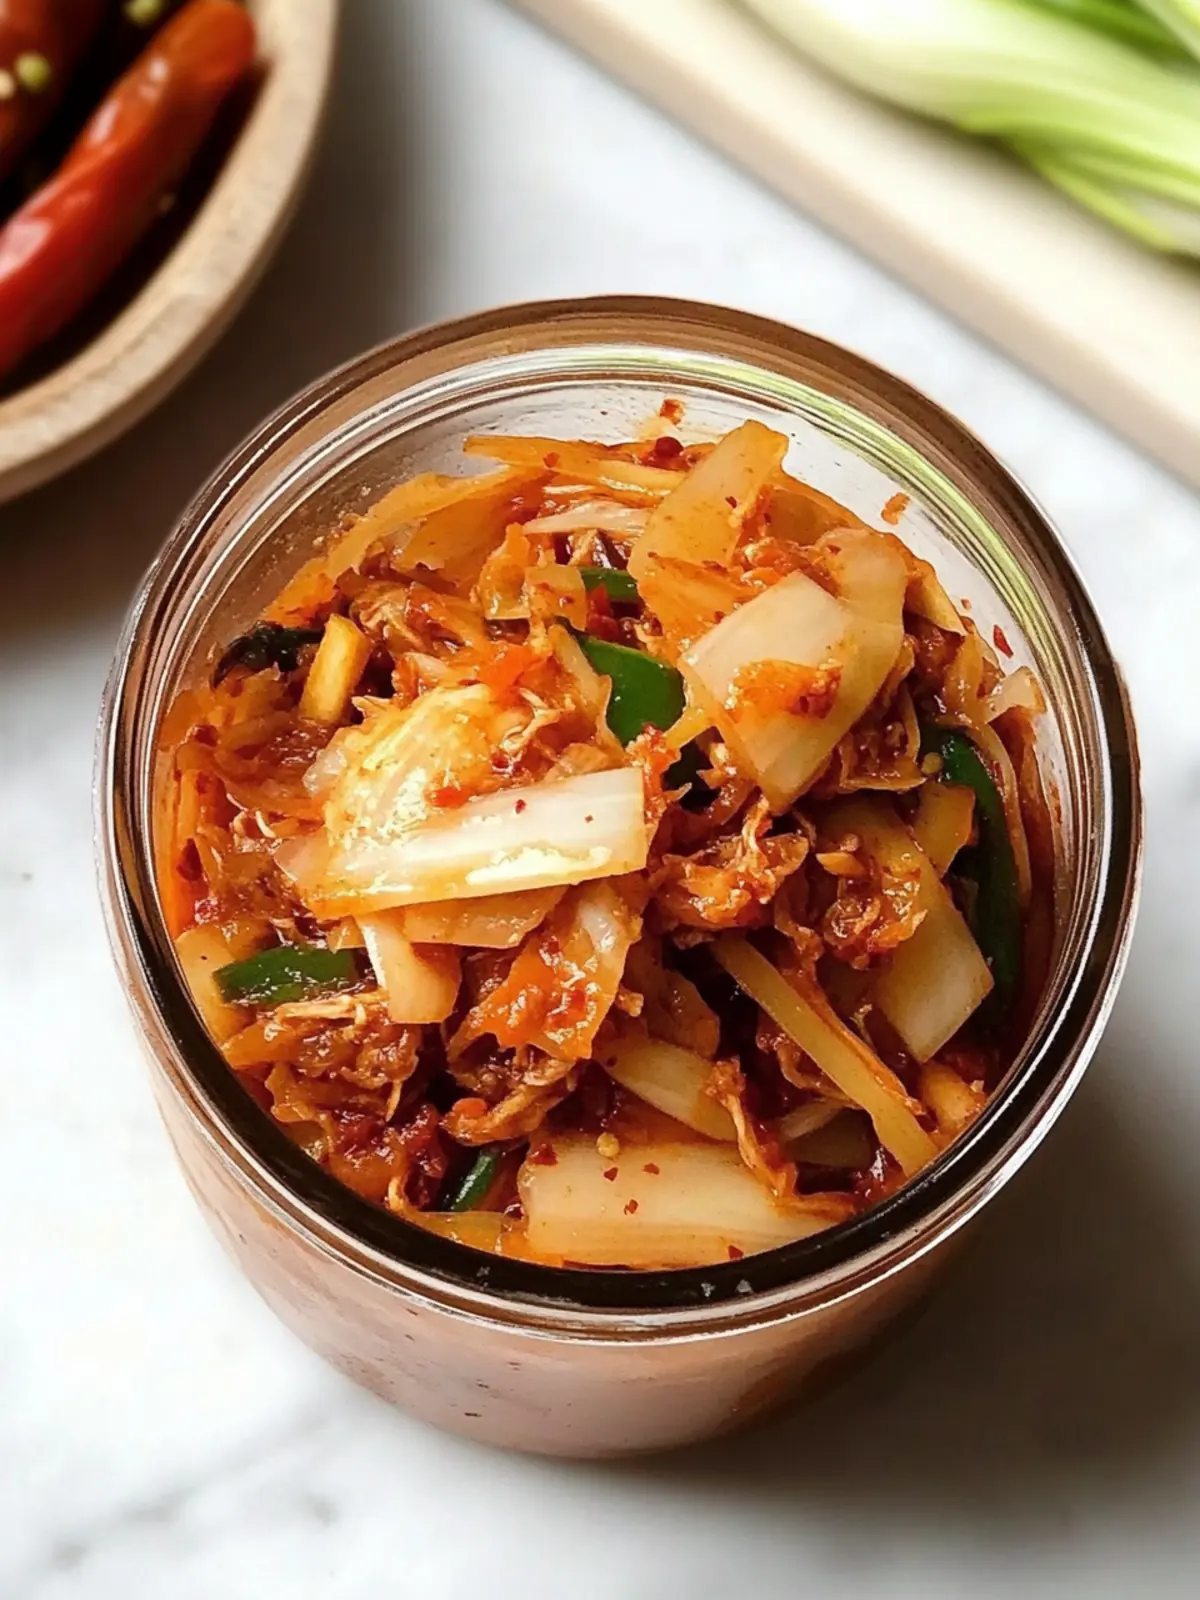
How to Make Kimchi Recipe Homemade
Prepare the Cabbage: Start by trimming any damaged leaves from the cabbage, then quarter it and cut into 1-inch pieces. Massage the cabbage with coarse salt until wilted, which may take about 5-10 minutes. Drain it in a colander for 1-2 hours, then rinse and strain to remove excess salt.
Mix Vegetables: In a larger mixing bowl, combine the wilted cabbage with the prepared daikon radish, shredded carrot, scallions, minced garlic, and grated ginger. Sprinkle in the Gochugaru, sugar, and fish sauce, and mix everything thoroughly with your hands until a bit of liquid starts to form—about 3-5 minutes.
Ferment: Pack the vegetable mixture tightly into a fermentation vessel, ensuring that all veggies are submerged in the liquid. If necessary, weigh them down with a plate or other clean weight. Cover loosely and store in a cool, dark place for about 4-7 days, tasting daily to monitor flavor development.
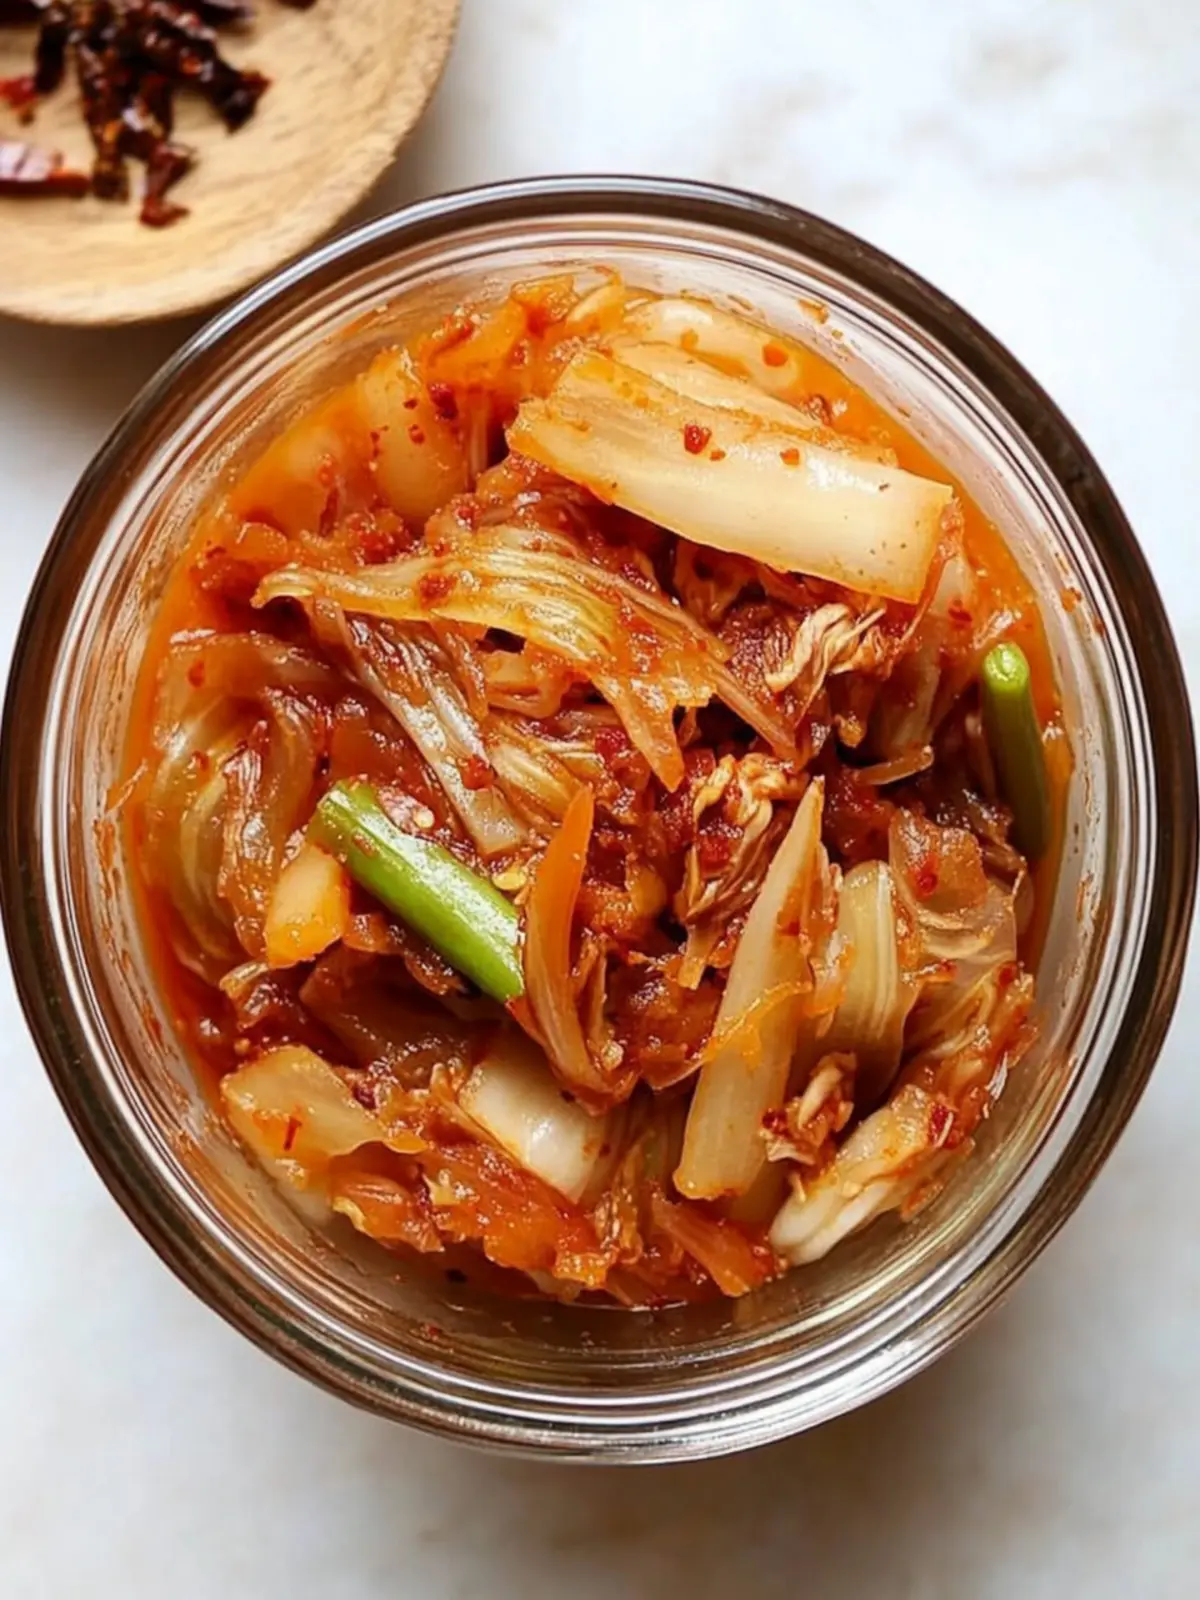
Store: Once the kimchi has reached your desired taste, transfer it into clean jars, packing it tightly. Seal the jars and refrigerate—they can last for months, getting even tastier over time!
Optional: Try adding a sprinkle of sesame seeds when serving for extra crunch!
Exact quantities are listed in the recipe card below.
How to Store and Freeze Kimchi
Room Temperature: Keep kimchi at room temperature for a few hours during the first fermentation phase, but then transfer to the fridge to slow fermentation and enhance flavor.
Fridge: Properly sealed or in airtight jars, homemade kimchi can last for up to 6 months in the refrigerator, becoming more flavorful as time goes on.
Freezer: If you wish to freeze kimchi, use a freezer-safe container and leave some space for expansion. It’s best consumed within 3 months for optimal taste.
Reheating: For dishes like fried rice or stews, simply add the frozen kimchi directly to the pan without thawing, allowing it to infuse its unique flavor while cooking.
What to Serve with Homemade Spicy Kimchi?
Elevate your meal with delightful pairings that create a harmonious balance of flavors and textures.
- Steamed Jasmine Rice: Soft grains provide a comforting base that absorbs the kimchi’s tangy kick, making each bite satisfying.
- Korean BBQ: Juicy grilled meats complement the spicy crunch of kimchi perfectly, creating a delightful contrast of smoky and sharp flavors.
- Savory Pancakes: Try savory Korean pancakes, known as “jeon,” for an excellent vessel to scoop up the crunchy kimchi. It’s a match made in heaven!
- Noodles: Whether stir-fried or in broth, noodles topped with kimchi bring a crunchy zest that enlivens every mouthful.
- Miso Soup: The umami richness of miso soup pairs beautifully with kimchi’s spiciness, offering a comforting and hearty contrast.
- Pickled Vegetables: A variety of pickled veggies balance the meal’s flavors and amplify the wonderful fermented taste of the kimchi.
- Beer or Soju: Refreshing beverages like cold beer or traditional Korean soju enhance the meal and quench the palate between bites.
- Sesame Cucumber Salad: The crunchiness and lightness of this salad provide a refreshing backdrop to the bold flavors of kimchi.
- Fruit Sorbet: End your meal on a sweet note! A fruity and chilled sorbet cleanses the palate after the spicy kimchi experience.
- Kimchi Fried Rice: For a delightful fusion, stir your homemade kimchi into fried rice for a quick, flavor-packed meal that highlights its essence.
Make Ahead Options
Making this Kimchi Recipe Homemade is a fantastic choice for busy cooks looking to save time without sacrificing flavor! You can prepare the vegetable mixture—cabbage, radishes, carrots, and seasonings—up to 24 hours in advance. Simply follow the mixing instructions, then cover the mixture and refrigerate it. This allows the flavors to meld, enhancing the final taste. When you’re ready to ferment, pack the mixture into a fermentation vessel, ensuring everything is submerged. Remember, daily tasting is key to achieving your perfect fermentation over the next 4-7 days. By prepping in advance, you’ll have delicious, homemade kimchi ready to elevate your meals with minimal effort!
Expert Tips for Kimchi Recipe Homemade
- Submerge Cabbage: Keep cabbage fully submerged during fermentation to prevent spoilage; use a plate or weights if necessary for guidance.
- Monitor Mold: If you notice mold, it indicates that veggies were not covered properly. Simply remove visible mold and ensure everything is submerged.
- Daily Taste Tests: Taste your kimchi daily—this is essential for gauging fermentation levels and finding that perfect balance of flavors.
- Customize Spice: Adjust the amount of Gochugaru to suit your heat preference; add less for a milder kick or more for an extra punch!
- Experiment with Ingredients: Feel free to substitute or add your favorite vegetables like cucumbers or fruits such as Asian pears; this makes your kimchi recipe homemade truly your own!
Kimchi Recipe Homemade Variations
Explore exciting ways to personalize your kimchi, making each batch a special creation of your own!
Dairy-Free: Substitute fish sauce with soy sauce or miso for a vegan-friendly option that doesn’t compromise flavor.
Spicy Boost: Increase the amount of Gochugaru or add sliced fresh chilies for an extra kick that will set your taste buds tingling.
Sweet Twist: Incorporate fruits like Asian pears or shredded apples for added sweetness and a delightful texture contrast in your kimchi.
Crunchy Veggies: Replace daikon radish and carrot with other crunchy vegetables such as cucumbers, zucchini, or even bell peppers for a different texture.
Herb Infusion: Add fresh herbs such as cilantro or mint to bring a refreshing twist and aromatic dimension to your kimchi.
Fermented Flavor Enhancement: Experiment with adding a spoonful of miso paste, which can amplify the umami profile while enriching the fermentation process.
Whole Grains: Toss in some cooked quinoa or brown rice for a heartier version, perfect for an on-the-go meal or added nutrition.
Vibrant Color: Feel free to mix in purple cabbage or beetroot for a stunning visual appeal and a subtle hint of sweetness.
Get creative and adapt your kimchi to reflect your personal tastes and preferences; after all, the joy of cooking lies in making it uniquely yours!
Kimchi Recipe Homemade FAQs
What type of cabbage is best for this kimchi recipe?
Absolutely! Napa or Chinese cabbage is preferred for its crunchy texture and ability to hold up during fermentation. If you can’t find those, other leafy greens like bok choy can work, but expect a slightly different taste and texture.
How long does homemade kimchi last in the refrigerator?
Very! Properly sealed homemade kimchi can last up to 6 months in the refrigerator. As it ages, it develops a richer flavor, so don’t rush to finish it; enjoy the evolving taste!
Can I freeze kimchi, and if so, how?
Definitely! To freeze kimchi, transfer it to a freezer-safe container, leaving about an inch of space at the top for expansion. It’s best enjoyed within 3 months for the best flavor. You can add frozen kimchi directly to dishes without thawing, allowing it to heat up while imparting its delicious flavor.
What should I do if I see mold during fermentation?
Not to worry! If you notice any mold, this typically indicates that the veggies were not fully submerged. Simply remove the moldy section, and ensure the mix is adequately packed down and covered with liquid. Daily tastings help you catch these changes early, ensuring a delicious result.
Are there any dietary considerations with this kimchi recipe?
Absolutely! This kimchi can be made vegetarian by substituting fish sauce with soy sauce. Additionally, it’s gluten-free, but if you have specific allergies, always check that your other ingredients, including spices, are allergy-safe. If you’re introducing kimchi to pets, consult your vet as spicy foods are not suitable for dogs or cats.
What’s the best way to tell when my kimchi is done fermenting?
Daily tasting is your best friend here! After about 4-7 days, you’ll notice a tangy flavor developing. If it’s to your liking—tasty and slightly sour—then it’s ready to be packed into jars and refrigerated. The flavors will continue to deepen even in the fridge, so don’t fret if you’d like a little more zing!
Delicious Kimchi Recipe Homemade for a Probiotic Boost
Equipment
- fermentation vessel
Ingredients
For the Kimchi Base
- 1 head Napa or Chinese Cabbage Trimmed, quartered, and cut into 1-inch pieces
- 1/4 cup Coarse Sea Salt or Kosher Salt Avoid additives
- 1 medium Daikon Radish Cut into matchsticks
- 1 medium Carrot Cut into matchsticks
- 4 stalks Scallions Use both white and green parts
For the Flavor Agents
- 5 cloves Garlic Minced
- 1 tablespoon Ginger Peeled and grated
- 1/2 cup Gochugaru (Korean Chili Flakes) Adjust to taste
- 1 tablespoon Granulated Sugar Adjust based on preferences
- 3 tablespoons Fish Sauce Substitute with soy sauce for vegetarian
Instructions
Preparation Steps
- Prepare the Cabbage: Start by trimming any damaged leaves from the cabbage, then quarter it and cut into 1-inch pieces. Massage the cabbage with coarse salt until wilted, which may take about 5-10 minutes. Drain it in a colander for 1-2 hours, then rinse and strain to remove excess salt.
- Mix Vegetables: In a larger mixing bowl, combine the wilted cabbage with the prepared daikon radish, shredded carrot, scallions, minced garlic, and grated ginger. Sprinkle in the Gochugaru, sugar, and fish sauce, and mix everything thoroughly with your hands until a bit of liquid starts to form—about 3-5 minutes.
- Ferment: Pack the vegetable mixture tightly into a fermentation vessel, ensuring that all veggies are submerged in the liquid. If necessary, weigh them down with a plate or other clean weight. Cover loosely and store in a cool, dark place for about 4-7 days, tasting daily to monitor flavor development.
- Store: Once the kimchi has reached your desired taste, transfer it into clean jars, packing it tightly. Seal the jars and refrigerate—they can last for months, getting even tastier over time!