
The first time I tasted rhubarb, it was a delightful surprise, tart yet sweet, nestled in a friend’s homemade pie. Ever since, I’ve been captivated by its unique flavor, and that’s how I stumbled upon this Rhubarb Bars recipe. It brilliantly transforms that vibrant stalk into a dessert that is not only delicious but also effortless to make.
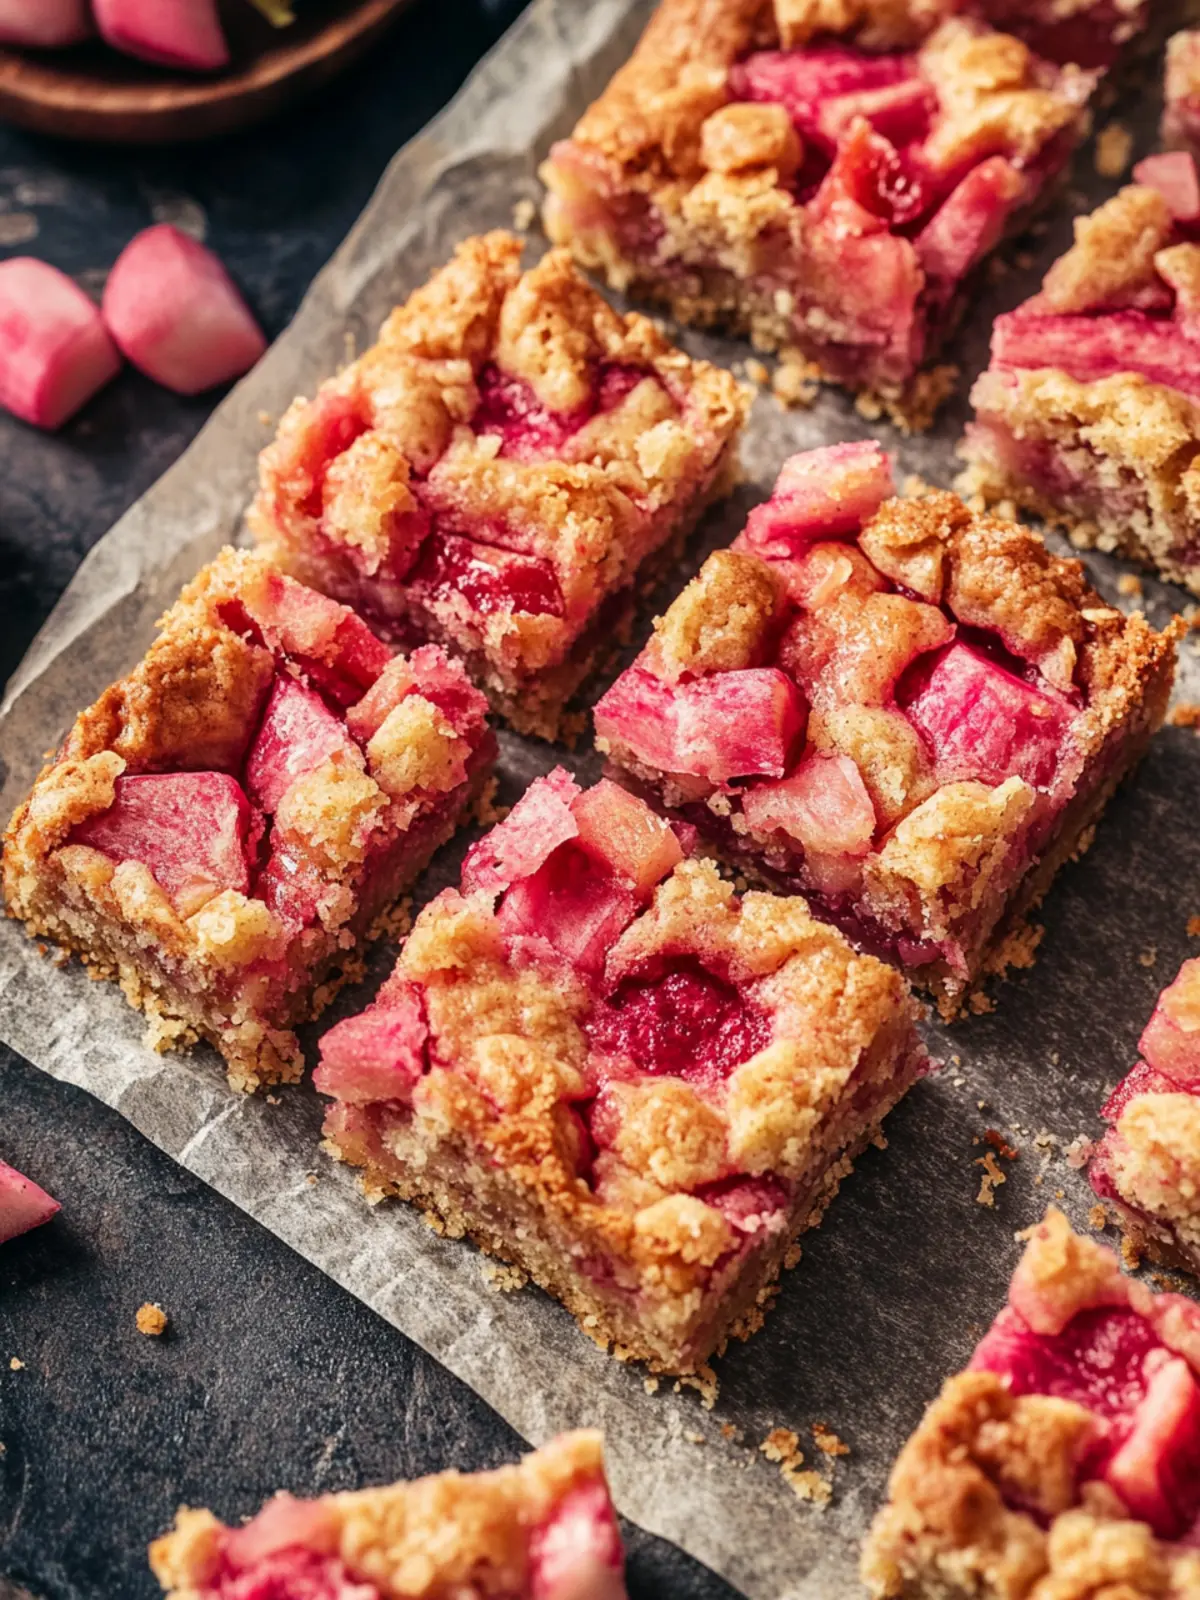
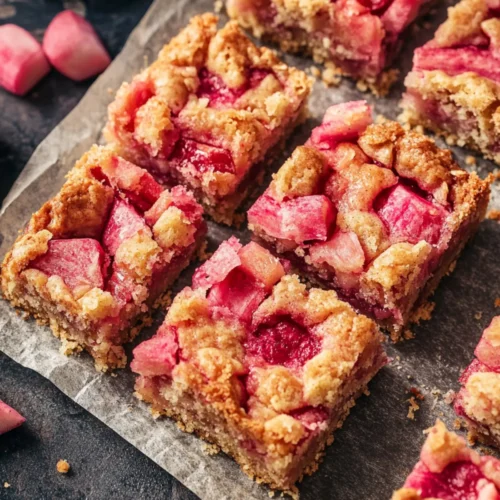
Picture this: a buttery crust that crumbles perfectly under the weight of a bright and tangy rhubarb filling, all set within an inviting golden hue. The simplicity of whisking a few ingredients together while the crust bakes is as therapeutic as the final outcome is rewarding. Whether you’re dishing out warm squares to share with loved ones or sneaking a piece for yourself, these rhubarb bars will quickly become a staple in your dessert repertoire.
Let’s dive into this easy recipe—trust me, it’ll be the berry best decision you make today!
Why will you love this rhubarb bars recipe?
Simplicity: This rhubarb bars recipe is incredibly straightforward, making it perfect for bakers of any level. With just a few basic ingredients, you’ll have a delightful dessert ready in no time.
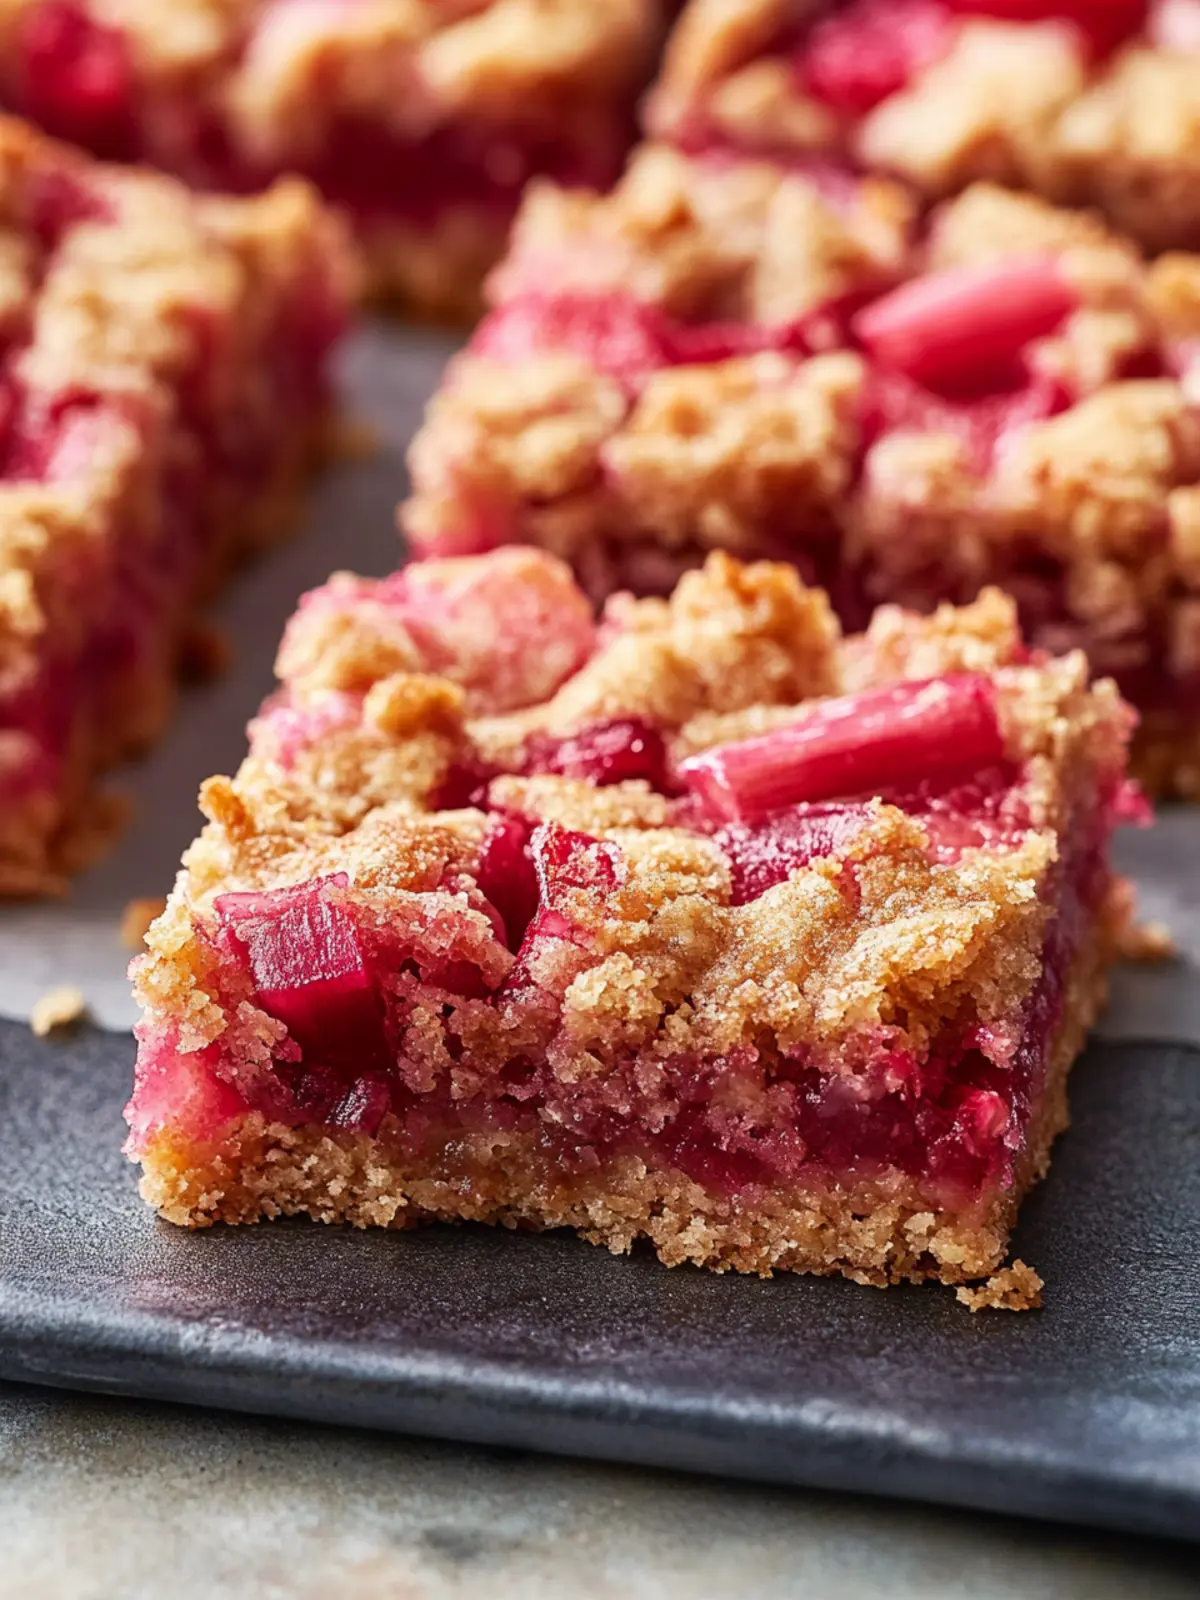
Bursting with Flavor: The combination of sweet and tart rhubarb paired with a buttery crust creates a delightful explosion of flavor in every bite.
Versatile Treat: These bars are just as great for a casual dessert as they are for special occasions—serve them with a dollop of whipped cream or a scoop of ice cream for an extra indulgent touch.
Crowd-Pleaser: Easy to cut and serve, they make for a fantastic addition to potlucks or family gatherings where they’re sure to impress.
Time-Saving: In just over an hour, you’ll prep and bake a batch, allowing you to spend more time enjoying these bars, whether alone or with friends.
Try them today as a wonderful alternative to fast food desserts, and you’ll soon be a rhubarb lover like me!
Rhubarb Bars Ingredients
For the Crust
- All-purpose flour – provides a great base for a flaky crust.
- Sugar – adds sweetness to balance the tartness of the rhubarb.
- Butter – use cold, unsalted butter for the best texture.
For the Filling
- Large eggs – they help bind the filling and create a light texture.
- Sugar – enhances the natural sweetness of the rhubarb.
- Flour – this thickens the filling for a perfect consistency.
- Salt – just a pinch helps bring out the flavors.
- Diced rhubarb – the star of this rhubarb bars recipe, fresh or frozen works well!
With these simple ingredients on hand, you’ll be well on your way to creating a delicious batch of rhubarb bars that are sure to satisfy your sweet tooth!
How to Make Rhubarb Bars
Preheat and Prepare: Preheat your oven to 350°F. Line the bottom of an 8×8″ pan with parchment paper, allowing it to hang over the sides for easy removal later.
Make the Crust: Whirl the crust ingredients—flour, sugar, and butter—together in a food processor until the mixture resembles coarse crumbs. Press it evenly into the prepared pan.
Bake the Crust: Bake the crust for 15 minutes. It should remain very pale in color but firm to the touch.
Mix the Filling: While the crust bakes, in a mixing bowl, whisk together the eggs, sugar, remaining flour, and salt until just combined—about 1 minute will do, so don’t overmix!
Add Rhubarb: Gently stir in the diced rhubarb. Once mixed, pour this colorful filling over the hot pre-baked crust.
Bake Again: Return the pan to the oven and bake for an additional 40-45 minutes. The filling should be set and lightly golden on top.
Cool and Slice: Allow the bars to cool completely in the pan. Once cool, use the parchment paper to lift them out and cut into squares.
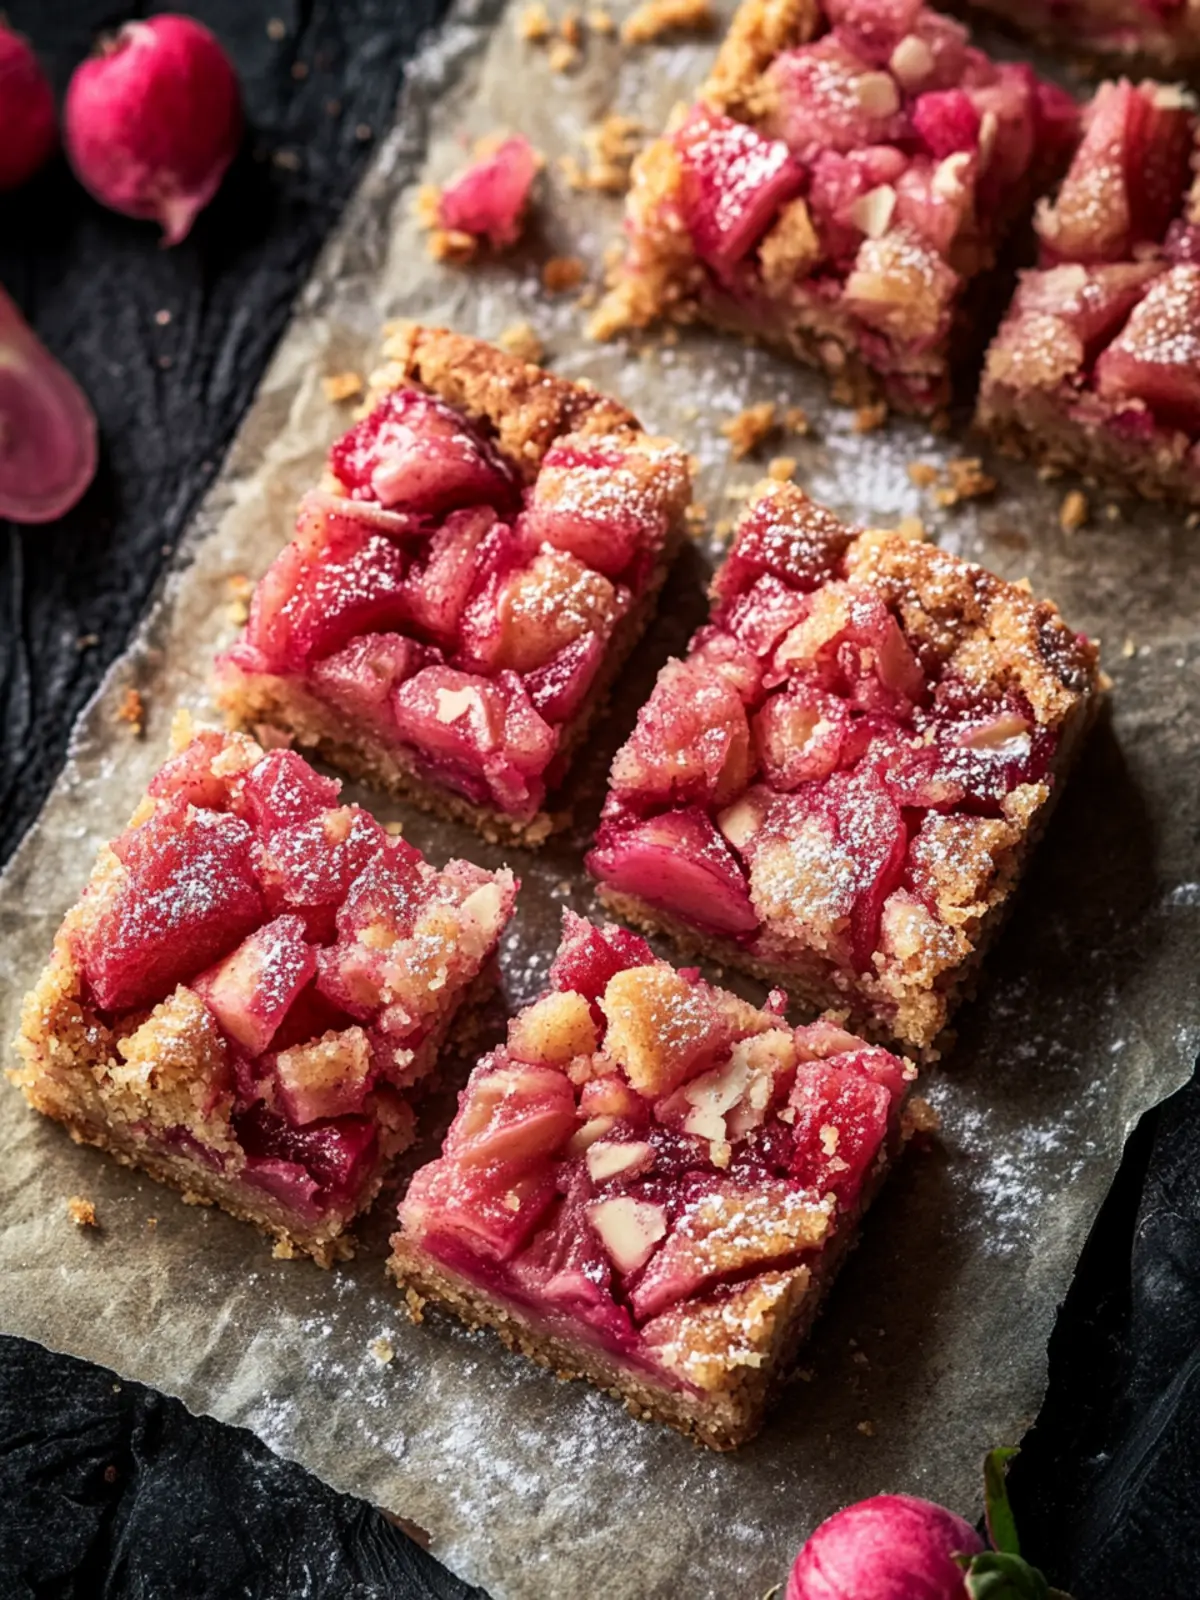
Optional: Dust with powdered sugar before serving for a lovely touch!
Exact quantities are listed in the recipe card below.
How to Store and Freeze Rhubarb Bars
Room Temperature: Store leftover rhubarb bars in an airtight container for up to 3 days at room temperature, keeping them protected from moisture and direct sunlight.
Fridge: If you prefer chilled bars, place them in the refrigerator for up to 5 days. Make sure to cover them well to prevent them from absorbing fridge odors.
Freezer: For longer storage, freeze individual squares wrapped in plastic wrap and then foil for up to 3 months. Thaw in the refrigerator for a few hours before enjoying!
Reheating: Reheat leftover bars in the microwave for about 10-15 seconds to enjoy them warm, enhancing their buttery crust and flavor, just like the first bite!
Rhubarb Bars Recipe Variations
Feel free to mix things up and put your personal spin on this delightful recipe, exploring a world of flavors and textures!
Gluten-Free: Substitute all-purpose flour with a 1:1 gluten-free flour blend for a gluten-free option without compromising taste.
Fruit Fusion: Incorporate other fruits like strawberries or raspberries for a burst of added flavor. Blending sweet and tart notes creates a delightful medley everyone will love!
Honey Sweetened: Replace granulated sugar with honey or maple syrup for a natural sweetener. It lends a warm, rich flavor that harmonizes beautifully with rhubarb.
Nutty Crust: Mix ground almonds or hazelnuts into your crust for added crunch and flavor. This small twist adds a delightful nuttiness and texture that contrasts wonderfully with the soft filling.
Citrus Zest: Add a teaspoon of orange or lemon zest to the filling for an uplifting citrus note. The zest will brighten the flavor profile and provide a fresh aroma that’s simply irresistible.
Spicy Kick: Sprinkle in a dash of cinnamon or ginger for a warm spice kick. These spices bring a cozy depth to the bars, perfect for cooler weather or a comforting treat.
Creamy Layer: For a decadent touch, add a layer of cream cheese frosting on top of the cooled bars. This creamy richness balances the tartness of rhubarb beautifully!
Vegan Option: Swap eggs with flaxseed meal or aquafaba for a vegan twist. These alternatives hold the filling together while keeping it light and fluffy.
Expert Tips for Rhubarb Bars Recipe
Use Fresh Rhubarb: If possible, choose fresh rhubarb for the best flavor and texture. If using frozen, ensure it’s fully thawed and drained.
Don’t Overmix: When whisking your filling, blend until just combined. Overmixing can make the bars dense and less fluffy.
Adjust Sweetness: Depending on your taste, feel free to adjust sugar in the filling; just remember that rhubarb is naturally tart, so balance it wisely.
Let Them Cool: Patience is key! Allow the bars to cool completely before slicing for cleaner cuts and to help the filling set perfectly.
Store Wisely: Keep any leftovers in an airtight container in the fridge. These rhubarb bars can last about 3-5 days, but they’re best enjoyed fresh!
Make Ahead Options
These rhubarb bars are perfect for meal prep enthusiasts! You can prepare the crust and filling components up to 24 hours in advance by making the crust, pressing it into the pan, and storing it in the refrigerator, covered tightly to maintain its freshness. The filling can be whisked together and stored in an airtight container for the same timeframe. When you’re ready to enjoy these tasty treats, pour the filling onto the pre-baked crust and bake as directed. This advance prep allows you to enjoy delicious rhubarb bars with minimal effort, making weeknight desserts easier and saving precious time while ensuring they taste just as delightful!
What to Serve with Rhubarb Bars?
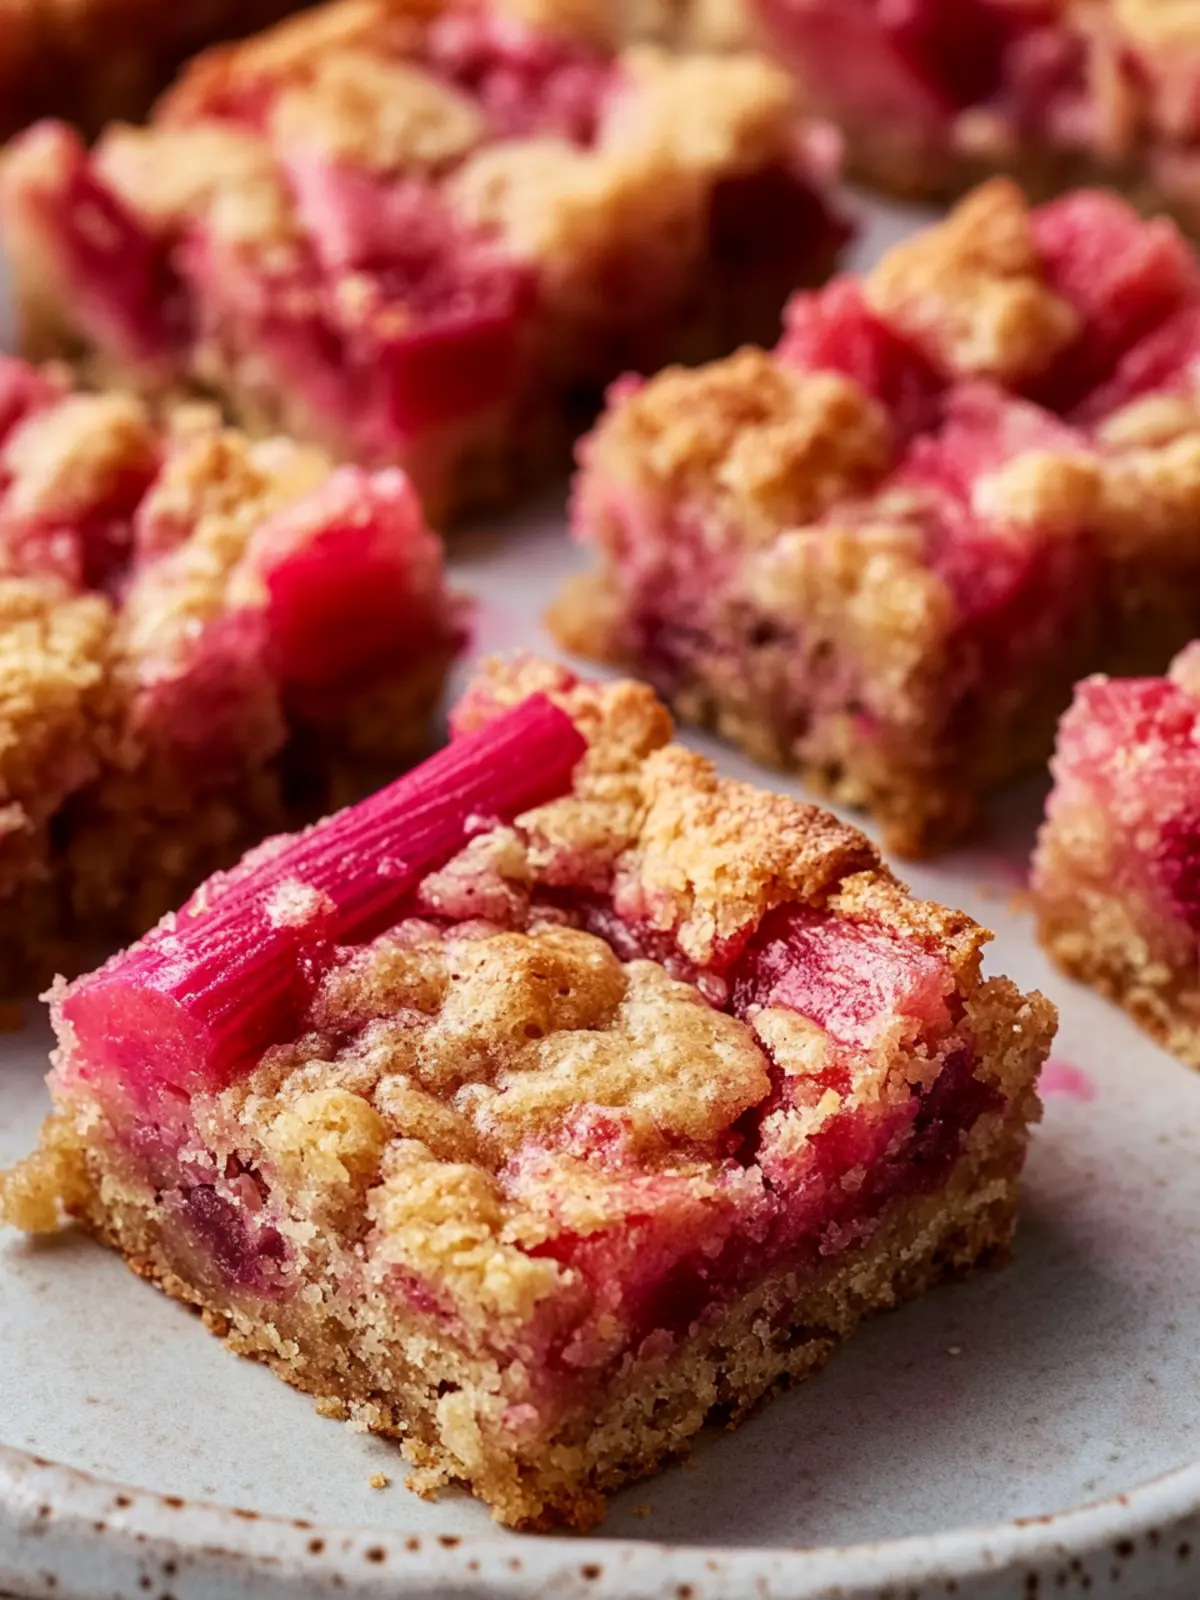
Picture this: warm, delightful squares of tangy rhubarb bliss, just waiting to be paired with the perfect accompaniments to elevate your dessert experience.
Whipped Cream: A dollop of freshly whipped cream adds a luxurious creaminess that beautifully balances the tartness of the bars.
Vanilla Ice Cream: The classic choice! Rich, creamy ice cream melts into the warm bars, creating a delightful contrast of temperatures and textures.
Fresh Berries: Serve with a side of strawberries or blueberries for a burst of fresh sweetness that complements the rhubarb’s zingy flavor.
Mint Tea: Light and refreshing, mint tea offers a soothing contrast to the rich, buttery rhubarb bars, making it a perfect after-dinner drink.
Almonds or Walnuts: A sprinkle of toasted nuts adds a satisfying crunch, enhancing the soft texture of the bars while adding an earthy flavor.
Zesty Citrus Glaze: Drizzle a homemade orange or lemon glaze over the top for an extra layer of bright flavor that harmonizes with the rhubarb.
Chocolate Drizzle: For a decadent twist, a swirl of dark chocolate not only adds elegance but also introduces a rich sweetness that pairs wonderfully with the tart filling.
Coffee or Espresso: Enjoy your rhubarb bars with a cup of strong coffee or espresso to cut through the sweetness and provide a delicious, energizing finish.
Rhubarb Bars Recipe FAQs
How do I choose ripe rhubarb?
Absolutely! When selecting rhubarb, look for firm stalks that are bright and vibrant in color—typically a deep pink or red hue. Avoid stalks with dark spots or wilting, as they can be signs of age or spoilage. The stalks should be crisp and free from blemishes for the best flavor in your rhubarb bars recipe.
How should I store leftover rhubarb bars?
You can store leftover rhubarb bars in an airtight container at room temperature for up to 3 days. If you prefer them chilled, keep them in the refrigerator for up to 5 days; just be sure to cover them well to avoid absorbing any unwanted odors from your fridge.
Can I freeze rhubarb bars? How?
Yes, you can freeze rhubarb bars! Wrap individual squares tightly in plastic wrap and then in aluminum foil to avoid freezer burn. They will stay fresh for up to 3 months. To enjoy them, simply thaw them in the refrigerator for a few hours or overnight before serving. For a warm treat, pop them in the microwave for 10-15 seconds!
What should I do if my filling doesn’t set properly?
If your filling doesn’t set, it’s often because it hasn’t baked long enough. Make sure to bake it until the top is lightly golden and the center is firm to the touch. If you’re concerned, always use a toothpick to check—if it comes out clean, the bars are done! If you notice dense or overly gooey bars, it can help to let them cool thoroughly before slicing, as they continue to firm up while cooling.
Are these rhubarb bars safe for pets?
Very! While rhubarb is safe for most human consumption, it should be noted that the leaves of the rhubarb plant are toxic to pets, especially dogs and cats. However, the stalks, which are used in this rhubarb bars recipe, are safe in moderation for them. Always consult with your vet on dietary considerations for your pet’s safety.
Can I substitute any ingredients for dietary restrictions?
Yes, you can certainly tweak this recipe to fit various dietary needs! For a gluten-free version, substitute the all-purpose flour with a 1:1 gluten-free flour blend. If you’re looking for a lower sugar alternative, consider using a natural sweetener like honey or maple syrup, adjusting the amount to your preference. Just keep in mind that it may alter the texture slightly, but you’ll still get those delicious rhubarb flavors!
Delicious Rhubarb Bars Recipe for Your Sweet Tooth Cravings
Equipment
- - Oven
- - 8x8-inch baking pan
- food processor
- - Mixing bowl
Ingredients
For the Crust
- 1 cup All-purpose flour
- 1/4 cup Sugar
- 1/2 cup Butter cold, unsalted
For the Filling
- 2 large Eggs
- 1 cup Sugar
- 1/4 cup Flour
- 1/4 teaspoon Salt
- 3 cups Diced rhubarb fresh or frozen
Instructions
How to Make Rhubarb Bars
- Preheat your oven to 350°F. Line the bottom of an 8×8" pan with parchment paper, allowing it to hang over the sides for easy removal later.
- Whirl the crust ingredients—flour, sugar, and butter—together in a food processor until the mixture resembles coarse crumbs. Press it evenly into the prepared pan.
- Bake the crust for 15 minutes. It should remain very pale in color but firm to the touch.
- While the crust bakes, in a mixing bowl, whisk together the eggs, sugar, remaining flour, and salt until just combined. About 1 minute will do.
- Gently stir in the diced rhubarb. Pour this colorful filling over the hot pre-baked crust.
- Return the pan to the oven and bake for an additional 40-45 minutes. The filling should be set and lightly golden on top.
- Allow the bars to cool completely in the pan. Once cool, use the parchment paper to lift them out and cut into squares.
- Optional: Dust with powdered sugar before serving for a lovely touch!