
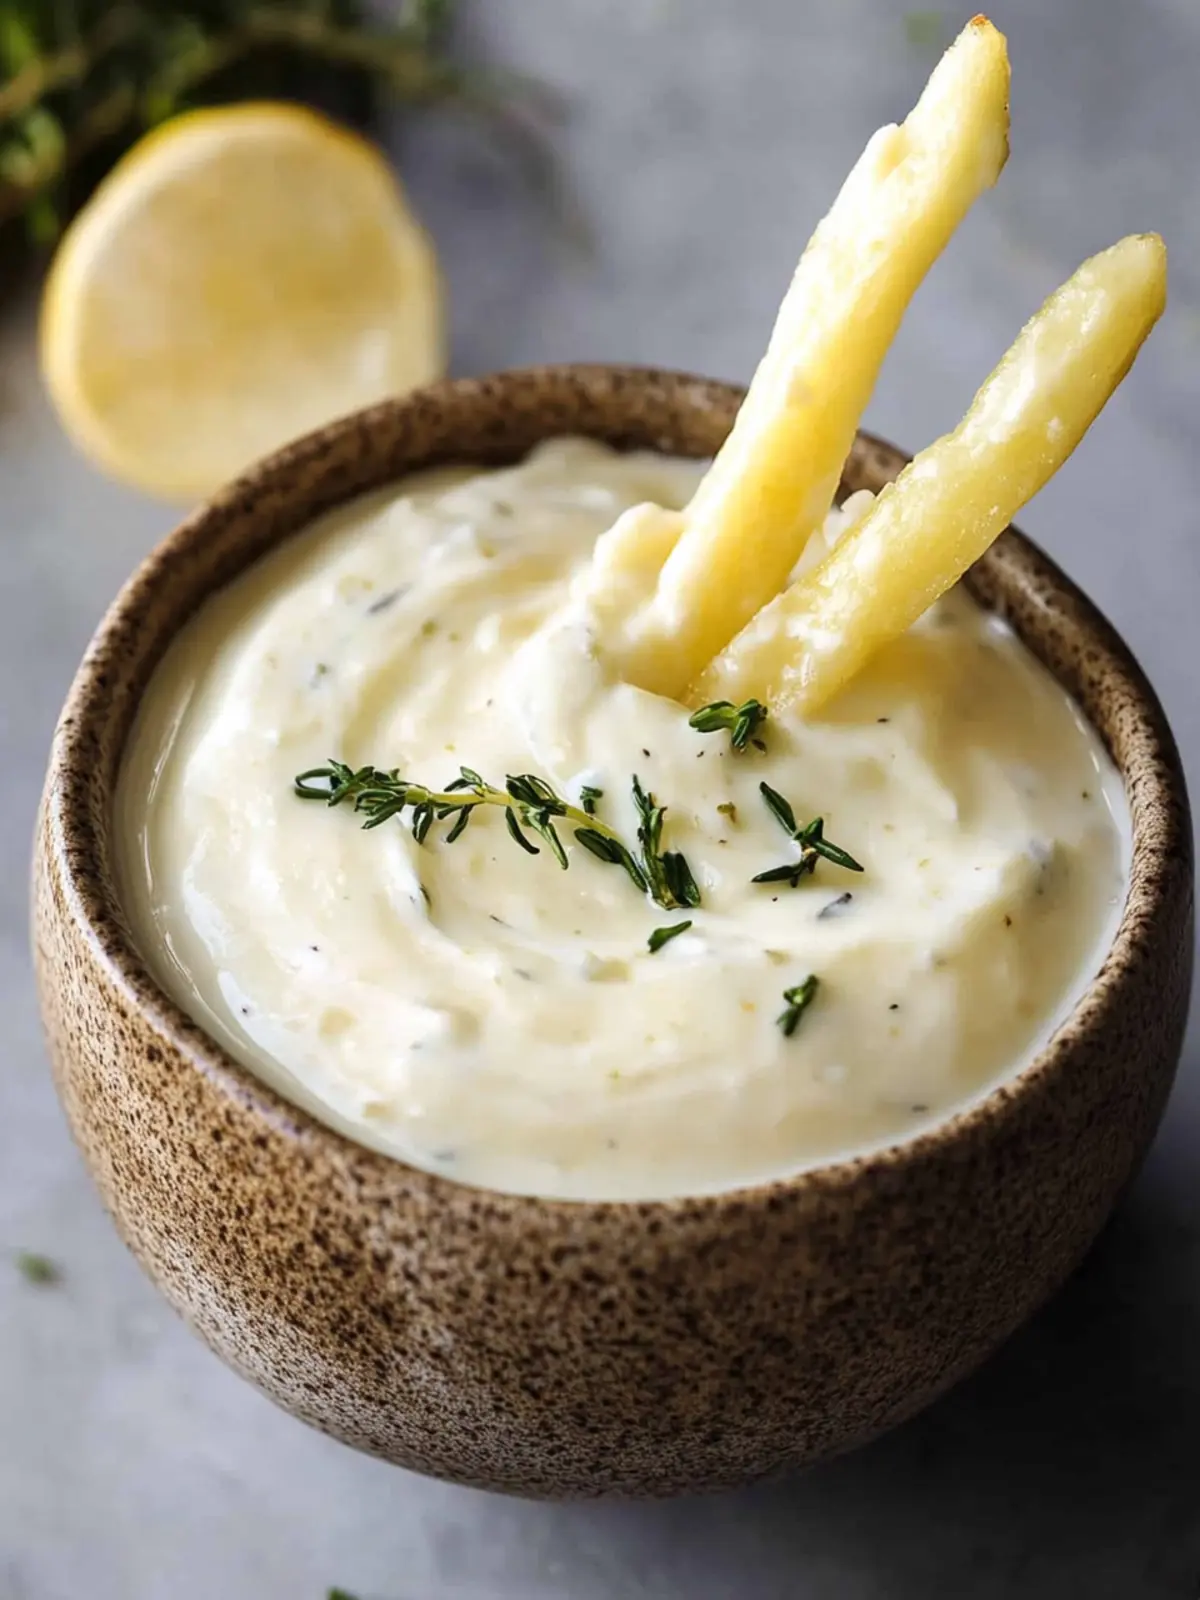
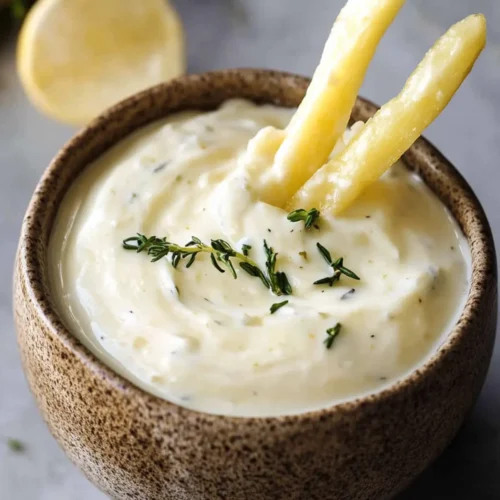
There’s something incredibly satisfying about creating your own condiments from scratch, don’t you think? The moment you whip up this Easy Garlic Aioli, you’ll understand why it quickly becomes a staple in your kitchen. In just 8 minutes—and with only four simple ingredients—you can transform any meal into an extraordinary experience. Imagine this creamy, garlic-infused delight lovingly slathered on a gourmet sandwich or used as a dip for crispy fries.
What I love most about this aioli recipe is its versatility—perfect for those busy weeknights or when you want to impress guests without breaking a sweat. Plus, it fits right into gluten-free and vegetarian diets, making it a crowd-pleaser for all occasions. So grab your garlic and let’s dive into making this rich and flavorful sauce that is bound to elevate your homemade dishes!
Why choose this aioli recipe aioli sauce?
Imagine a delightful addition to your meals! This aioli recipe stands out because it’s quick to whip up, taking only 8 minutes from start to finish. Its rich and creamy texture complements any dish, making it the perfect dip for fries or spread for sandwiches. Plus, it’s gluten-free and vegetarian, accommodating diverse diets easily. With only four ingredients, this aioli sauce is both accessible and adaptable—you can easily modify it with herbs or spices to suit your taste. Whether you’re a culinary novice or a seasoned chef, this recipe guarantees to impress guests and family alike!
Aioli Recipe Ingredients
• Discover the essentials for a delightful aioli sauce!
For the Base
- Garlic – Use 5 cloves of finely grated, minced, or pressed garlic for the best punchy flavor.
- Mayonnaise – Choose store-bought or homemade mayo; for a lighter touch, substitute Greek yogurt.
For the Flavor Boost
- Fresh Lemon Juice – Juice from 1 small lemon brightens the sauce; adjust to taste for balance.
- Dijon Mustard – Adds a slight tang—feel free to use any mustard or omit it entirely based on preference.
How to Make Garlic Aioli
Combine your base ingredients in a small bowl by mixing 5 finely grated garlic cloves, 1 tablespoon of fresh lemon juice, and ½ teaspoon of Dijon mustard. This blend will create a flavorful foundation for your aioli.
Let it meld for 15 minutes to allow those vibrant flavors to develop. You’ll find that the lemon juice softens the raw garlic’s sharpness during this time.
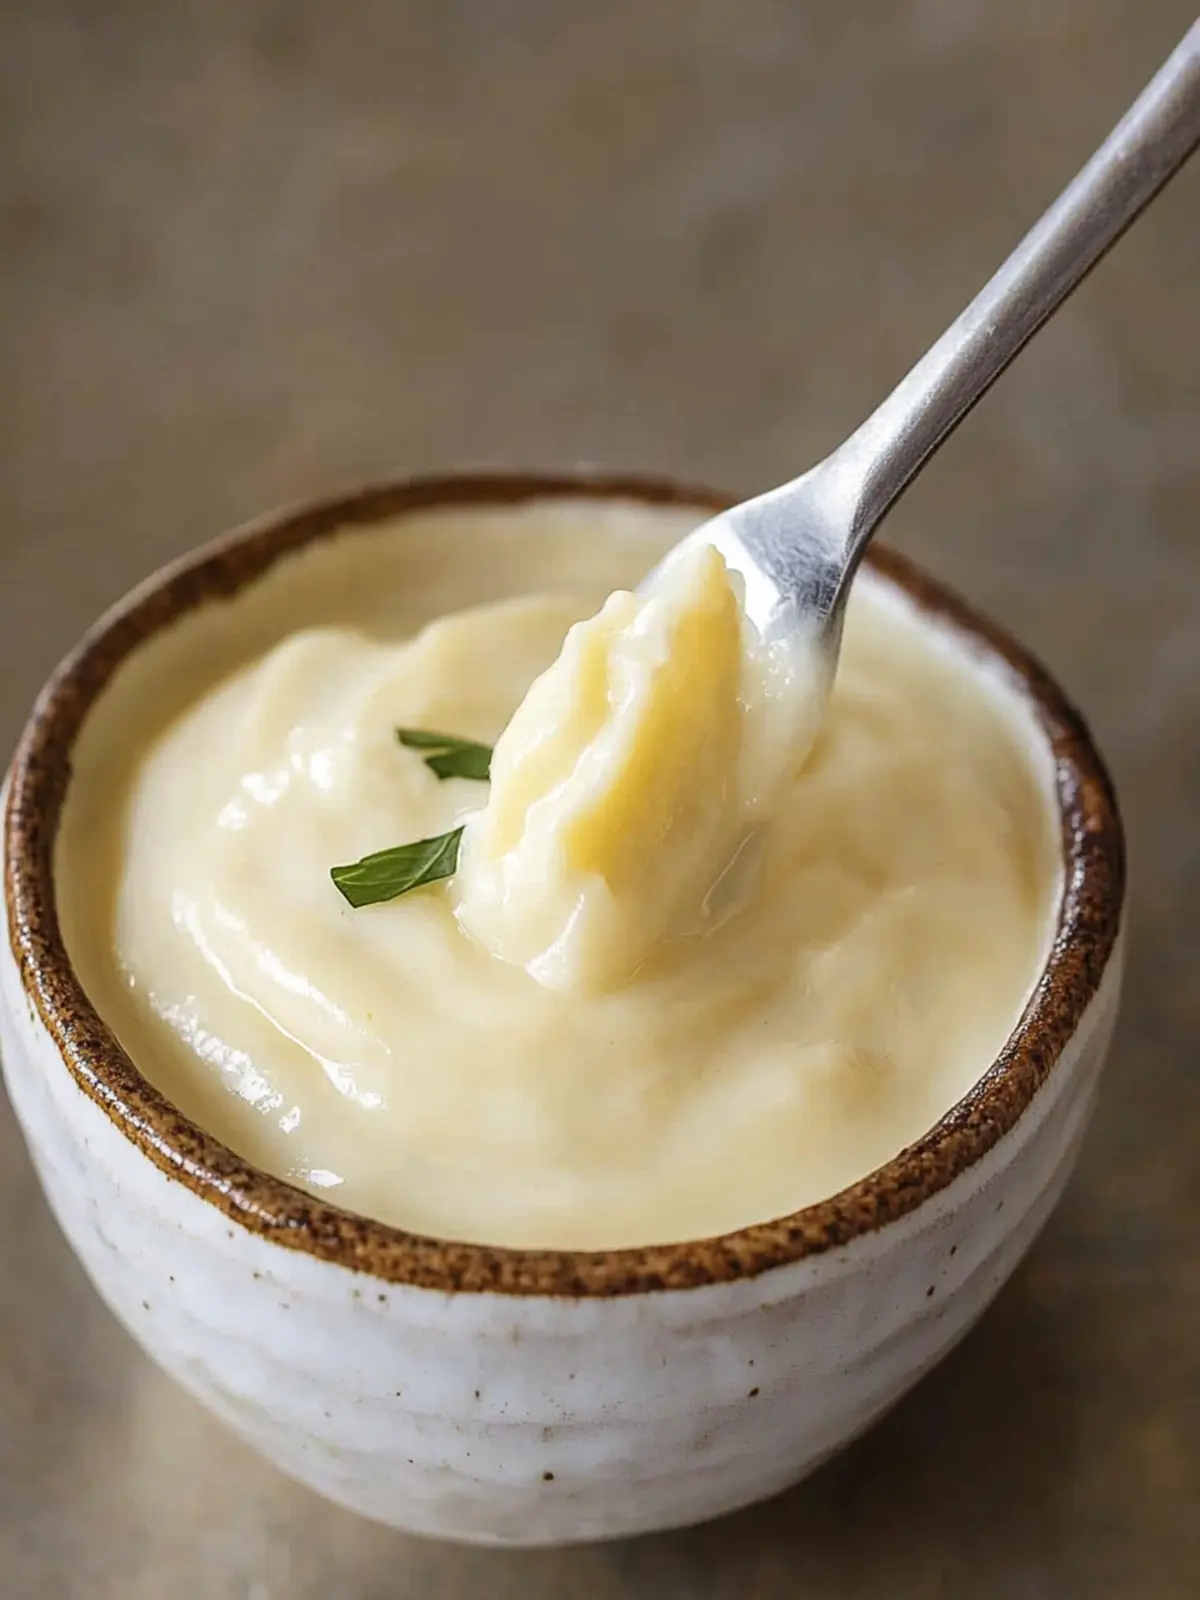
Whisk in ¾ cup mayonnaise until the mixture is smooth and creamy. This is where your aioli really comes together into a luscious sauce perfect for dipping or spreading!
Adjust seasoning by adding kosher salt and more lemon juice to taste. A little bit of extra lemon can bring it all to life, so don’t be shy about tasting!
Optional: Try adding a pinch of cayenne pepper for a spicy kick.
Exact quantities are listed in the recipe card below.
How to Store and Freeze Garlic Aioli
Fridge: Keep your homemade aioli in an airtight container in the refrigerator for up to 10 days. The flavors may even deepen as it sits!
Freezer: For longer storage, freeze your aioli in an airtight container. Enjoy within 2 months for best flavor and texture, though it may separate upon thawing.
Reheating: If the aioli has separated, simply give it a good whisk to bring it back to its creamy state before serving.
Make-Ahead Tip: This aioli recipe is perfect for meal prep; make a batch ahead of time and refresh it with a squeeze of lemon juice before serving for a zesty kick!
Expert Tips for Perfect Aioli
Garlic Preparation: Let the minced garlic sit in lemon juice for a few minutes before mixing. This helps mellow the raw flavor and makes your aioli sauce smoother.
Room Temperature Mayo: Always ensure your mayonnaise is at room temperature. This creates a better emulsion, resulting in a creamier texture for your aioli recipe.
Taste as You Go: Adjust seasoning by adding kosher salt and extra lemon juice gradually. Tasting along the way can help balance flavors perfectly without overpowering the dip.
Storage Strategy: Keep homemade aioli in an airtight container in the fridge. This not only preserves its freshness for up to 10 days but also allows the flavors to deepen over time.
Safety First: If using homemade mayonnaise with raw eggs, remember to consume your garlic aioli within 4 days to ensure safety while enjoying its rich flavors!
Make Ahead Options
These easy garlic aioli preparations are perfect for meal prep enthusiasts looking to save time on busy weeknights! You can prepare the base of the aioli, combining the grated garlic, lemon juice, and Dijon mustard, up to 24 hours in advance; just cover and refrigerate it to keep the flavors fresh. When you are ready to complete your aioli recipe, simply whisk in the mayonnaise and season to taste. To maintan quality, make sure your mayonnaise is at room temperature before mixing, as this ensures a smoother emulsion. Remember, this delicious aioli sauce can be stored in an airtight container for up to 10 days, making it a fabulous condiment to always have on hand!
What to Serve with Easy Garlic Aioli?
Imagine a gathering where tantalizing flavors meet delightful textures, all complimented by a freshly made garlic aioli that brings it all together.
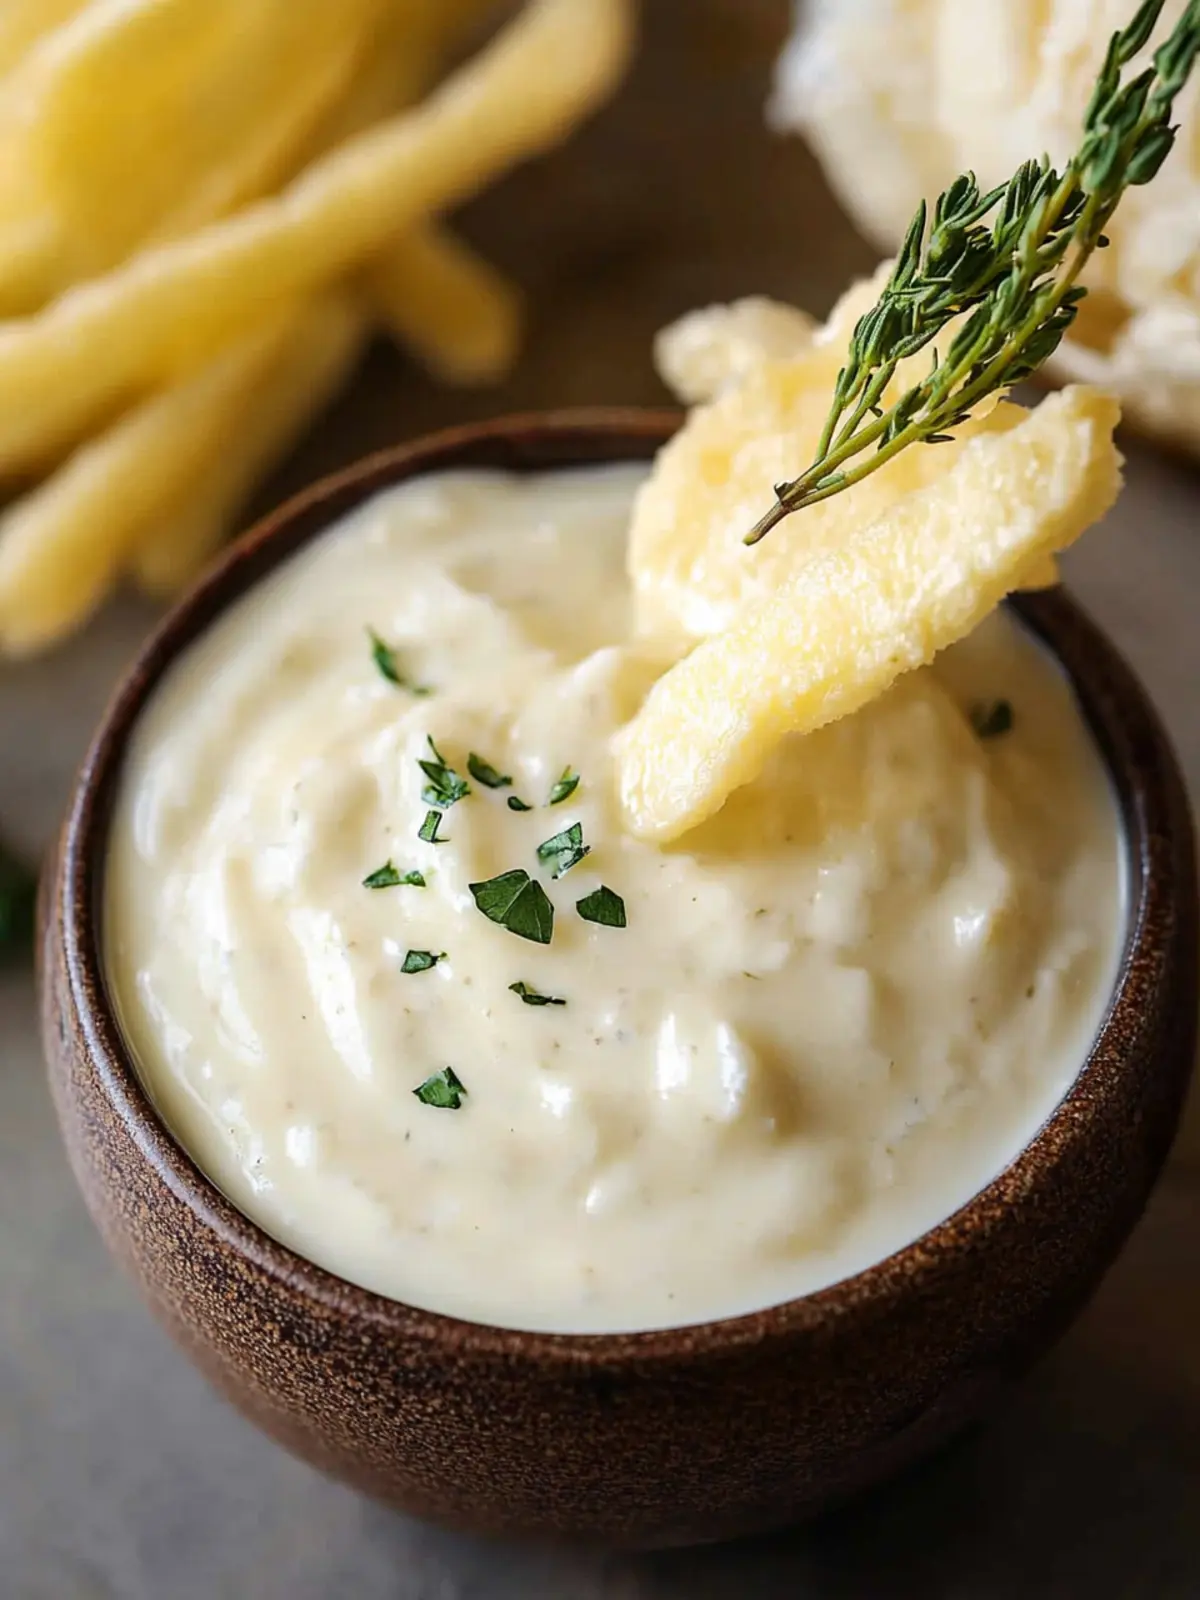
Crispy French Fries: Perfect for dipping, the salty crunch of fries pairs beautifully with the creamy garlic flavor of the aioli.
Grilled Vegetables: Smoky grilled veggies make a vibrant contrast to the richness of the aioli, adding a healthful touch to your meal.
Savory Sandwiches: Slathering your favorite sandwich with this aioli elevates even the simplest of fillings to gourmet status—think roast turkey or a classic veggie stack!
Seafood Dishes: This aioli sauce becomes a transformative dip for shrimp or crab cakes, enhancing the seafood’s natural sweetness with creamy garlic goodness.
Homemade Wraps: Add a dollop of aioli to your wraps for a creamy, flavorful twist that perfectly complements fresh greens and savory proteins.
Potato Wedges: Baked or fried, potato wedges offer a heartier alternative to fries, and the garlic aioli is the ideal dip to match their robust texture.
Charcuterie Boards: Complement the assortment of meats and cheeses with a bowl of garlic aioli for an unexpected yet delightful spread that your guests will love.
Don’t forget to pair it with a refreshing drink, like a crisp white wine or a zesty lemonade, to truly elevate the dining experience!
Garlic Aioli Variations & Substitutions
Feel free to take this garlic aioli on a flavorful adventure that suits your tastes and dietary needs!
Herb-Infused: Add finely chopped fresh herbs like parsley, chives, or dill for a fresh and vibrant twist that brightens every bite.
Spice it Up: Mix in a pinch of cayenne pepper or smoked paprika to give your aioli a delightful kick, perfect for those who love a bit of heat.
Roasted Garlic: Swap fresh garlic for roasted garlic to create a sweeter, milder aioli with a rich, caramelized flavor that adds depth to your dishes.
Vegan Twist: Replace mayonnaise with a vegan mayo alternative or blended silken tofu for a deliciously creamy, plant-based version everyone can enjoy.
Citrus Zing: Experiment with different citrus juices like lime or orange for a refreshing and unique flavor profile that brightens your aioli.
Nutty Delight: Incorporate a tablespoon of tahini to add a creamy texture and nutty flavor that pairs beautifully with Mediterranean-inspired dishes.
Avocado Cream: Blend in ripe avocado for a luscious and buttery aioli that adds a beautiful green hue and a unique taste to your kitchen creations.
Smoky Flavor: Stir in a dash of liquid smoke for a smoky flavor that brings an unexpected twist to your classic aioli—perfect for grilled vegetables and meats!

Garlic Aioli Recipe FAQs
What type of garlic should I use?
I recommend using 5 cloves of finely grated, minced, or pressed garlic. Fresh garlic will provide the best punchy flavor for your aioli sauce, creating that creamy, rich experience we all love.
How do I store leftover garlic aioli?
Keep your homemade aioli in an airtight container in the refrigerator for up to 10 days. The flavors may even deepen as it sits! Just remember to mix in a little extra lemon juice before serving to refresh its vibrant taste.
Can I freeze garlic aioli?
Absolutely! To freeze, pour your aioli into an airtight container or a freezer-safe bag. It can be stored for up to 2 months. Upon thawing, it may separate, so give it a good whisk before serving to regain that lovely creamy texture.
Why is my aioli too runny?
If your aioli is too runny, it might be due to using cold mayonnaise instead of room temperature. Next time, make sure to bring your mayonnaise to room temperature before mixing. If you’re still encountering issues, try adding a bit more mayonnaise to thicken it up, which will help achieve that desirable creamy consistency.
Can I adjust the flavor for dietary preferences?
Absolutely! This aioli recipe is quite forgiving. For a herby twist, consider adding freshly chopped herbs like parsley or chives. You might also add a pinch of smoked paprika for a bit of warmth. Just remember to taste as you go, ensuring that it suits your palate!
Is garlic aioli safe for everyone to eat?
While garlic aioli is vegetarian and gluten-free, keep in mind that it contains raw eggs if you opt for homemade mayonnaise. Make sure to consume it within 4 days for safety. Always check for allergies regarding garlic and eggs when serving to others!
Irresistible Aioli Recipe - Make Your Own Flavor-Packed Sauce
Equipment
- small bowl
- Whisk
Ingredients
For the Base
- 5 cloves garlic finely grated, minced, or pressed
- ¾ cup mayonnaise or Greek yogurt for a lighter option
For the Flavor Boost
- 1 tablespoon fresh lemon juice adjust to taste
- ½ teaspoon Dijon mustard optional
Instructions
How to Make Garlic Aioli
- Combine garlic, lemon juice, and Dijon mustard in a small bowl.
- Let it meld for 15 minutes.
- Whisk in mayonnaise until smooth and creamy.
- Adjust seasoning with kosher salt and additional lemon juice as desired.