
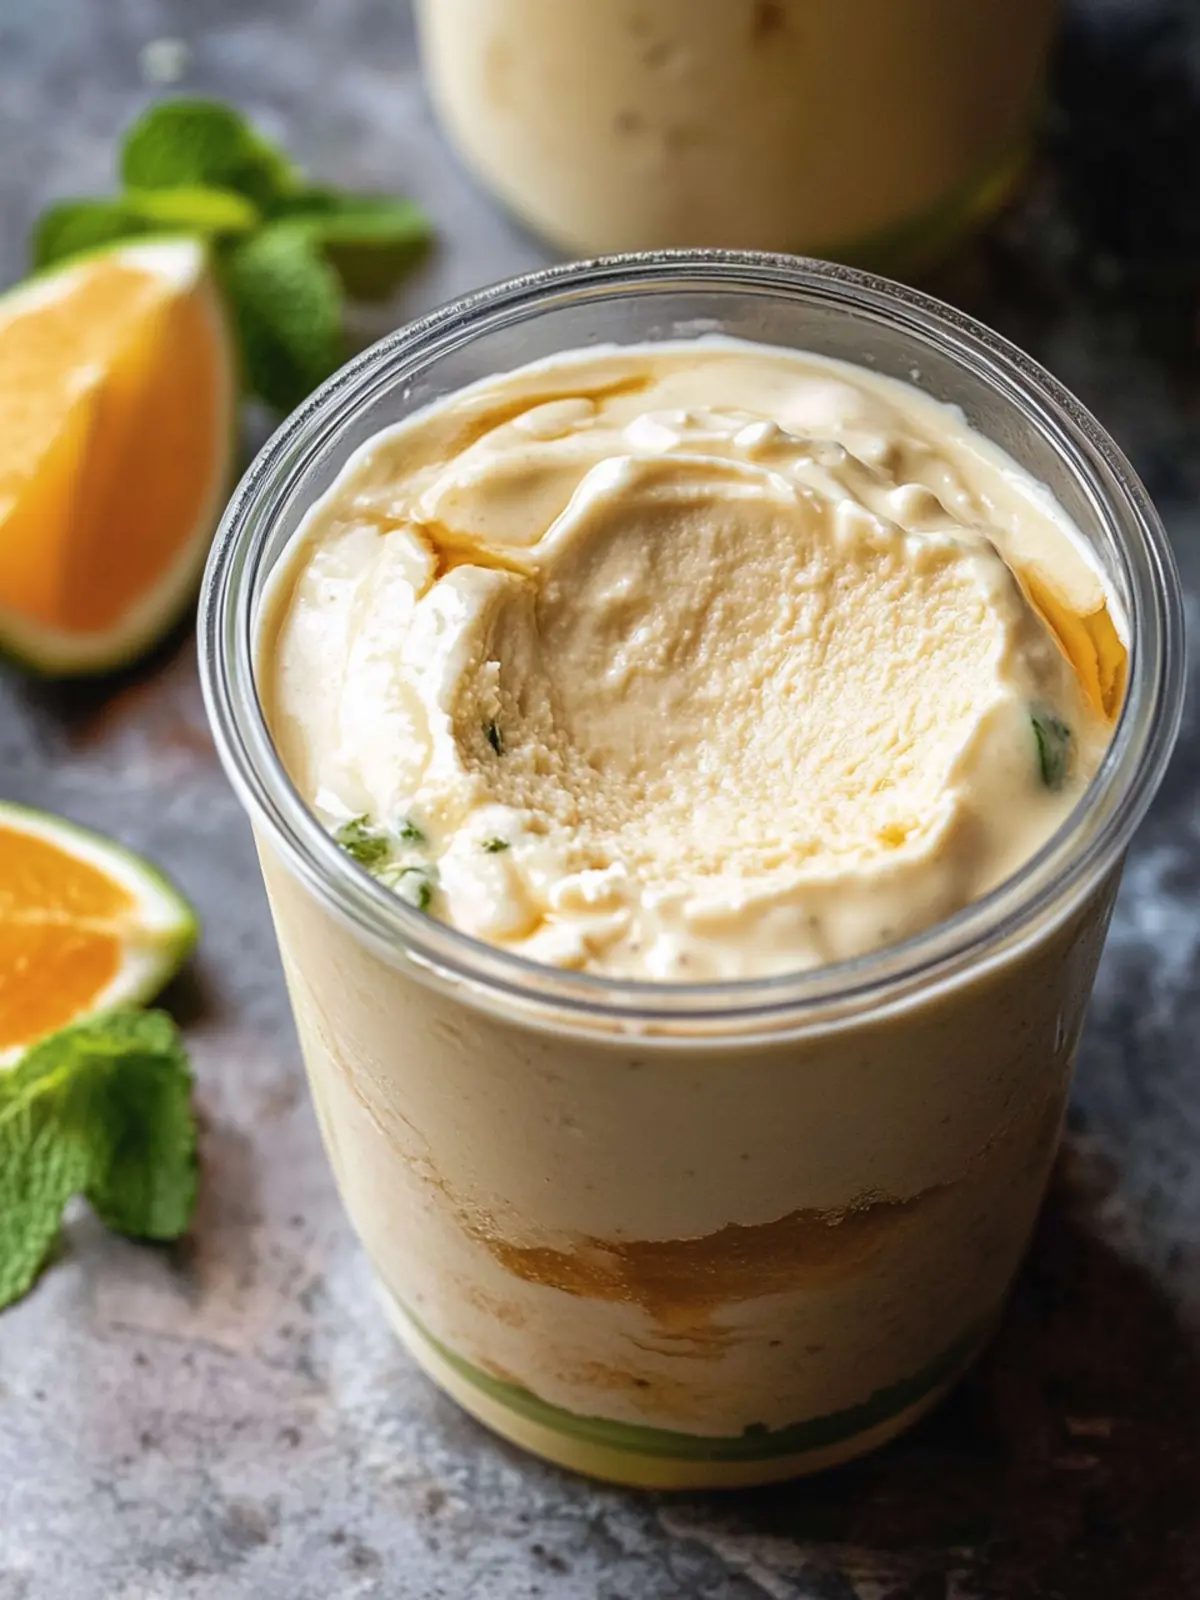
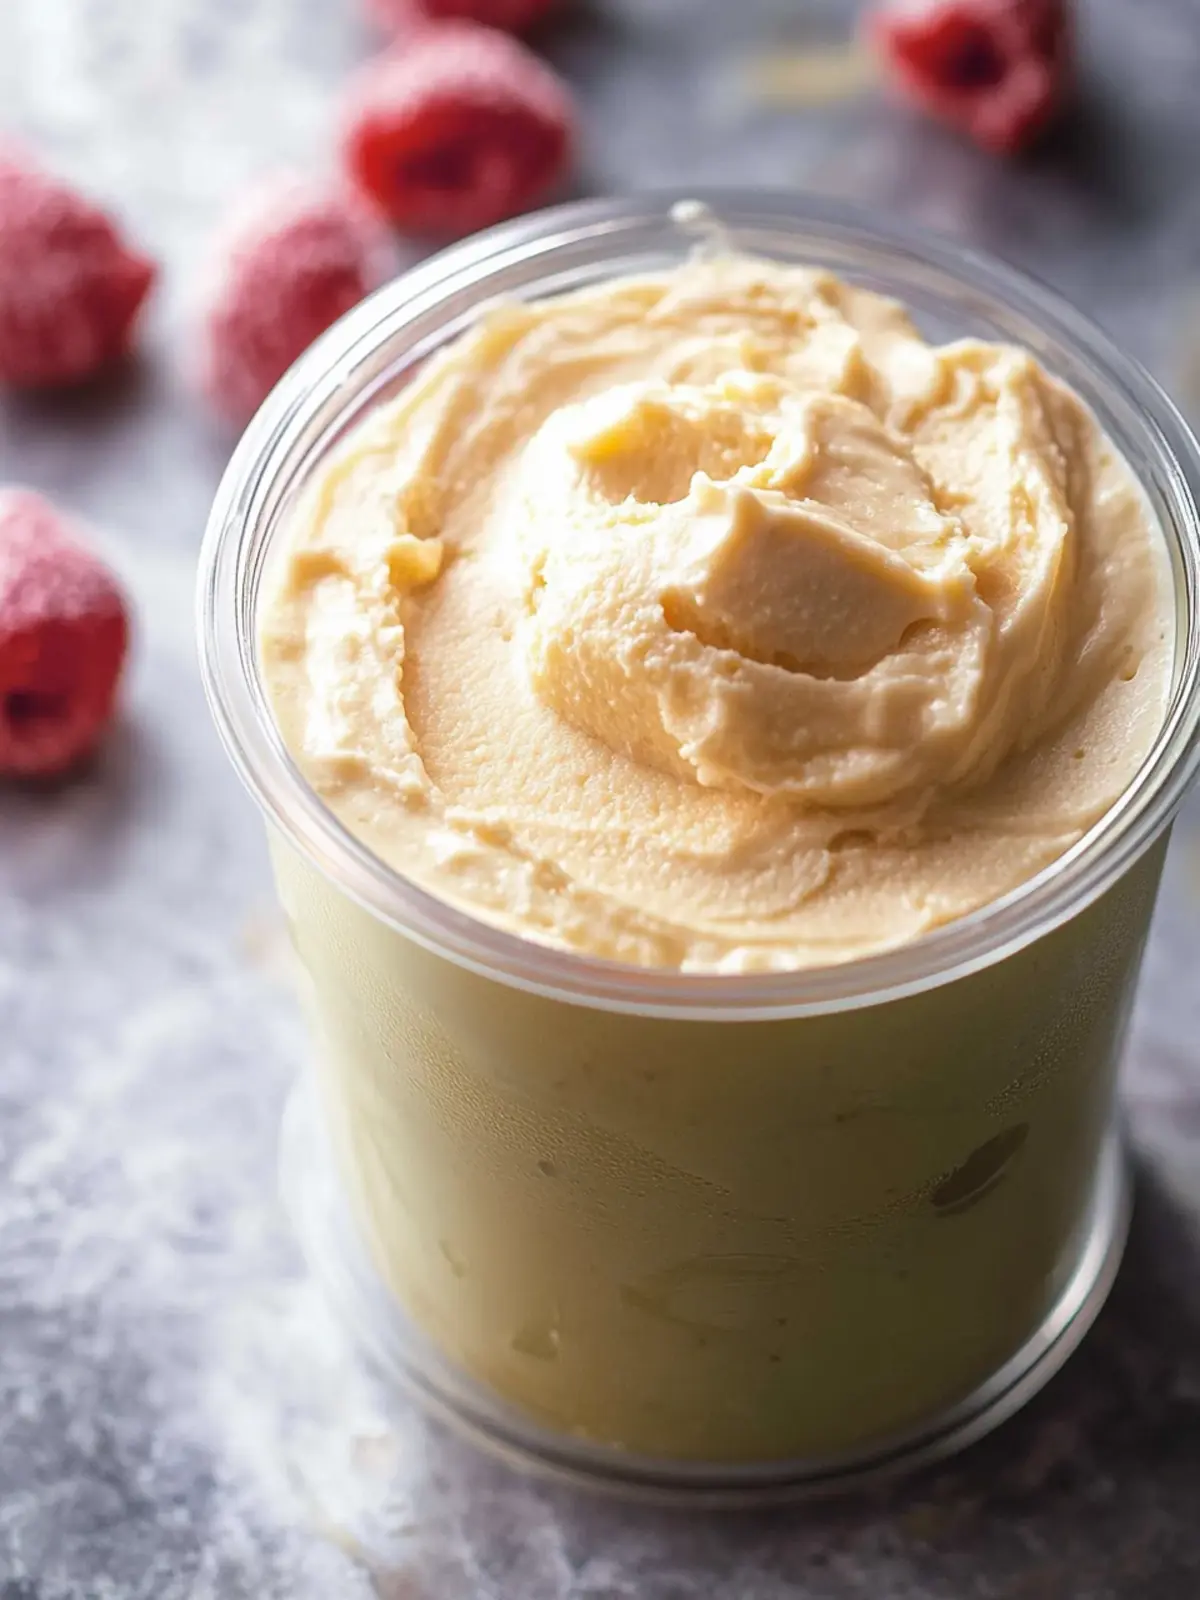
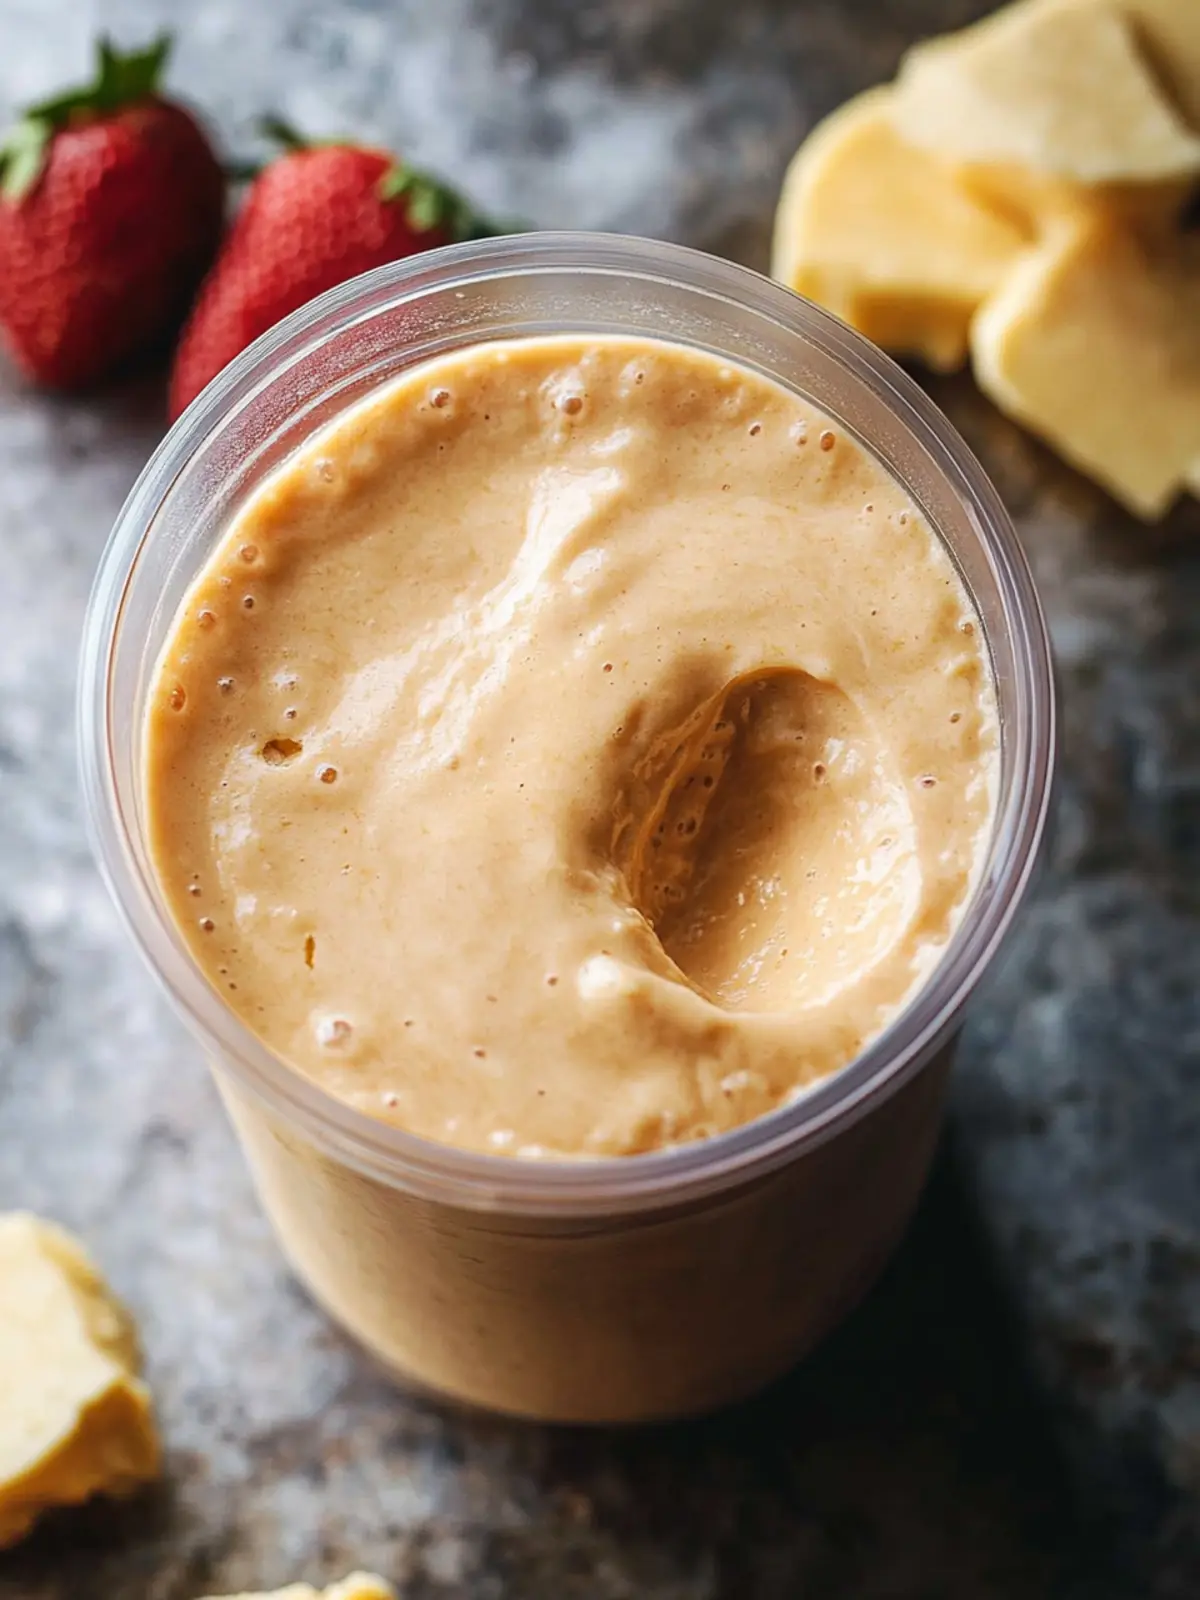
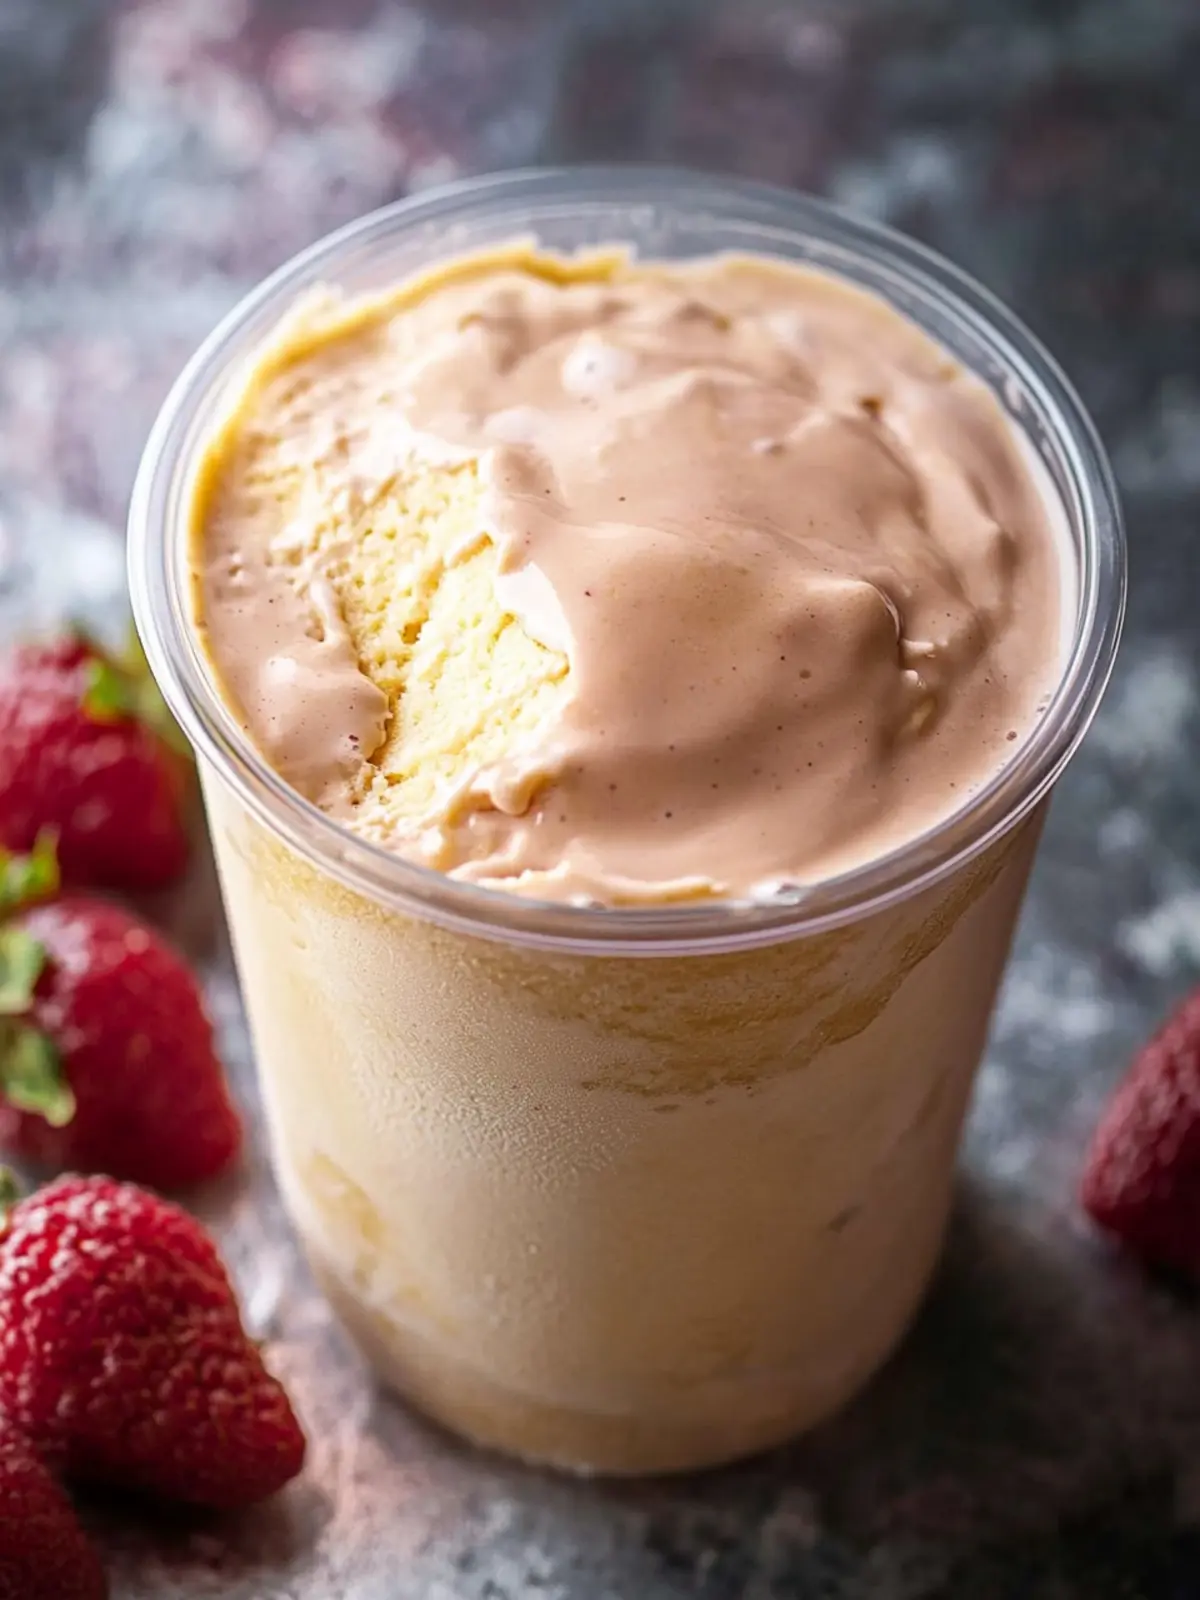
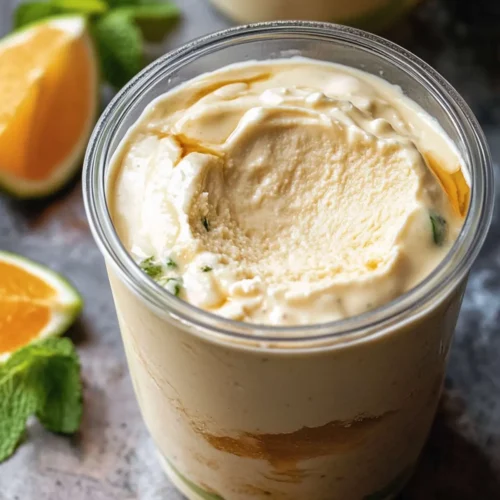
When I first heard about the Ninja Creami, I wasn’t quite sure what to expect. Could this gadget really transform my healthy ingredients into creamy, indulgent ice cream? As I experimented, I discovered the magic of this High Protein Ninja Creami Ice Cream. The sweet, nutty aroma of banana and peanut butter wafting through my kitchen was utterly irresistible. With a whopping 54g of protein packed into each tub, this is not just another treat—it’s a delightful way to satisfy my sweet tooth while supporting my health goals.
Imagine enjoying a scoop for breakfast or after a workout, knowing it’s made from simple, wholesome ingredients like Greek yogurt and natural sweeteners. This versatile recipe is tailored for anyone craving something delicious yet nutritious—perfect for those steering clear of fast food and looking for a delicious homemade option. Ready to indulge in guilt-free pleasure? Let’s dive into this simple and satisfying recipe that’s sure to become a staple in your kitchen!
Why is this healthy ninja creami recipe a must-try?
Irresistible Taste: Experience the delight of banana and peanut butter combined, delivering flavor that rivals traditional ice creams.
Protein Powerhouse: With a notable 54g of protein per tub, it’s a fantastic option for those needing a nutritious boost.
Quick and Easy: This straightforward recipe comes together in mere minutes, making it perfect for busy lifestyles.
Guilt-Free Indulgence: Satisfy your sweet tooth without any hidden additives or guilt, thanks to wholesome ingredients.
Versatile Enjoyment: Perfect for breakfast, post-workout fuel, or a late-night treat, this ice cream meets your cravings and keeps you on track! Want another easy option? Check out our Healthy Banana Muffins for more delicious recipes!
Healthy Ninja Creami Ingredients
• Here’s everything you need for a delectable health-boosting treat!
For the Ice Cream Base
- Whey Protein Isolate – A premium protein source; try using Bare Blends Vanilla WPI for best flavor.
- High Protein Greek Yoghurt – Adds creaminess and extra protein; feel free to swap for lactose-free yogurt.
- Mashed Banana – Natural sweetener and binder; enjoy the flavor using firm or ripe bananas based on your preference.
- Natural Peanut Butter – Delivers flavor and healthy fats; consider using almond or cashew butter for variety.
- Pure Maple Syrup – Sweetens the mixture; start with 20ml and adjust based on your protein powder’s sweetness.
- Milk (full-fat or lactose-free) – Helps blend the ingredients; select a rich milk for a smooth texture.
This healthy ninja creami recipe is a delightful way to indulge!
How to Make High Protein Ninja Creami Ice Cream
Combine ingredients: In a medium mixing bowl or directly in the Ninja Creami tub, blend together the whey protein isolate, Greek yogurt, mashed banana, natural peanut butter, maple syrup, and milk until well mixed.
Chill: Place the tub in the freezer and let it chill for a minimum of 12 hours; for the best texture, leave it in for 24 hours uncovered. This prevents unwanted lumps from forming.
Blend: Once set, operate your Ninja Creami on the lite ice cream function. Blend until creamy, typically just one cycle is sufficient. If any lumps remain, repeat blending until you achieve a smooth consistency.
Serve: Scoop out the ice cream and enjoy immediately. If you have leftovers, make sure to cover the tub and refrigerate; reprocess in the Ninja Creami for the best results when serving later.
Optional: Top with fresh fruits or a drizzle of extra maple syrup for an added touch!
Exact quantities are listed in the recipe card below.
Expert Tips for Healthy Ninja Creami Recipe
- Quality Ingredients: Use high-quality whey protein isolate and Greek yogurt to ensure the best flavor and texture for your healthy ninja creami recipe.
- Adjust Sweetness: Taste the mixture before freezing; overly sweet protein powders may require cutting back on added maple syrup for balance.
- Freezing Time Matters: Ensure your tub is in the freezer for at least 12 hours (24 hours is ideal) to achieve a creamy, scoopable ice cream without icy lumps.
- Blend in Batches: If the mixture is lumpy after the first blend, don’t hesitate to repeat blending. It’s important for achieving that smooth consistency.
- Creative Substitutions: Don’t be afraid to switch up nut butters or milk types! Almond or cashew butter and plant-based milk can offer exciting flavor variations in your ice cream.
Healthy Ninja Creami Recipe Variations
Feel free to get creative with your ice cream by substituting or adding a twist to suit your taste!
Nut Butter Swap: Substitute almond or cashew butter for peanut butter to introduce a new flavor profile while still keeping it creamy.
Flavored Protein Powders: Use chocolate or vanilla protein powder instead of vanilla for a deliciously different taste that pairs well with the base ingredients.
Dairy-Free Delight: Replace high protein Greek yogurt and milk with coconut or almond versions to make a rich vegan treat that’s just as satisfying.
Fruit Fusion: Toss in berries or other fruits during blending for a fresh burst of flavor and color, turning your ice cream into a fruity delight!
Spice It Up: Add a pinch of cinnamon or a splash of vanilla extract for an aromatic twist that enhances the flavors beautifully.
Layering Option: Swirl in some fruit puree or yogurt into the finished ice cream before serving for an eye-catching presentation that is as delightful to eat as it is to look at.
Texture Twist: Mix in chopped nuts or dark chocolate chips right before freezing for a delightful crunch that complements the creaminess.
Heat Level: For those who enjoy a kick, add a sprinkle of cayenne pepper or a few drops of hot sauce for a daring flavor combination—it’s a surprisingly tasty addition!
What to Serve with High Protein Ninja Creami Ice Cream?
Bring a delightful array of flavors and textures to your meal that perfectly complements this creamy, protein-packed treat.
Fresh Berries: A medley of strawberries, blueberries, and raspberries adds a burst of sweetness and vibrant color, enhancing the ice cream’s deliciousness.
Nutty Granola: Crunchy granola provides a delightful contrast to the smooth ice cream while bringing along extra fiber and healthy fats for a balanced treat.
Almond Butter Drizzle: A drizzle of almond butter on top amplifies the nutty flavor, creating a luscious addition that takes your dessert to the next level.
Banana Slices: Adding fresh banana slices ties in the ice cream’s primary flavor and brings natural sweetness while ensuring you stay true to that tempting banana-peanut butter combination.
Coconut Flakes: Toasted coconut flakes introduce a tropical flair and added crunch—perfect for those craving a little extra texture in their dessert.
Chocolate Chips: Sprinkle some dark chocolate chips to satisfy any chocolate lover and add an indulgent touch that beautifully pairs with the ice cream.
Iced Coffee: For a unique twist, serve your ice cream alongside a glass of iced coffee to create a refreshing dessert experience with a caffeine boost.
Peanut Butter Cups: Enhance the peanut flavor with a chopped peanut butter cup on top—it’s a splendid way to elevate the guilt-free indulgence just a notch higher!
How to Store and Freeze Healthy Ninja Creami Recipe
- Freezer: Store your High Protein Ninja Creami Ice Cream in an airtight container in the freezer for up to 2 weeks. This keeps it fresh and preserves the creamy texture.
- Reprocessing: If the ice cream hardens during storage, simply reprocess it in the Ninja Creami for a few moments until it regains its delightful creaminess.
- Leftovers: For any leftover servings, cover the tub tightly with a lid before placing it back in the freezer. This prevents freezer burn and maintains flavor.
- Serving Size: Always scoop out what you need and avoid leaving the container out at room temperature for extended periods, as this can affect texture and quality.
Make Ahead Options
These High Protein Ninja Creami Ice Creams are perfect for meal prep enthusiasts! You can mix the ingredients and store them in the Ninja Creami tub up to 24 hours in advance before freezing, ensuring the lid is left off to prevent lump formation. For optimal flavor and texture, allow the mixture a full 24 hours in the freezer, but you can also refrigerate leftovers for up to 3 days. When you’re ready to serve, simply blend the set mixture using the lite ice cream function of your Ninja Creami until creamy. With these make-ahead tips, you’ll have scrumptious, protein-packed ice cream ready for quick serving, making it a fantastic option for busy weeknights!
High Protein Ninja Creami Ice Cream Recipe FAQs
What type of bananas should I use for this recipe?
Absolutely! Both firm and ripe bananas work great in this healthy ninja creami recipe. Ripe bananas will provide more natural sweetness, while firm ones add a bit more texture. Choose based on your preference for sweetness!
How should I store the leftovers?
To keep your High Protein Ninja Creami Ice Cream fresh, store it in an airtight container in the freezer. Ideally, it can last for up to 2 weeks. Just remember, it’s best to scoop out what you need and avoid leaving the container out at room temperature to maintain its creamy texture.
Can I freeze this ice cream for a longer time?
Yes, you can freeze it for longer, but I recommend consuming it within 2 weeks for the best flavor and texture. If it becomes too hard, just reprocess it in the Ninja Creami until it gets back to that lovely, creamy consistency.
What if my ice cream is icy or lumpy after blending?
Very! If your mixture comes out icy or lumpy, don’t worry. Simply blend again in the Ninja Creami using the lite ice cream function until it’s smooth. You might need to do this a couple of times depending on how it’s set. Additionally, ensuring you freeze the mixture correctly for at least 12 to 24 hours can make a big difference in texture.
Is this recipe suitable for people with nut allergies?
It can be! For those with nut allergies, simply substitute peanut butter with sun butter or tahini. Make sure any other ingredients you select, like yogurt and protein powder, are also free of nuts to ensure safety.
Can I make this dairy-free?
Absolutely! To make this healthy ninja creami recipe dairy-free, substitute the high-protein Greek yogurt and milk with their plant-based counterparts, such as almond yogurt and oat milk. Just ensure these alternatives have a good fat content for a creamy texture!
Deliciously Healthy Ninja Creami Recipe for Guilt-Free Indulgence
Equipment
- Ninja Creami
Ingredients
Ice Cream Base
- 1 cup Whey Protein Isolate Using Bare Blends Vanilla WPI is recommended.
- 1 cup High Protein Greek Yoghurt Lactose-free yogurt can be used.
- 1 large Mashed Banana Firm or ripe bananas can be used.
- 2 tbsp Natural Peanut Butter Almond or cashew butter can be used for variety.
- 20 ml Pure Maple Syrup Adjust based on sweetness preference.
- 1/2 cup Milk Full-fat or lactose-free milk is suitable.
Instructions
Preparation
- Combine ingredients: In a medium mixing bowl or directly in the Ninja Creami tub, blend together the whey protein isolate, Greek yogurt, mashed banana, natural peanut butter, maple syrup, and milk until well mixed.
- Chill: Place the tub in the freezer and let it chill for a minimum of 12 hours; 24 hours is recommended for best texture.
- Blend: Once set, operate your Ninja Creami on the lite ice cream function. Blend until creamy, typically just one cycle is sufficient.
- Serve: Scoop out the ice cream and enjoy immediately. Cover and refrigerate leftovers, reprocess in the Ninja Creami when serving later.