
The warm, tangy aroma of freshly baked sourdough bread is what first drew me into the wonderful world of artisanal baking. It may sound intimidating, but creating your very own sourdough starter is not only achievable but also an exciting culinary adventure you can embark on right from your kitchen. Just imagine the satisfaction of nurturing a living culture that transforms simple ingredients—flour and water—into a bubbly, thriving starter, ready to elevate your baking game.
Over the next 7 to 14 days, with just a bit of patience and some daily care, you’ll cultivate a robust sourdough starter that adds delightful flavor and texture to everything from loaves of bread to pancakes and even pizza crusts. Whether you’re a seasoned chef or someone seeking an alternative to fast food, this easy recipe is a rewarding way to reconnect with homemade food and embrace the art of baking. Let’s get started on this flavorful journey to homemade goodness!

Why is this sour dough starter easy recipe perfect?
Simplicity, creating your own sourdough starter might sound intimidating, but it’s a breeze with this easy recipe. Nutritional benefits are just a perk—your homemade starter will be rich in probiotics! Versatility shines as it enhances breads, pancakes, and pizzas alike. Cost-effective compared to store-bought starters, this method saves you money while you embrace homemade goodness. Time-conscious? Just a few minutes of daily care transforms basic ingredients into a thriving culture. Dive into the world of baking with this straightforward and rewarding process—let’s get those delightful smells wafting through your kitchen!
Sourdough Starter Easy Recipe Ingredients
For the Starter
- Organic Unbleached All-Purpose Flour – This is the primary building block needed for fermentation; you can substitute with whole wheat for quicker activation.
- Water – Ensure it’s non-chlorinated and at room temperature to promote yeast growth effectively.
For Storage and Mixing
- Glass Jar (with a lid) – The ideal container for your starter, allowing safe fermentation without contaminants.
- Wooden Spoon/Silicone Spatula – Perfect for mixing your ingredients; avoid metal as it can interfere with the starter’s balance.
For Tracking Growth
- Rubber Band/Wet-Erase Marker – Use this to mark the growth of your starter and monitor its activity after each feeding.
Unleash the magical transformation with this sourdough starter easy recipe and elevate your baking adventures!
How to Make Sourdough Starter Easy Recipe
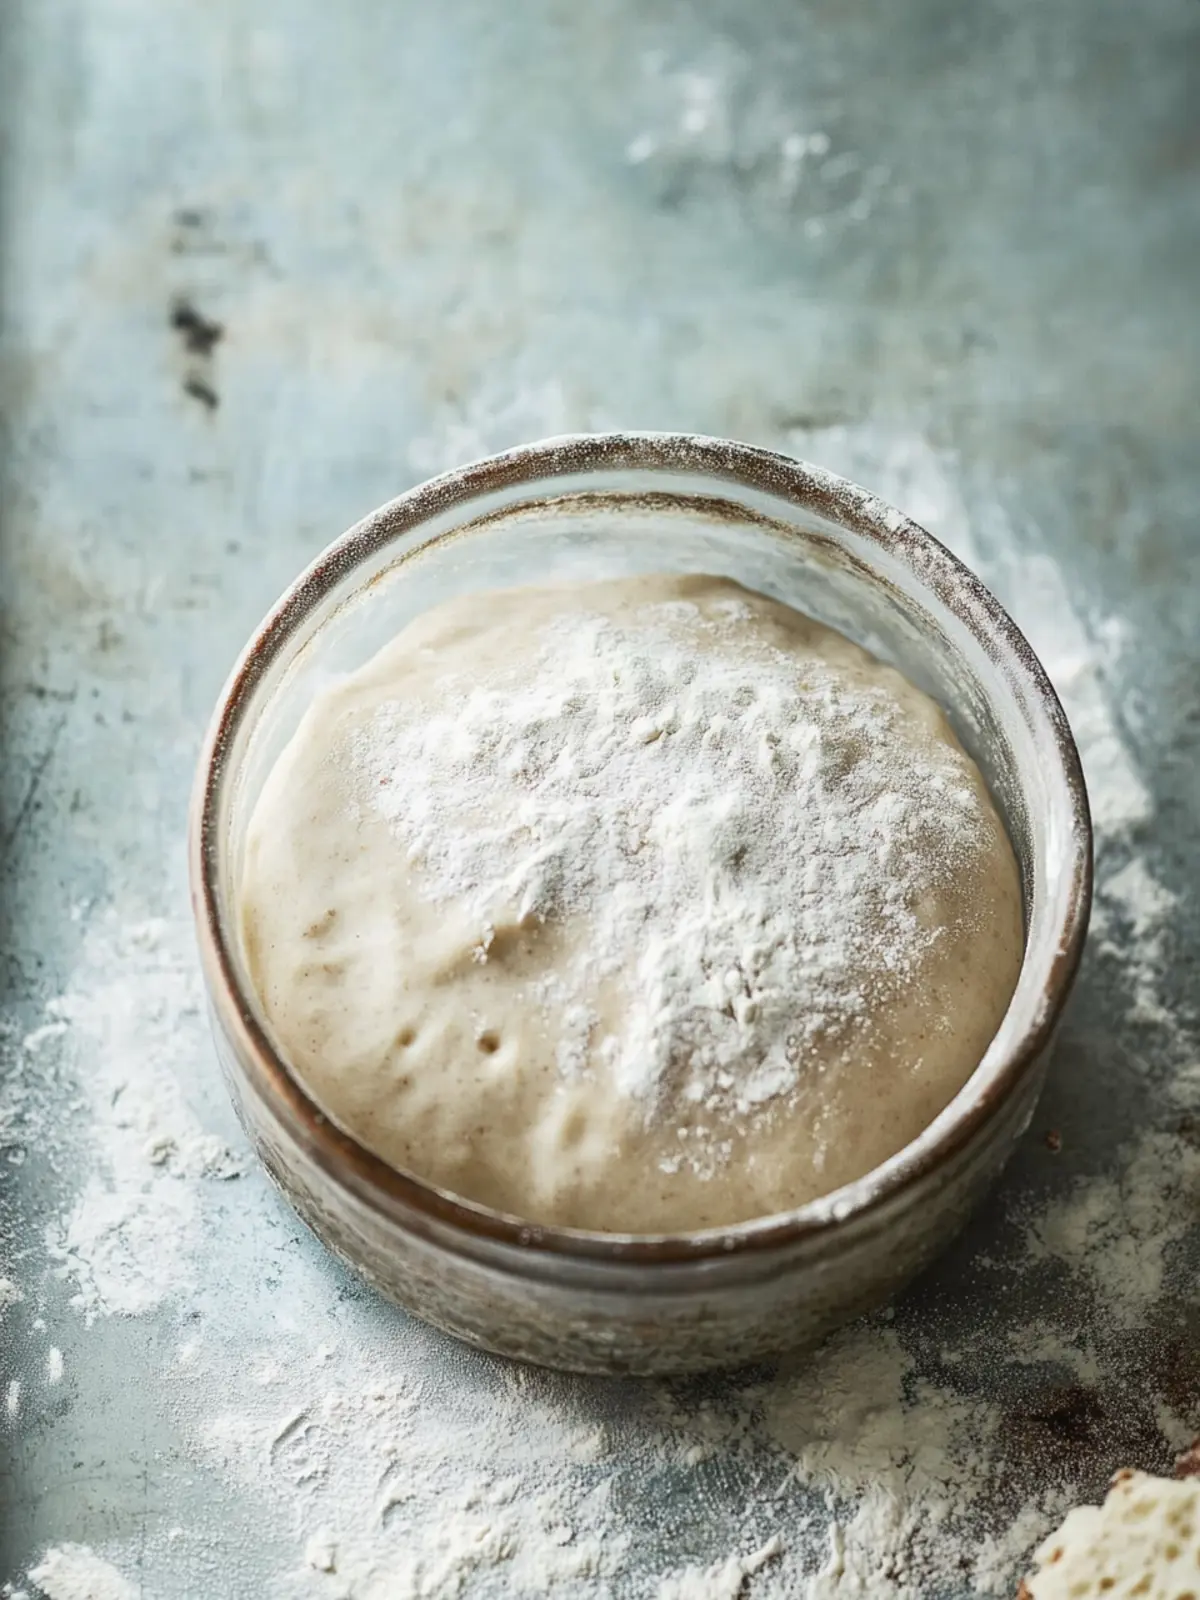
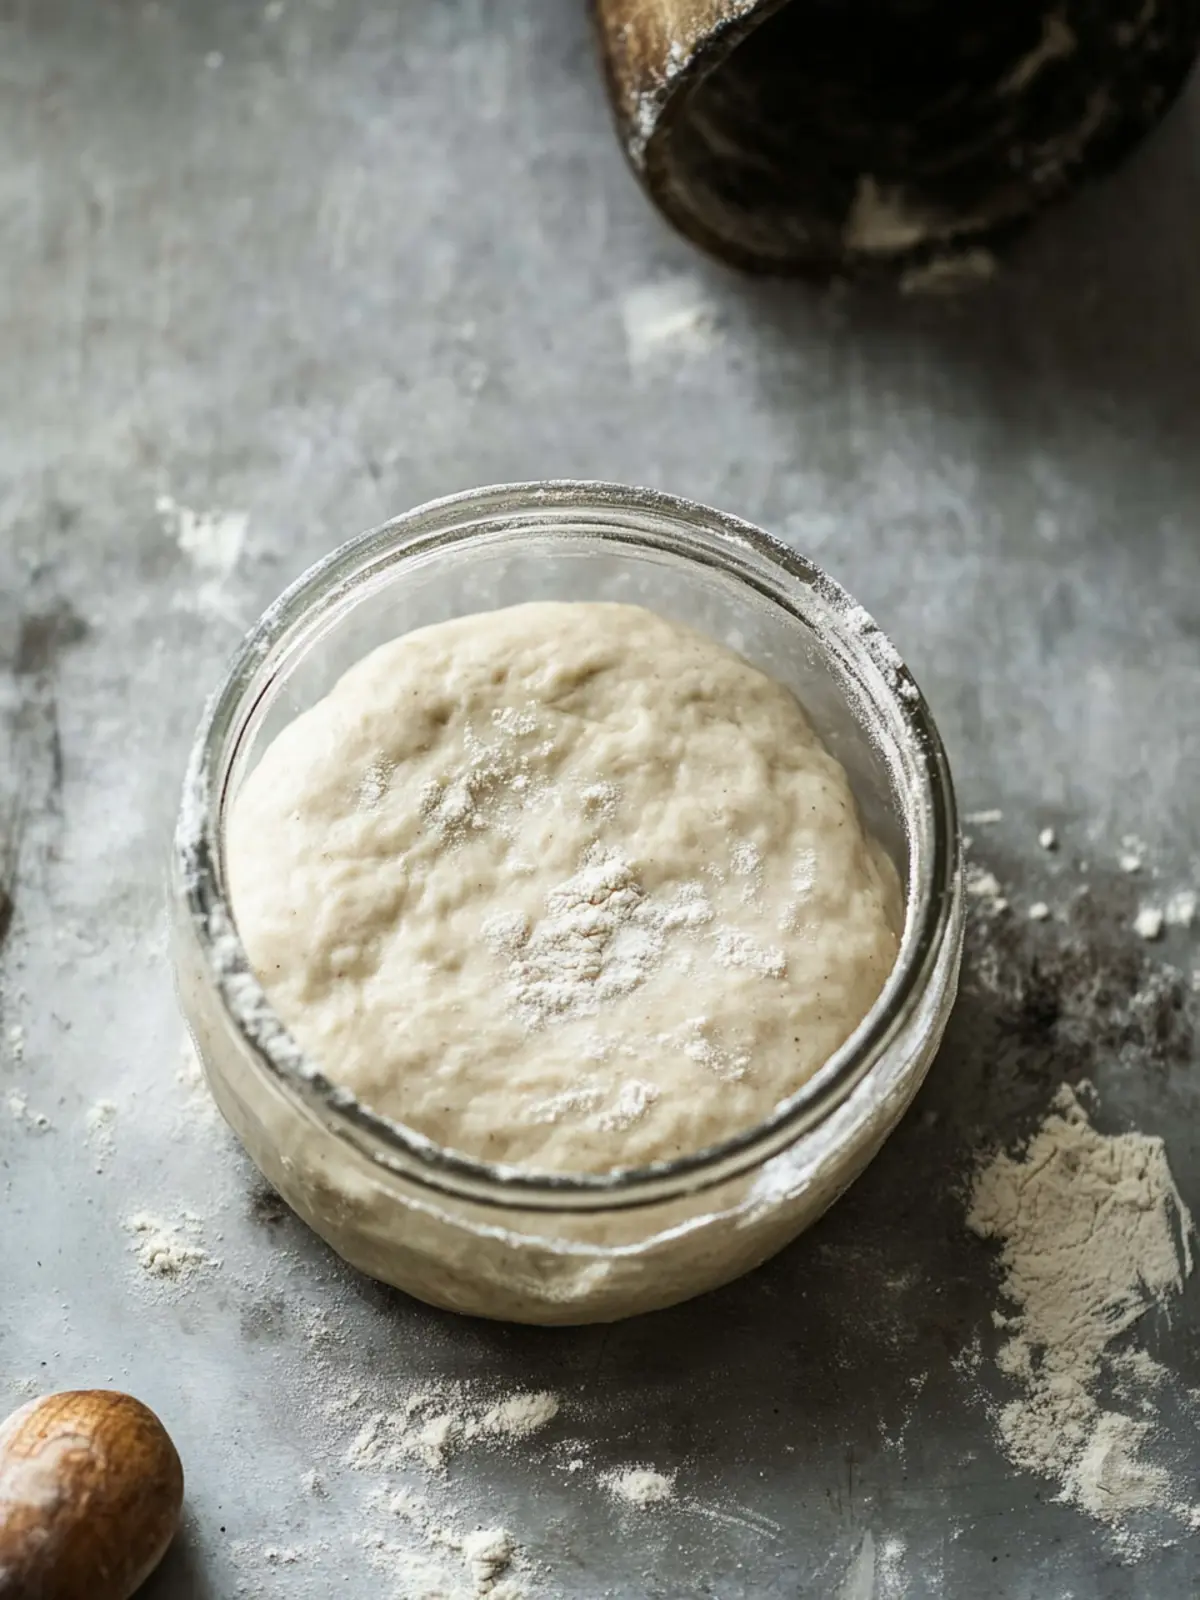
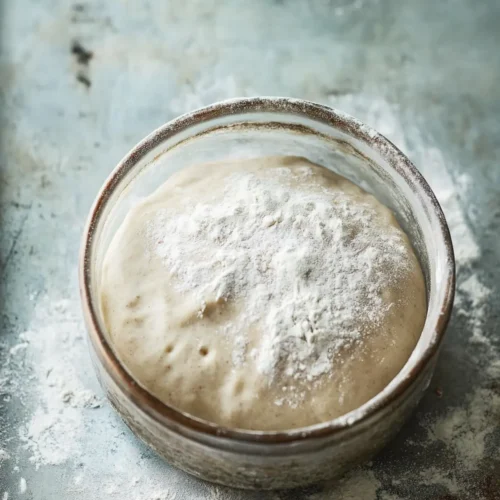
Combine Ingredients: Start by combining ½ cup of organic unbleached all-purpose flour and ¼ cup of room temperature non-chlorinated water in your glass jar. Mix until you reach a thick pancake batter-like consistency, then cover it loosely with a cloth.
Daily Feeding: For Days 2-7, discard half of your starter and feed it with another ½ cup of flour and ¼ cup of water. Maintain a warm temperature—ideally between 68-85°F—to encourage fermentation.
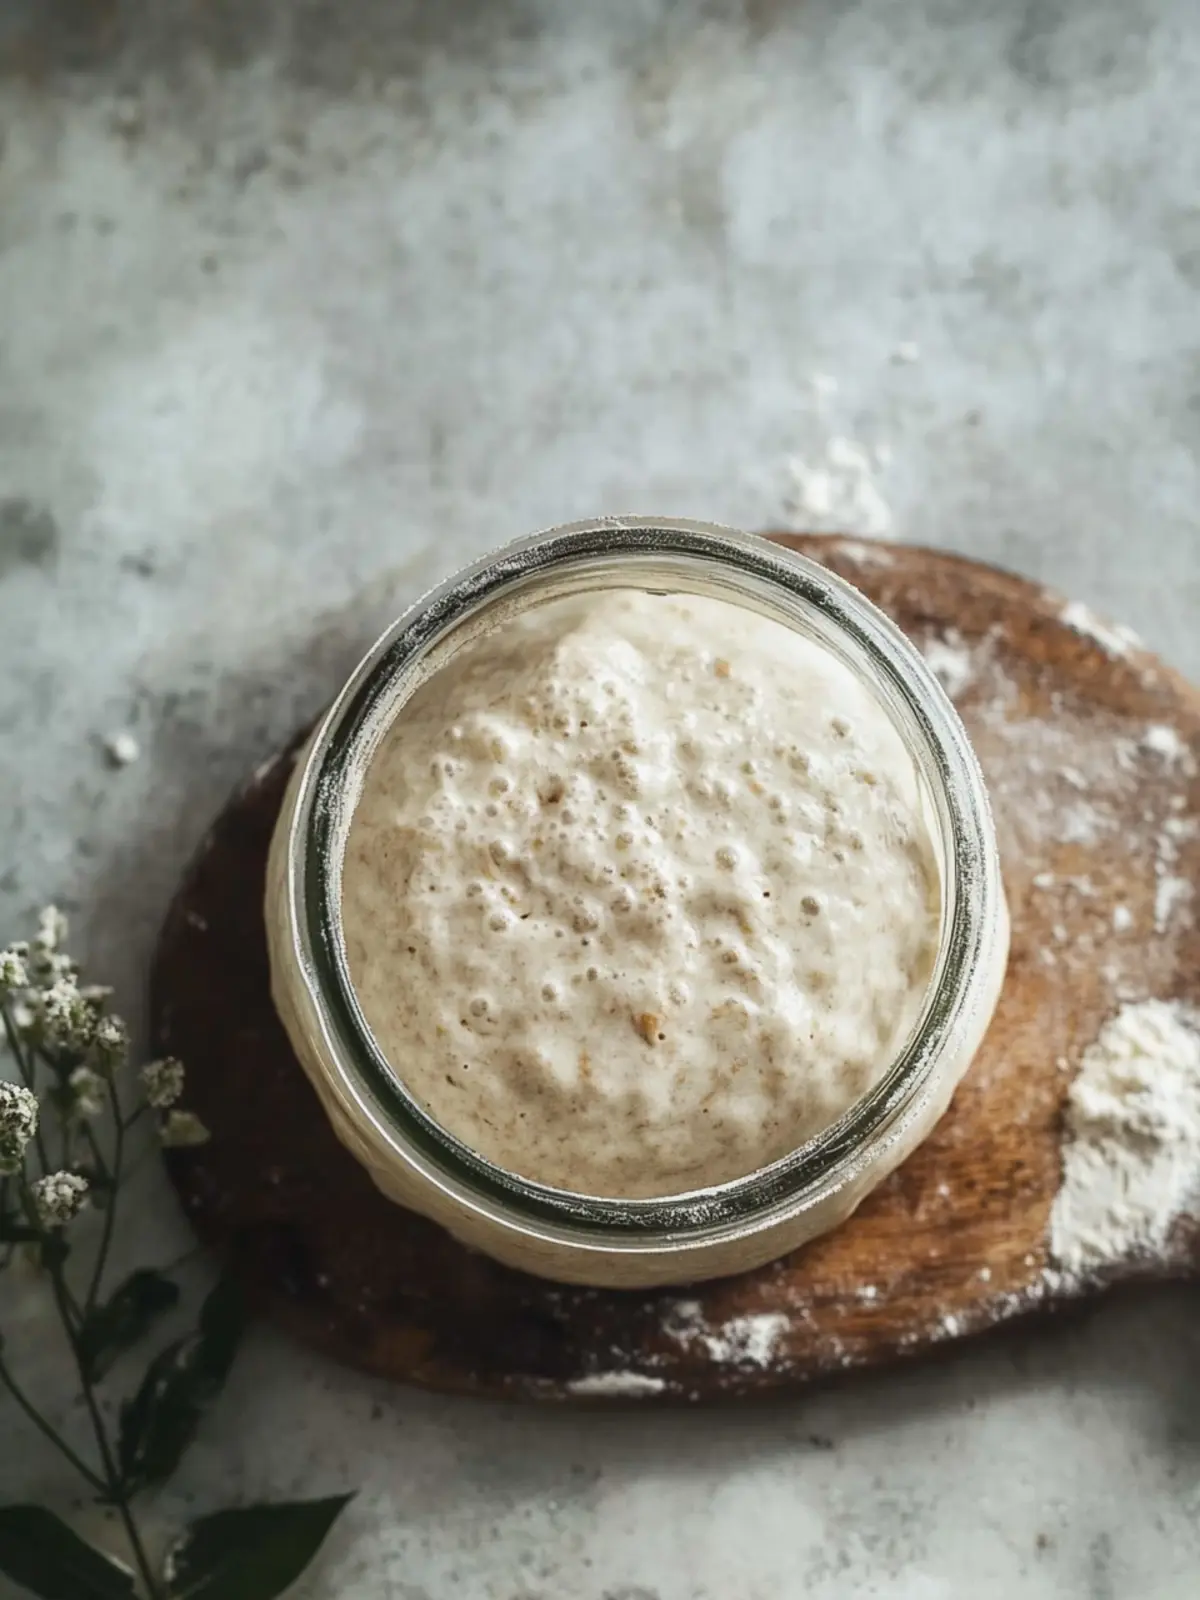
Watch for Activity: After about 5-7 days, look for bubbling and a pleasantly sour aroma. Your starter should double in size about 6-12 hours after being fed. This is a good sign that your culture is developing well!
Perform a Float Test: Ensure it’s ready by performing a float test. Simply scoop a spoonful of starter; if it floats in water, it’s strong enough to use for baking.
Store and Maintain: Once established, if you’re not baking frequently, store your starter in the refrigerator. Remember to feed it weekly to keep that lovely culture alive!
Optional: Use a little extra starter in your pancakes for a delightful, tangy flavor twist.
Exact quantities are listed in the recipe card below.
What to Serve with Sourdough Starter Easy Recipe?
Creating your own sourdough starter opens up a world of delicious possibilities that will have your taste buds singing.
- Artisan Sourdough Bread: The perfect use of your starter—bake loaves with a crispy crust and airy crumb that brings warmth to any meal.
- Fluffy Pancakes: Use your sourdough starter in the batter for tangy, light pancakes—ideal for breakfast or brunch, drizzled with maple syrup.
- Savory Pizza Crust: Transform your starter into a flavorful pizza base, offering a perfect chewy texture and a delightful tang that complements any topping.
- Homemade Breadsticks: Whip up soft, garlicky breadsticks using your starter; they make a delightful side to accompany your favorite pasta dishes.
- Tasty Focaccia: Try your hand at focaccia topped with herbs and olive oil; the starter lends a delightful chew and depth of flavor.
- Creamy Soup Pairing: Serve your freshly baked sourdough with a bowl of creamy tomato soup for a comforting meal that warms the soul.
- Light-Body White Wine: A crisp Sauvignon Blanc perfectly complements the tang of sourdough creations, enhancing the overall dining experience.
- Fresh Garden Salad: Pair with a light, grassy salad to balance the rich flavors of your baked goods, adding a refreshing crunch.
The options are endless, and each pairing enhances the natural flavors of your artisanal creations.
Expert Tips for Sourdough Starter Easy Recipe
Patience is Key: Allow your starter 7-14 days to fully develop; rushing can lead to poor fermentation and disappointing results.
Temperature Matters: Keep your starter in a warm area (68-85°F) for ideal yeast growth; too cold can halt activity, while excessive heat may harm it.
Daily Care: Make feeding a habit—each day, discard half and feed with equal parts flour and water; consistency fosters a resilient sourdough starter.
Avoid Contamination: Handle with clean utensils and hands; avoid antibacterial cleaners near your starter to keep that wild yeast thriving.
Monitor Growth: Use a rubber band or marker to track changes in your starter’s size; this visual cue helps you understand its activity levels.
Be Mindful of Spoilage: If you notice strange colors or smells, it’s best to discard and start fresh; a healthy sourdough starter should smell pleasantly sour and have a bubbly texture.
Sourdough Starter Easy Recipe Variations & Substitutions
Feel free to get creative and personalize your sourdough starter experience with these delightful variations!
Gluten-Free: Use a gluten-free flour blend instead of all-purpose flour to create a diet-friendly starter.
Whole Wheat: Swap in whole wheat flour for part of the all-purpose flour to achieve a nuttier flavor and denser texture.
Rye Flour: Incorporate rye flour when feeding your starter; it boosts flavor and fermentation activity due to its nutrient profile.
Spelt Flour: Delight in a slightly sweet and earthy flavor by substituting some all-purpose flour with spelt flour, enriching your starter.
Additions: Add a tablespoon of honey or maple syrup during the initial mixing to encourage yeast action and enhance the flavor profile.
Feel the warmth of home and let these variations inspire your baking journey! With every tweak, you’re not just following a recipe; you’re crafting your family’s own sourdough legacy.
How to Store and Freeze Sourdough Starter
Room Temperature: Keep your sourdough starter at room temperature if you plan to use it frequently; it’s best used within 3-5 days without feeding.
Fridge: Store in the fridge for up to a month between uses. Be sure to feed your starter at a 1:1:1 ratio (by weight) just before using it.
Freezer: For long-term storage, your sourdough starter can be frozen in an airtight container for up to 3 months. Thaw in the fridge and feed it before use.
Reheating: When ready to use, allow your starter to come to room temperature and feed it for a few cycles to reactivate the wild yeast, ensuring it’s bubbly and vigorous.
Make Ahead Options
Crafting your sourdough starter is not only rewarding but also perfect for meal prepping! You can begin the initial combination of flour and water up to 24 hours in advance. To maintain the starter’s quality, keep it at room temperature in a warm spot while it ferments. For those super busy days, consider creating mini batches every few days; simply store your established starter in the refrigerator and feed it weekly for freshness. When it’s time to use your starter, just pull it from the fridge and feed it for a couple of hours before your baking session. This ensures that your sourdough starter easy recipe is just as vibrant and bubbly, ready to elevate your homemade breads and more!
Sourdough Starter Easy Recipe FAQs
Why is my sourdough starter not bubbling?
Absolutely! If your starter isn’t bubbling yet, it could be due to several factors. First, ensure it’s in a warm environment (ideally 68-85°F) to encourage yeast activity. If it’s too cold, the fermentation process will slow down. Additionally, make sure you’re consistently feeding it. Discarding half your starter and replenishing it with equal parts flour and water every day is essential. It may take a few more days before you start seeing those lovely bubbles, so be patient!
How should I store my sourdough starter?
Very good question! If you plan to bake often, it’s best to keep your sourdough starter at room temperature, where it can be used within 3 to 5 days without any feeding. On the other hand, if you’re not baking regularly, store your starter in the refrigerator. It will stay fresh for up to a month; just remember to feed it at a 1:1:1 ratio (by weight) just before you use it again.
Can I freeze my sourdough starter?
Yes, you can! Freezing your sourdough starter is perfect for long-term preservation. Transfer it to an airtight container, label it, and it can last for up to 3 months in the freezer. To revive it, simply thaw it in the refrigerator, then feed it regularly to reactivate the wild yeast—this can take a few days of consistent care.
What should I do if my starter smells off?
Great question! When you’re nurturing your sourdough starter, it should have a pleasant, mildly sour aroma. If you ever notice any unusual smells (like a strong pungent or rotten odor), it’s best to discard it and start anew. Also, if you see any odd colors, such as pink or green molds, that’s a sign of spoilage, and you should not use it.
Can I use different types of flour in my sourdough starter?
Absolutely! While the easy recipe recommends organic unbleached all-purpose flour, after your starter is established, you can experiment with different flours for varied flavors and textures. Try swapping in whole wheat or rye flour to create a unique taste. Each flour will give a distinct profile to your starter, enhancing the character of your baked goods!
Is sourdough starter safe for pets?
That’s a very considerate question! Sourdough culture itself isn’t toxic to pets, but it’s essential to keep it out of their reach. Ingredients like flour and water are generally safe; however, be cautious with any added ingredients you might use in your baked goods. Always consult your vet if you’re unsure about any specific baking ingredients and your pet’s safety!
Sourdough Starter Easy Recipe for Irresistible Homemade Bread
Equipment
- Glass Jar with lid
- - Wooden spoon
- Rubber Band
Ingredients
For the Starter
- 0.5 cups Organic Unbleached All-Purpose Flour Can substitute with whole wheat for quicker activation.
- 0.25 cups Non-chlorinated Water Ensure it’s at room temperature.
For Storage and Mixing
- 1 Glass Jar with lid Ideal container for safe fermentation.
For Tracking Growth
Instructions
Making the Starter
- Combine ½ cup organic unbleached all-purpose flour and ¼ cup room temperature non-chlorinated water in your glass jar. Mix until reaching a thick pancake batter-like consistency, then cover loosely with a cloth.
- For Days 2-7, discard half of your starter and feed it with another ½ cup of flour and ¼ cup of water, maintaining a warm temperature between 68-85°F to encourage fermentation.
- After about 5-7 days, look for bubbling and a pleasantly sour aroma. Your starter should double in size about 6-12 hours after being fed.
- Perform a float test to check readiness: Scoop a spoonful of starter; if it floats in water, it's strong enough to use for baking.
- Once established, store your starter in the refrigerator if not baking frequently and remember to feed weekly.
- Optionally, use some extra starter in pancakes for a tangy twist.