
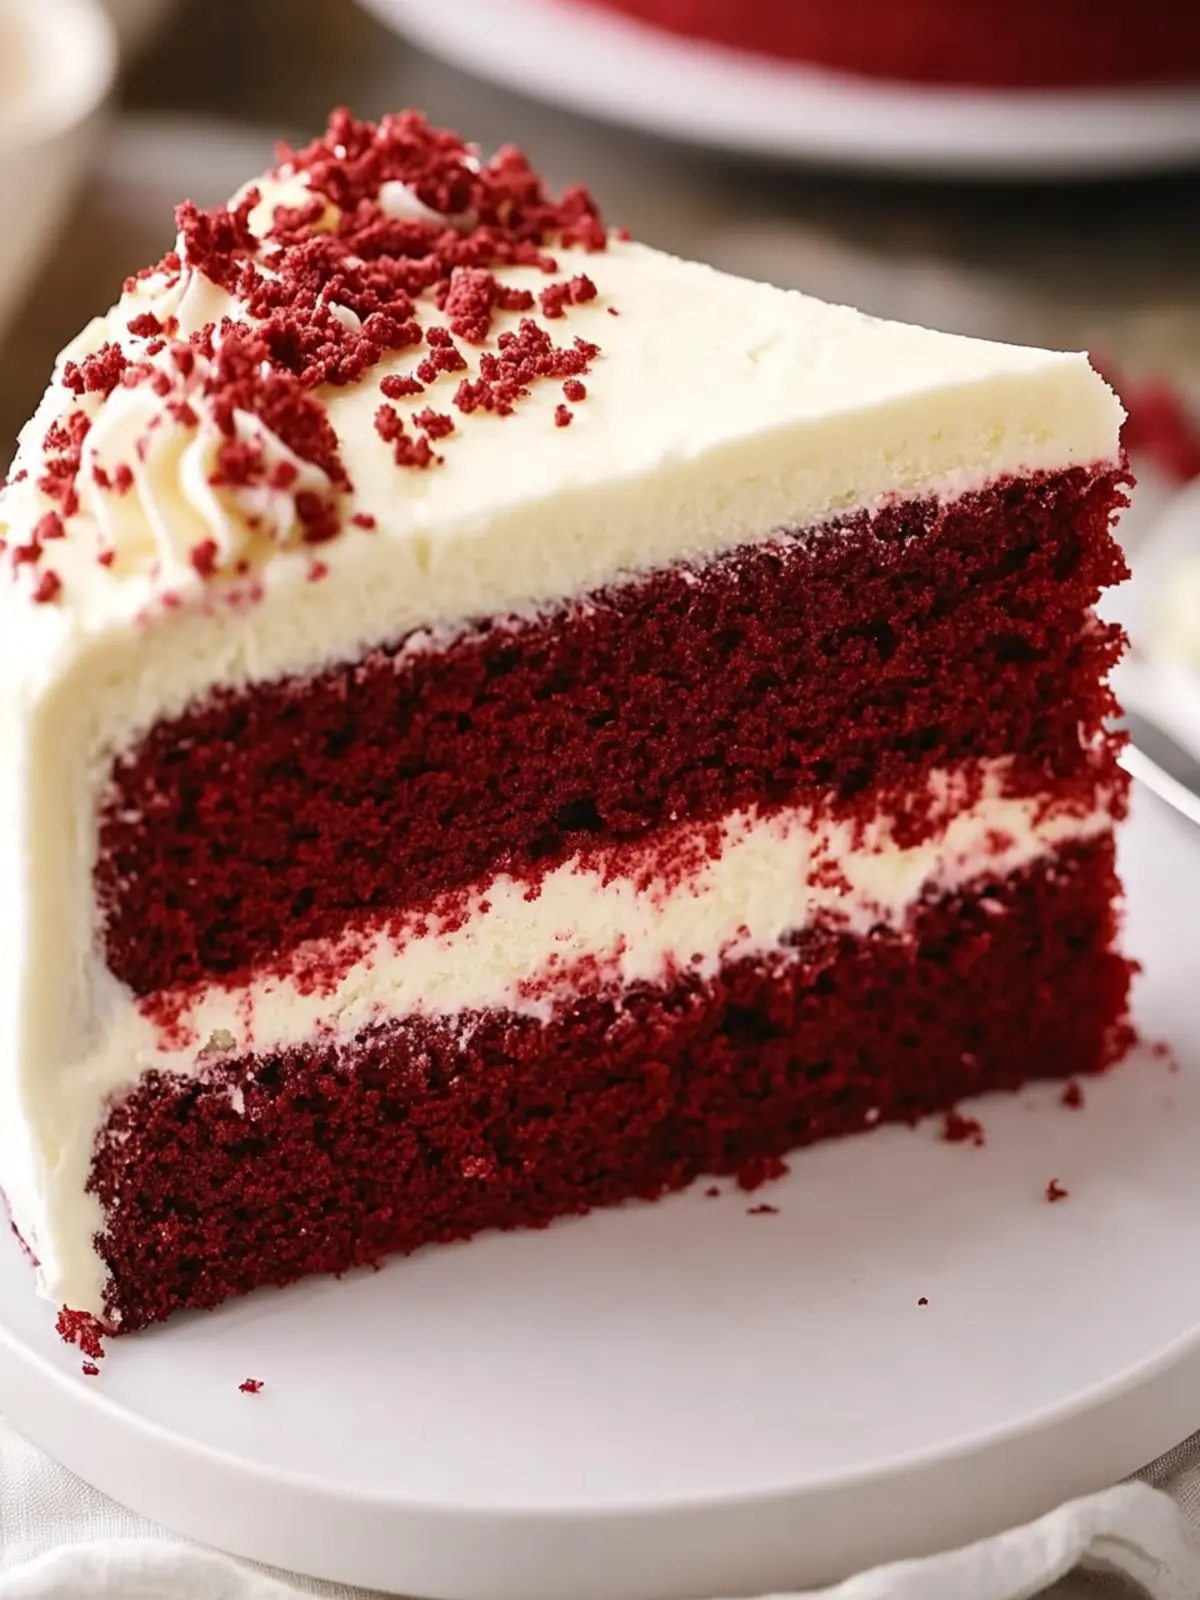
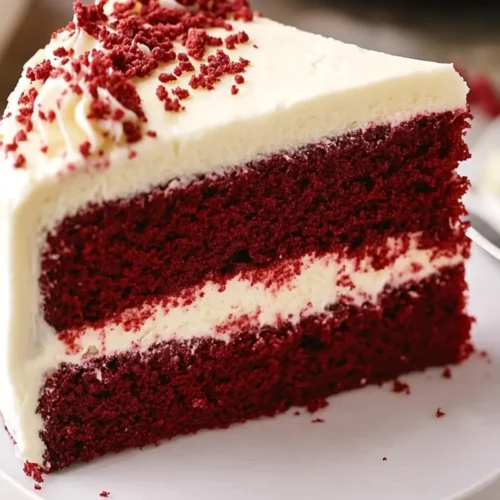
There’s nothing quite like the joyful occasion of a cake to celebrate life’s special moments. As I was sorting through my recipe box, the rich hues of red velvet caught my eye, instantly transporting me to a sun-soaked Southern kitchen where laughter mingled with the sweet aroma of baking. This Classic Southern Red Velvet Cake, adorned with tangy cream cheese frosting, is more than just a dessert; it’s an experience that brings friends and family together.
Whether you’re planning a birthday bash, a festive holiday gathering, or simply wanting to impress someone special, this cake is a surefire way to elevate the occasion. Each bite showcases a velvety soft crumb and a luxurious chocolate flavor that dances on your palate, complemented perfectly by the creamy frosting. It’s a showstopper both in taste and presentation, making it an ideal centerpiece for your table. Let’s dive in and create a masterpiece that is sure to leave an unforgettable mark.
Why is Red Velvet Cake So Special?
Indulgent experience: Every slice of this Red Velvet Cake is rich and luxurious, combining a unique flavor with a stunning presentation that impresses at any gathering. Creamy frosting: The tangy cream cheese frosting adds a delightful contrast, enhancing the overall taste while making this cake unforgettable. Easy to make: With straightforward instructions and accessible ingredients, you can whip up this showstopper without hassle. Versatile dessert: Perfect for birthdays, holidays, or even a cozy dinner, it suits every occasion. Eye-catching color: Its vibrant hue makes it a striking addition to any dessert table, sure to spark conversations. Indulge your loved ones with this classic recipe that promises satisfaction and joy. For even more delicious ideas, check out my guide on making your own frosting.
Red Velvet Cake Ingredients
• Unlock the secrets to creating this stunning dessert!
For the Cake
- Cooking Spray – Prevents the cake from sticking to the pans; substitute with butter for a richer flavor.
- Unsalted Butter (1 cup/2 sticks, softened) – Provides richness and moisture; try margarine for a dairy-free option.
- Granulated Sugar (1 cup/200 g) – Sweetens the cake and helps create a tender crumb; brown sugar can add a deeper flavor.
- Large Eggs (2, room temperature) – Adds structure and moisture; use 1/4 cup applesauce for a vegan alternative.
- Pure Vanilla Extract (1 tsp) – Enhances flavor complexity; imitation vanilla can be used if necessary.
- All-Purpose Flour (2 cups/240 g) – Provides structure; substitute with gluten-free flour for a gluten-free version.
- Dutch-Processed Cocoa Powder (1/3 cup/40 g) – Adds chocolate flavor and color; natural cocoa can change the cake’s profile.
- Baking Soda (1 tsp) – Helps the cake rise; baking powder can be used as an alternative.
- Kosher Salt (1 tsp) – Balances sweetness and enhances flavor; regular table salt is a suitable substitute.
- Buttermilk (1 cup) – Contributes to moisture and tenderness; replace with milk plus vinegar for a quick substitute.
- Distilled White Vinegar (1 tbsp) – Reacts with baking soda to enhance leavening; lemon juice works in a pinch.
- Red Food Coloring (2 tbsp) – Gives the cake its signature color; natural beet juice is a dye-free alternative.
For the Frosting
- Cream Cheese Frosting – Essential for that creamy layer; store-bought works, but homemade adds a personal touch.
This Red Velvet Cake is not just a recipe; it’s an experience waiting to be shared around your table!
How to Make Red Velvet Cake
Preheat the Oven: Begin by preheating your oven to 350°F (175°C). This ensures an even bake for your cake once it’s ready to go in.
Prepare the Cake Pans: Grease two round cake pans with cooking spray and line the bottoms with parchment paper. This step helps release the cakes easily after baking.
Cream Butter and Sugar: In a large mixing bowl, beat the softened unsalted butter and granulated sugar together until the mixture is light and fluffy, about 3-5 minutes. This is key for a delightful texture!
Add the Eggs: Incorporate the large eggs one at a time, mixing well after each addition. This will help bind the flavors and create a rich batter.
Mix Wet Ingredients: Pour in the pure vanilla extract, buttermilk, distilled white vinegar, and red food coloring. Stir until everything is well combined, creating that signature red hue.
Combine Dry Ingredients: In a separate bowl, whisk together the all-purpose flour, Dutch-processed cocoa powder, baking soda, and kosher salt. Gradually add this dry mix to the wet ingredients, mixing until just combined. Avoid overmixing to keep your cake tender!
Bake the Cake: Divide the batter evenly between the prepared cake pans. Bake for 25-30 minutes or until a toothpick inserted into the center comes out clean.
Cool the Cakes: Let the cakes cool in their pans for about 15 minutes. Then, carefully transfer them to wire racks to cool completely. This step is crucial before frosting!
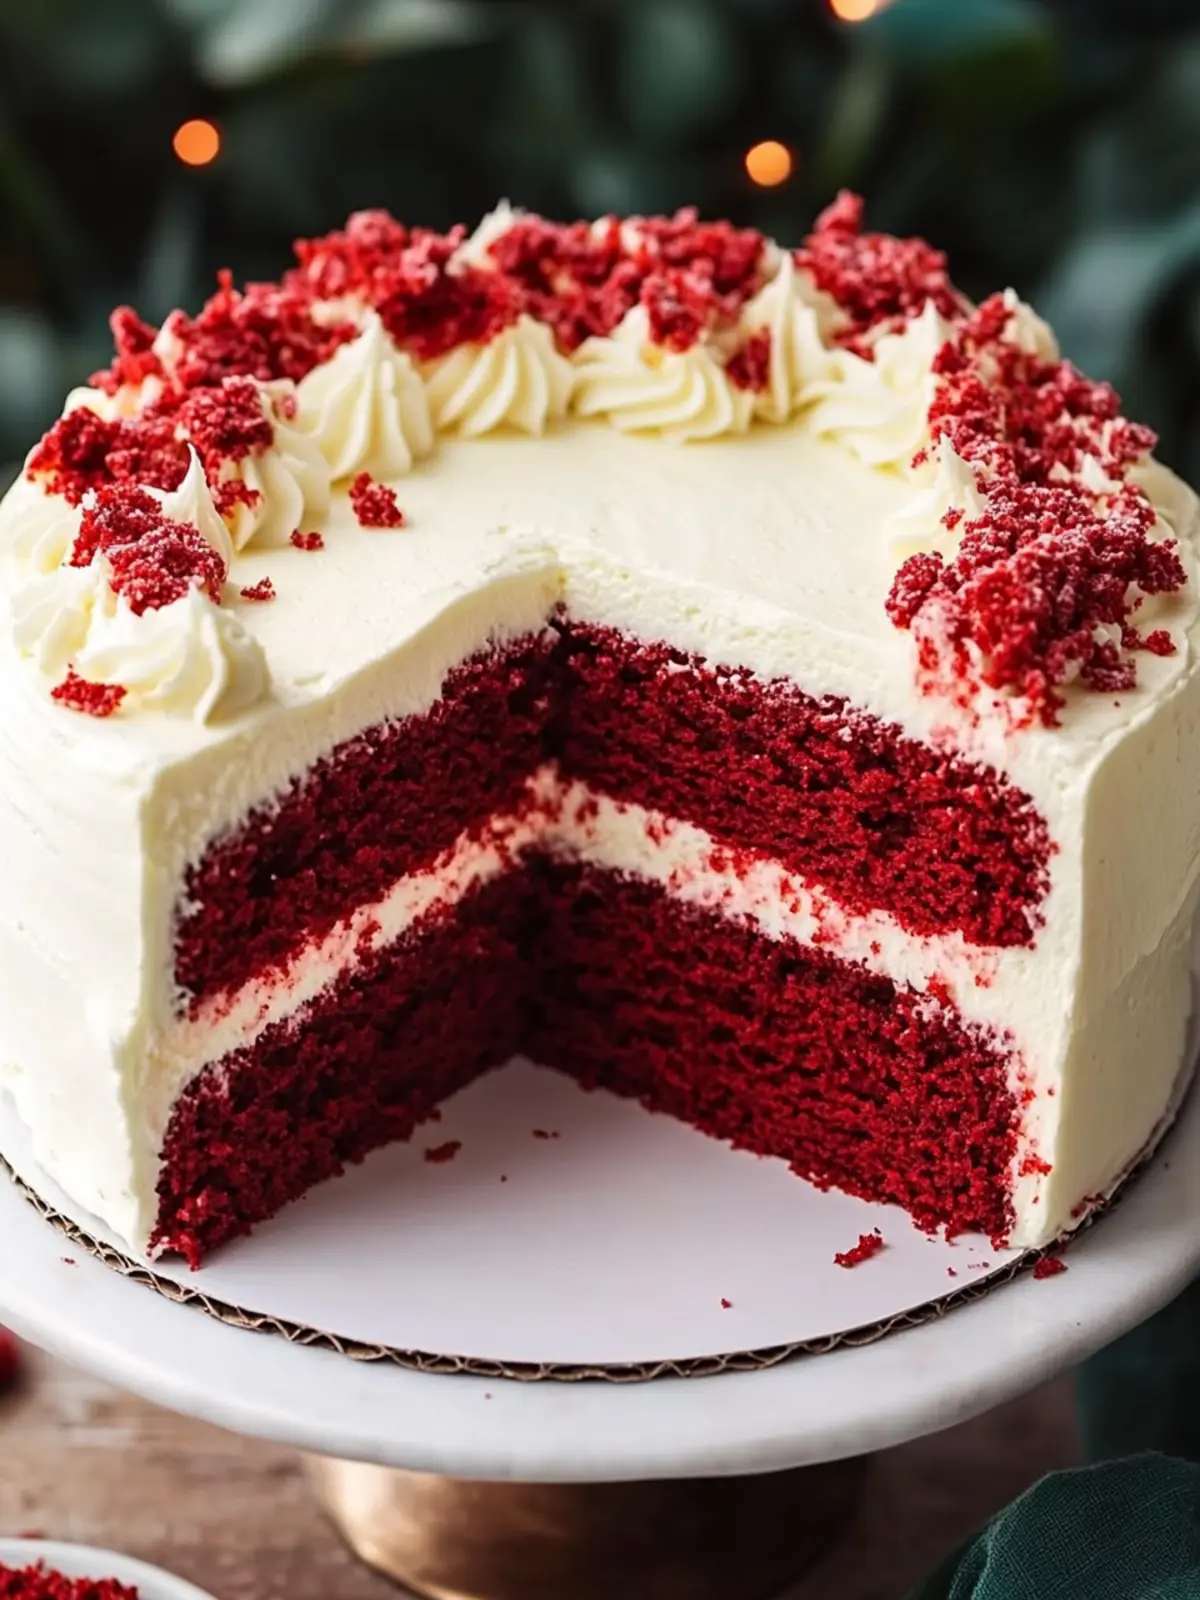
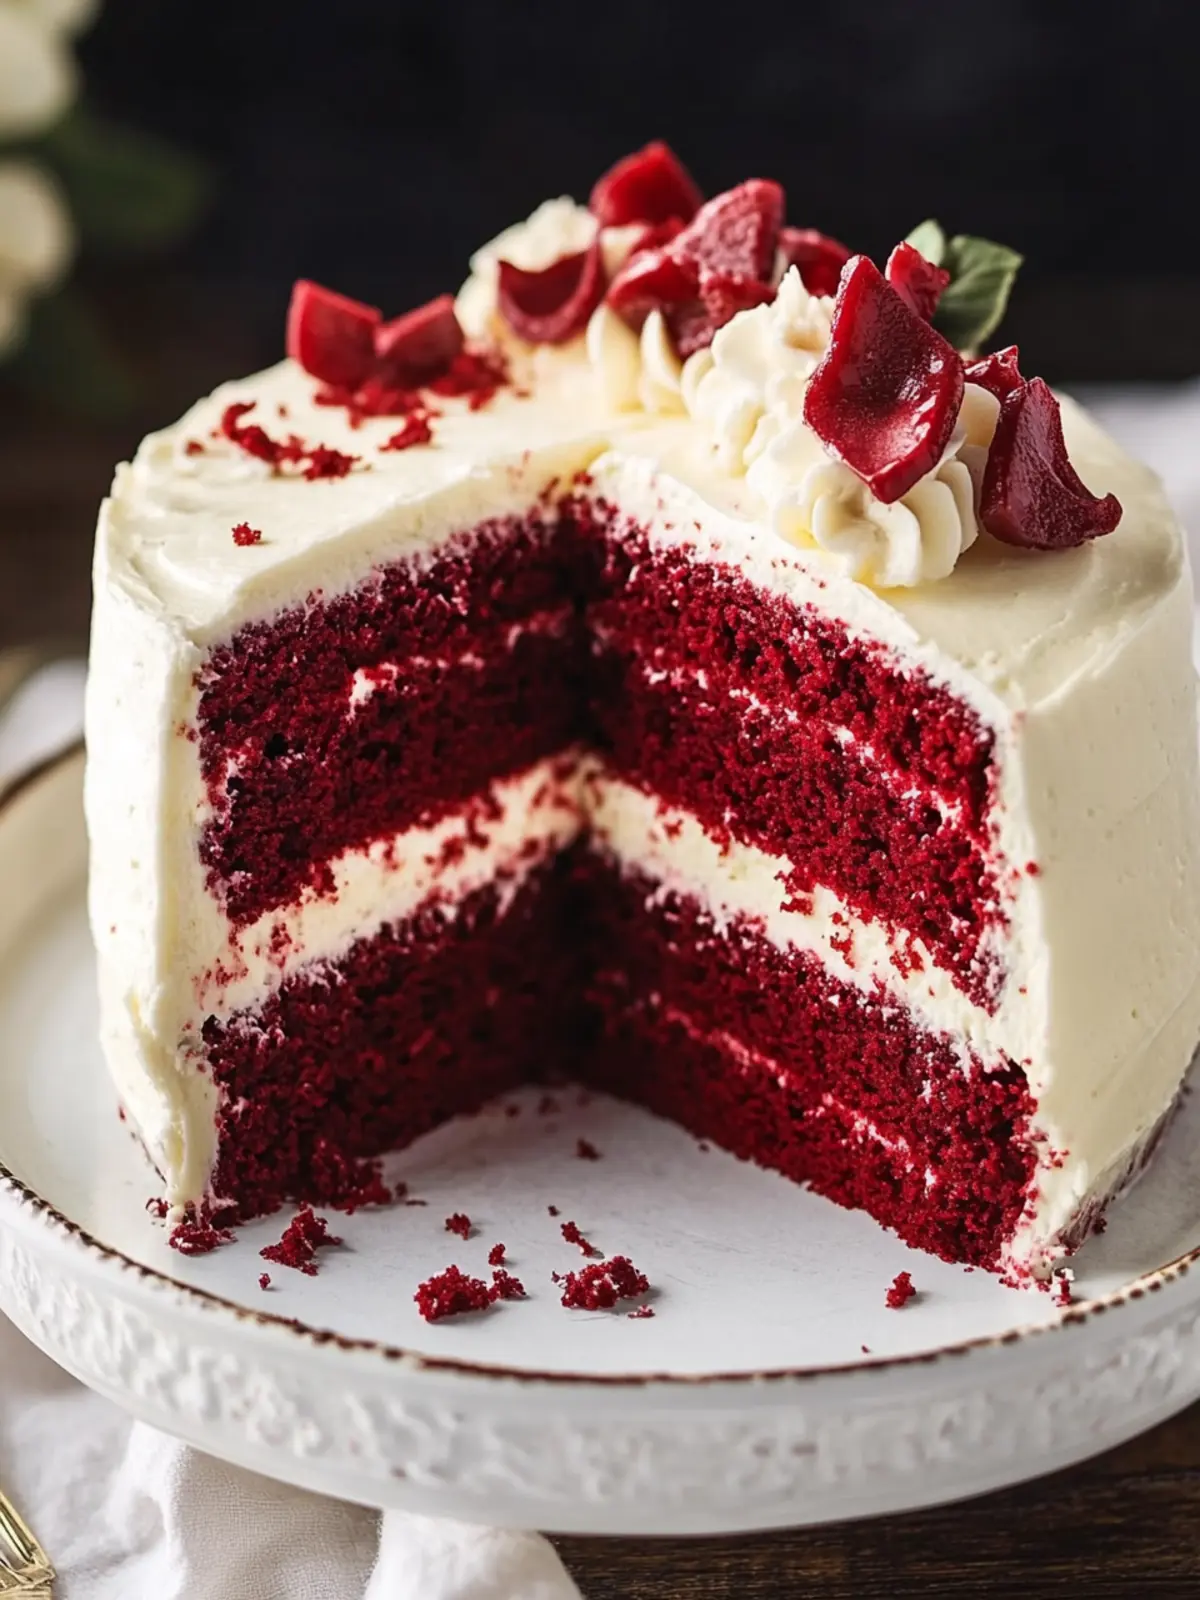
Level and Frost: Once cooled, level the tops of the cakes with a serrated knife. Place one layer on a platter, generously frost with cream cheese frosting, then add the second layer. Frost the top and sides, and don’t forget to decorate with crumbled cake tops for that lovely finishing touch!
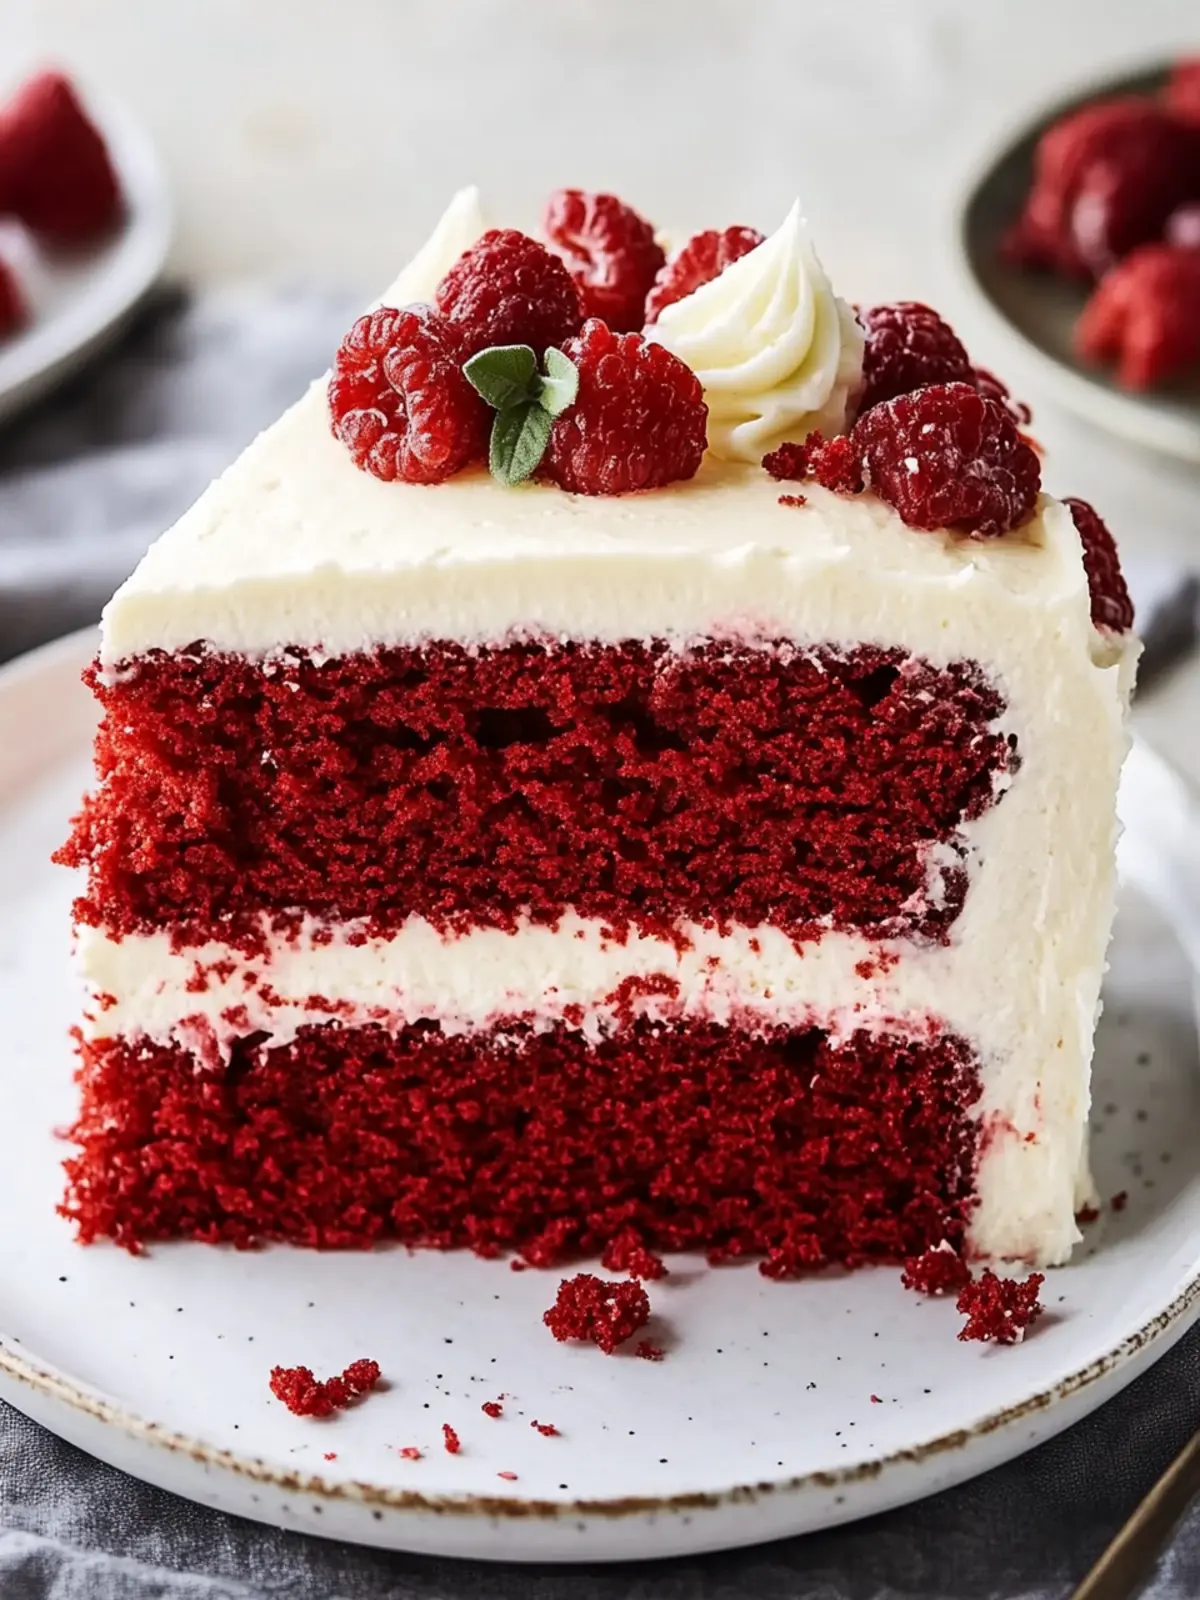
Optional: Serve with fresh berries for an extra burst of flavor!
Exact quantities are listed in the recipe card below.
Red Velvet Cake Variations
Feel free to get creative with this recipe and make it your own! The aroma of baking is calling, so let your imagination run wild.
- Almond Extract: Swap vanilla extract for almond extract to add a nutty undertone that enhances the sweetness.
- Chocolate Chips: Fold in a cup of chocolate chips into the batter for bursts of melty goodness in every bite.
- Spice It Up: Add a teaspoon of cinnamon or nutmeg to the dry ingredients for a warm, aromatic twist on flavors.
- Vegan Option: Replace the butter with vegan butter and the eggs with applesauce for a delightful vegan-friendly version.
- Coconut Cream Frosting: Instead of cream cheese, try a fluffy coconut cream frosting for a tropical twist that is both light and fluffy.
- Nut Topping: Sprinkle chopped pecans or walnuts on the frosting for extra crunch and a lovely nutty flavor.
- Red Velvet Cupcakes: Transform this recipe into cupcakes by baking the batter in a muffin pan, and adjust the baking time to 18-20 minutes.
- Fruity Surprise: Layer in fresh raspberries or strawberries between the cake layers for a burst of fruity freshness that contrasts beautifully with the rich frosting.
Let these variations inspire you to create a Red Velvet Cake that’s uniquely yours!
Tips for the Best Red Velvet Cake
- Room Temperature Ingredients: Ensure all your ingredients are at room temperature for a smoother batter and better incorporation, resulting in a moist cake.
- Don’t Overmix: Mix the batter until just combined to avoid a dense cake. Overmixing can develop the gluten in the flour and impact the texture of your Red Velvet Cake.
- Leveling Layers: Use a serrated knife to level your cake layers evenly, preventing a lopsided cake and ensuring a beautiful, stacked presentation.
- Cool Completely: Allow your cakes to cool completely before frosting to prevent melting. Patience is key for a perfect finish!
- Color Adjustment: If your cake appears less vibrant, check your food coloring; using natural alternatives may reduce color intensity.
How to Store and Freeze Red Velvet Cake
- Room Temperature: Store the cake covered at room temperature for up to 1 day, but be sure to keep it away from direct sunlight and heat to maintain moisture.
- Fridge: In an airtight container, your Red Velvet Cake will stay fresh in the refrigerator for up to 4 days. Cover it well to prevent it from absorbing any unwanted odors.
- Freezer: Wrap the cake slices tightly in plastic wrap and then place them in a freezer-safe container to enjoy later. It can last up to 4 months in the freezer.
- Reheating: To enjoy a slice again, let it thaw in the fridge overnight. You can warm it gently in the microwave for about 10-15 seconds for a cozy taste of indulgence.
Make Ahead Options
These Classic Southern Red Velvet Cakes are perfect for meal prep! You can bake the cake layers up to 3 days in advance and store them in the refrigerator wrapped tightly in plastic wrap to maintain their moisture and freshness. The cream cheese frosting can also be made ahead and refrigerated for up to 2 weeks (just remember to bring it to room temperature before using). When you’re ready to serve, level the cooled cake layers, frost generously with the cream cheese frosting, and add any decorative touches. This allows you to enjoy a delicious homemade dessert with minimal effort on the day of your celebration!
What to Serve with Red Velvet Cake?
Add depth to your celebration by pairing this vibrant cake with delightful accompaniments that entice the senses.
- Fresh Berries: Add a burst of freshness with strawberries or raspberries. Their tartness beautifully balances the sweetness of the cake.
- Vanilla Ice Cream: A scoop of creamy vanilla ice cream melting atop the warm cake creates a delightful contrast in temperature and texture, amplifying indulgence.
- Chocolate Ganache: A rich chocolate ganache drizzled on top or served alongside elevates the cake’s chocolate notes, making every bite decadent.
- Mint Sprigs: Fresh mint adds a charming pop of color and a refreshing contrast on the plate, complementing the rich flavors of the cake.
- Coffee or Espresso: Pair your slice with a cup of brewed coffee or espresso to enhance the chocolate flavor, creating a sophisticated dessert experience.
- Caramel Sauce: Drizzling warm caramel sauce over the cake creates a luscious, gooey texture that pairs beautifully with creamy frosting.
- Whipped Cream: A dollop of freshly whipped cream introduces a lightness, softening the cake’s richness and offering a delightful creaminess with each bite.
- Sparkling Wine: Celebrate with a glass of bubbly! A sweet sparkling wine complements the cake’s sweetness while adding a festive flair to your gathering.
Red Velvet Cake Recipe FAQs
How do I choose the right ingredients for my Red Velvet Cake?
Absolutely! For the best results, ensure your ingredients are fresh and at room temperature. For example, use unsalted butter that’s soft to the touch for that creamy texture. When selecting your cocoa powder, look for Dutch-processed as it gives the cake that rich flavor and signature deep color. Always check the expiration dates on your leavening agents like baking soda to ensure they’re still active.
How long can I store my Red Velvet Cake, and what’s the best method?
You can keep your Red Velvet Cake stored in an airtight container in the refrigerator for up to 4 days. Just make sure it’s well-covered to prevent it from drying out or absorbing any unwanted odors from your fridge. If you’d like to store it longer, you can freeze it! Just wrap individual slices tightly in plastic wrap, placing them in a freezer-safe container. This way, it should remain fresh for up to 4 months.
Can I freeze my Red Velvet Cake, and if so, what’s the best way to do it?
Absolutely! Freezing is a great way to save your cake for later enjoyment. To freeze your Red Velvet Cake, follow these steps:
- Allow the cake to cool completely after baking.
- Wrap each layer or slice tightly in plastic wrap.
- Place the wrapped cake in a freezer-safe container or a large zip-top bag to prevent freezer burn.
- Label it with the date.
For best results, consume within 3 months. When you’re ready to enjoy, simply let it thaw in the refrigerator or at room temperature before diving in!
What can I do if my Red Velvet Cake doesn’t rise properly?
Very! If your cake doesn’t rise, it might be due to two main factors: stale leavening agents or incorrect measurements. Always double-check the expiration date on your baking soda and ensure it’s fresh. Measure your ingredients accurately, especially flour; using too much can lead to a dense cake. If you find that your cakes are uneven, re-level them with a serrated knife after they’ve cooled.
Are there any dietary considerations I should be aware of when making Red Velvet Cake?
Yes, indeed! If you’re baking for someone with dietary restrictions, note that this Red Velvet Cake contains eggs and dairy. For a vegan option, you can substitute the eggs with 1/4 cup unsweetened applesauce and use a dairy-free butter alternative. Additionally, ensure your food coloring is free of any allergens if you’re baking for sensitive individuals. Always read the labels on your ingredients.
Can I make this Red Velvet Cake ahead of time?
Absolutely! The beauty of this cake lies in its versatility. You can prepare the cream cheese frosting up to 2 weeks in advance and keep it in the fridge or freeze it for up to 6 months. Just be sure to allow it to thaw and come to room temperature before using. As for the cake layers, you can bake them a day ahead and store them wrapped tightly in plastic wrap at room temperature until you’re ready to frost. This helps in maintaining their moisture and flavor.
Decadent Red Velvet Cake with Cream Cheese Bliss!
Equipment
- - Oven
- - Mixing bowl
- Cake Pans
- Whisk
- - Serrated knife
Ingredients
For the Cake
- 1 cup Unsalted Butter, softened Try margarine for a dairy-free option.
- 1 cup Granulated Sugar Brown sugar can add a deeper flavor.
- 2 large Eggs, room temperature Use 1/4 cup applesauce for a vegan alternative.
- 1 tsp Pure Vanilla Extract Imitation vanilla can be used if necessary.
- 2 cups All-Purpose Flour Substitute with gluten-free flour for a gluten-free version.
- 1/3 cup Dutch-Processed Cocoa Powder Natural cocoa can change the cake's profile.
- 1 tsp Baking Soda Baking powder can be used as an alternative.
- 1 tsp Kosher Salt Regular table salt is a suitable substitute.
- 1 cup Buttermilk Replace with milk plus vinegar for a quick substitute.
- 1 tbsp Distilled White Vinegar Lemon juice works in a pinch.
- 2 tbsp Red Food Coloring Natural beet juice is a dye-free alternative.
For the Frosting
- 1 batch Cream Cheese Frosting Store-bought works, but homemade adds a personal touch.
Instructions
Cake Preparation
- Preheat your oven to 350°F (175°C).
- Grease two round cake pans with cooking spray and line the bottoms with parchment paper.
- In a large mixing bowl, beat the softened unsalted butter and granulated sugar together until light and fluffy, about 3-5 minutes.
- Incorporate the eggs one at a time, mixing well after each addition.
- Pour in the vanilla extract, buttermilk, distilled white vinegar, and red food coloring. Stir until well combined.
- In a separate bowl, whisk together the flour, cocoa powder, baking soda, and salt. Gradually add this to the wet ingredients, mixing until just combined.
- Divide batter evenly between the prepared pans. Bake for 25-30 minutes or until a toothpick inserted comes out clean.
- Let the cakes cool in their pans for about 15 minutes, then transfer to wire racks to cool completely.
- Level the tops of the cakes with a serrated knife. Frost the top of one layer, add the second layer, and frost the top and sides.