
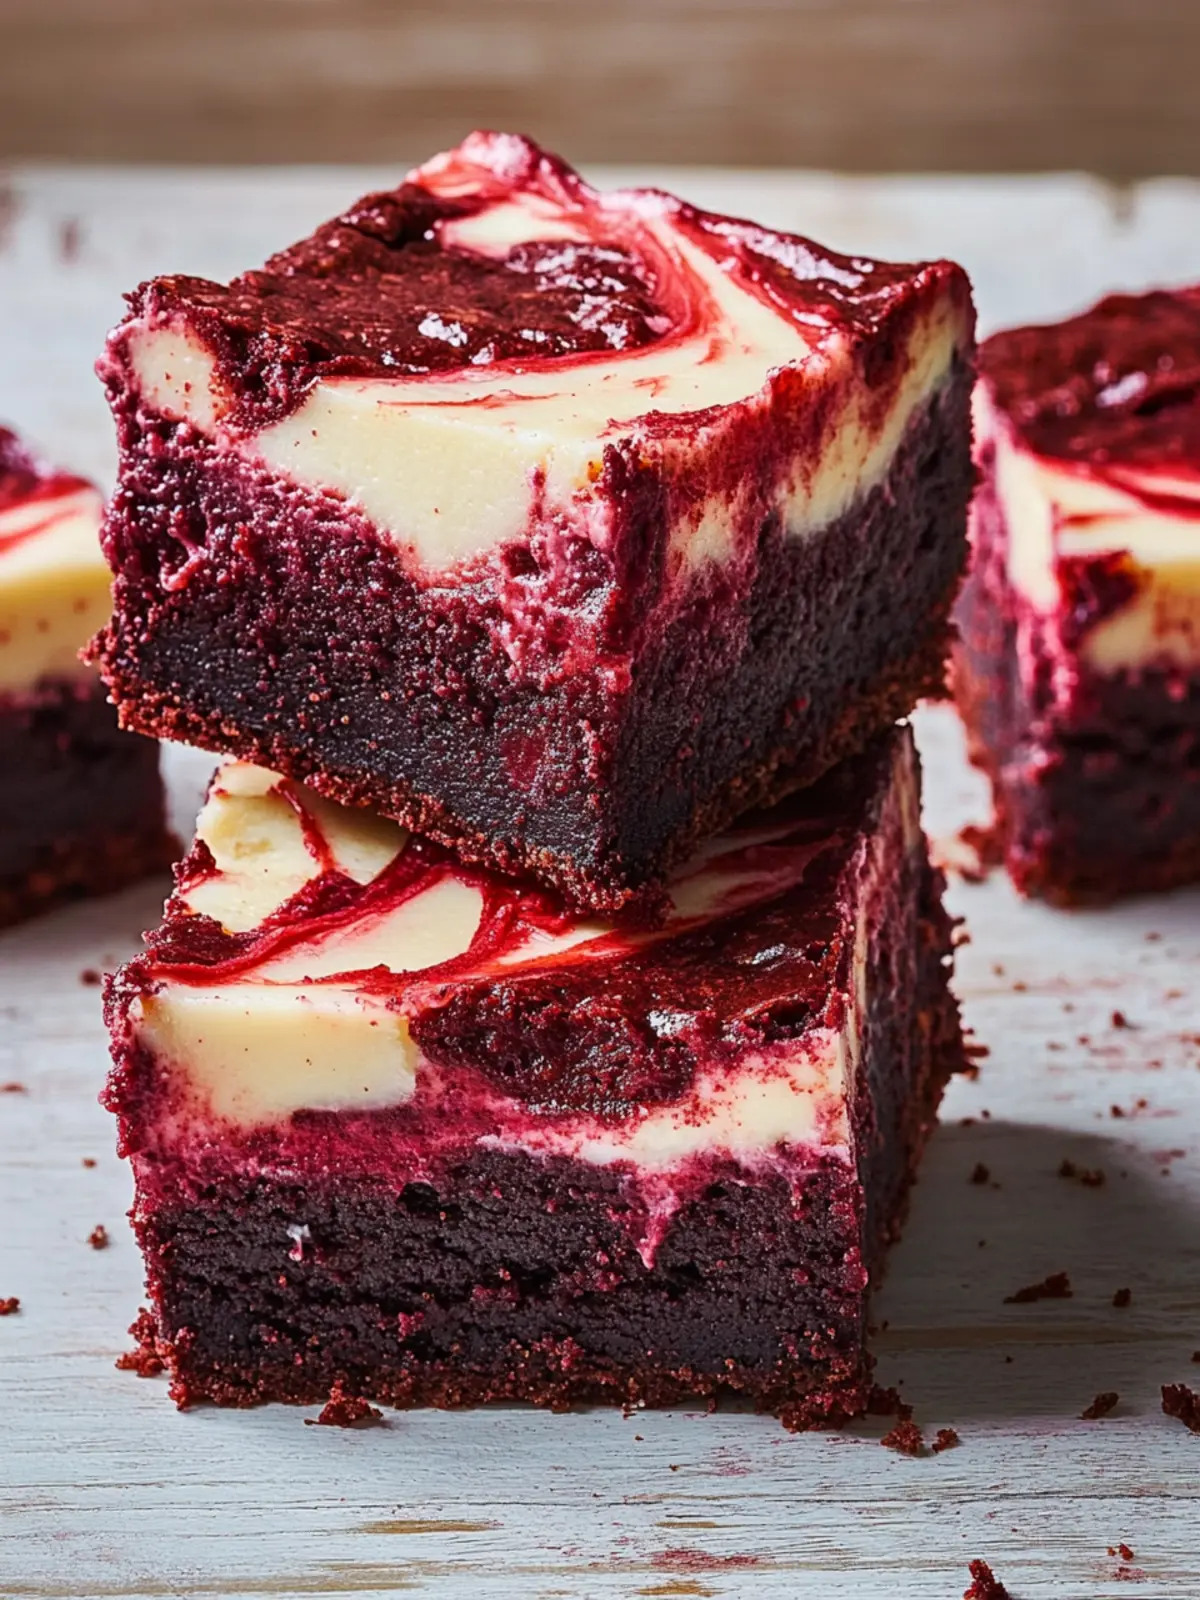
There’s something truly special about the moment you cut into a brownie and reveal a heavenly swirl of cheesecake accompanying that vibrant red hue. I discovered these Red Velvet Cheesecake Brownies during a weekend bake-a-thon, attempting to merge my love for classic flavors with a twist of indulgence. The combination of rich, fudgy brownie made even more decadent with a creamy cheesecake layer is irresistible.
Perfect for celebration, whether it be Valentine’s Day or simply a Tuesday that calls for something sweet, these brownies offer a luscious experience that will delight your senses. Plus, they’re incredibly easy to whip up, meaning you can treat yourself and your loved ones on any occasion without the fuss of complicated baking techniques. With every bite, the rich flavor and velvety texture will transport you to a dessert lover’s paradise. Ready to impress? Let’s dive into the recipe!
Why are Red Velvet Cheesecake Brownies a must-try?
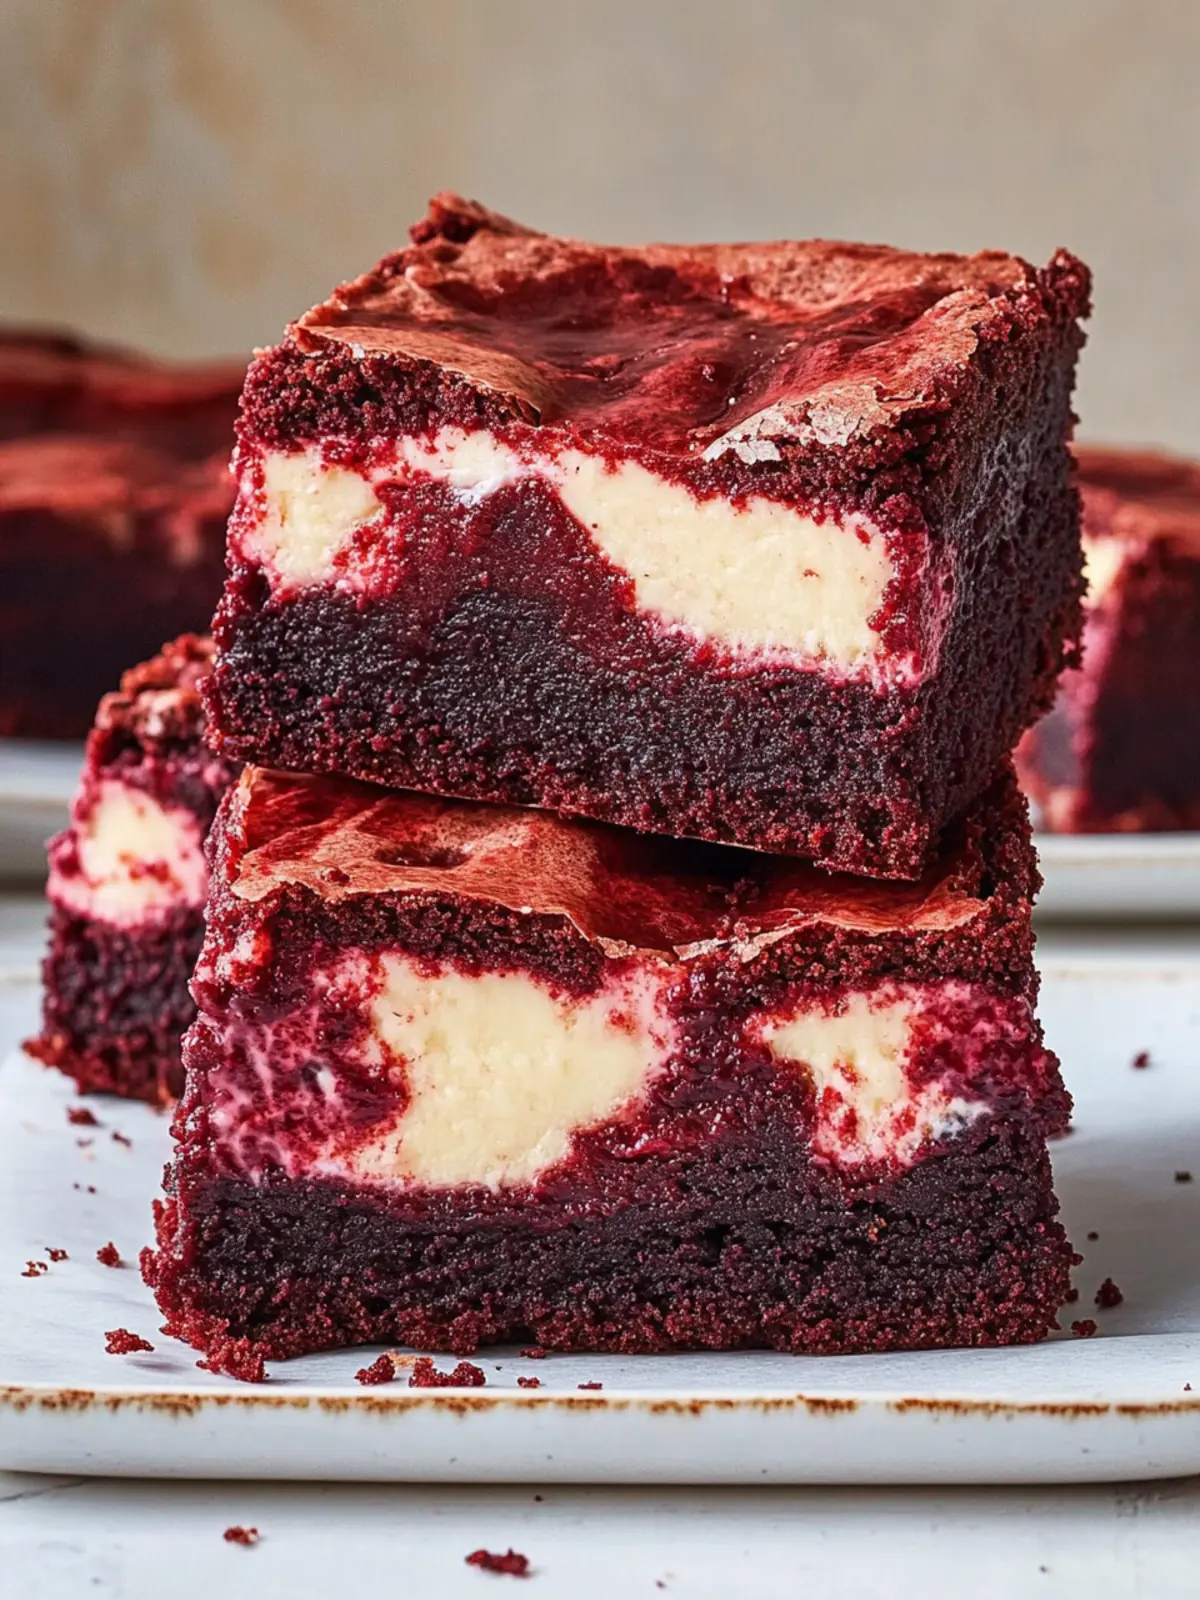
Irresistible Combination: These brownies blend rich chocolate with creamy cheesecake for a flavor that dances on your palate.
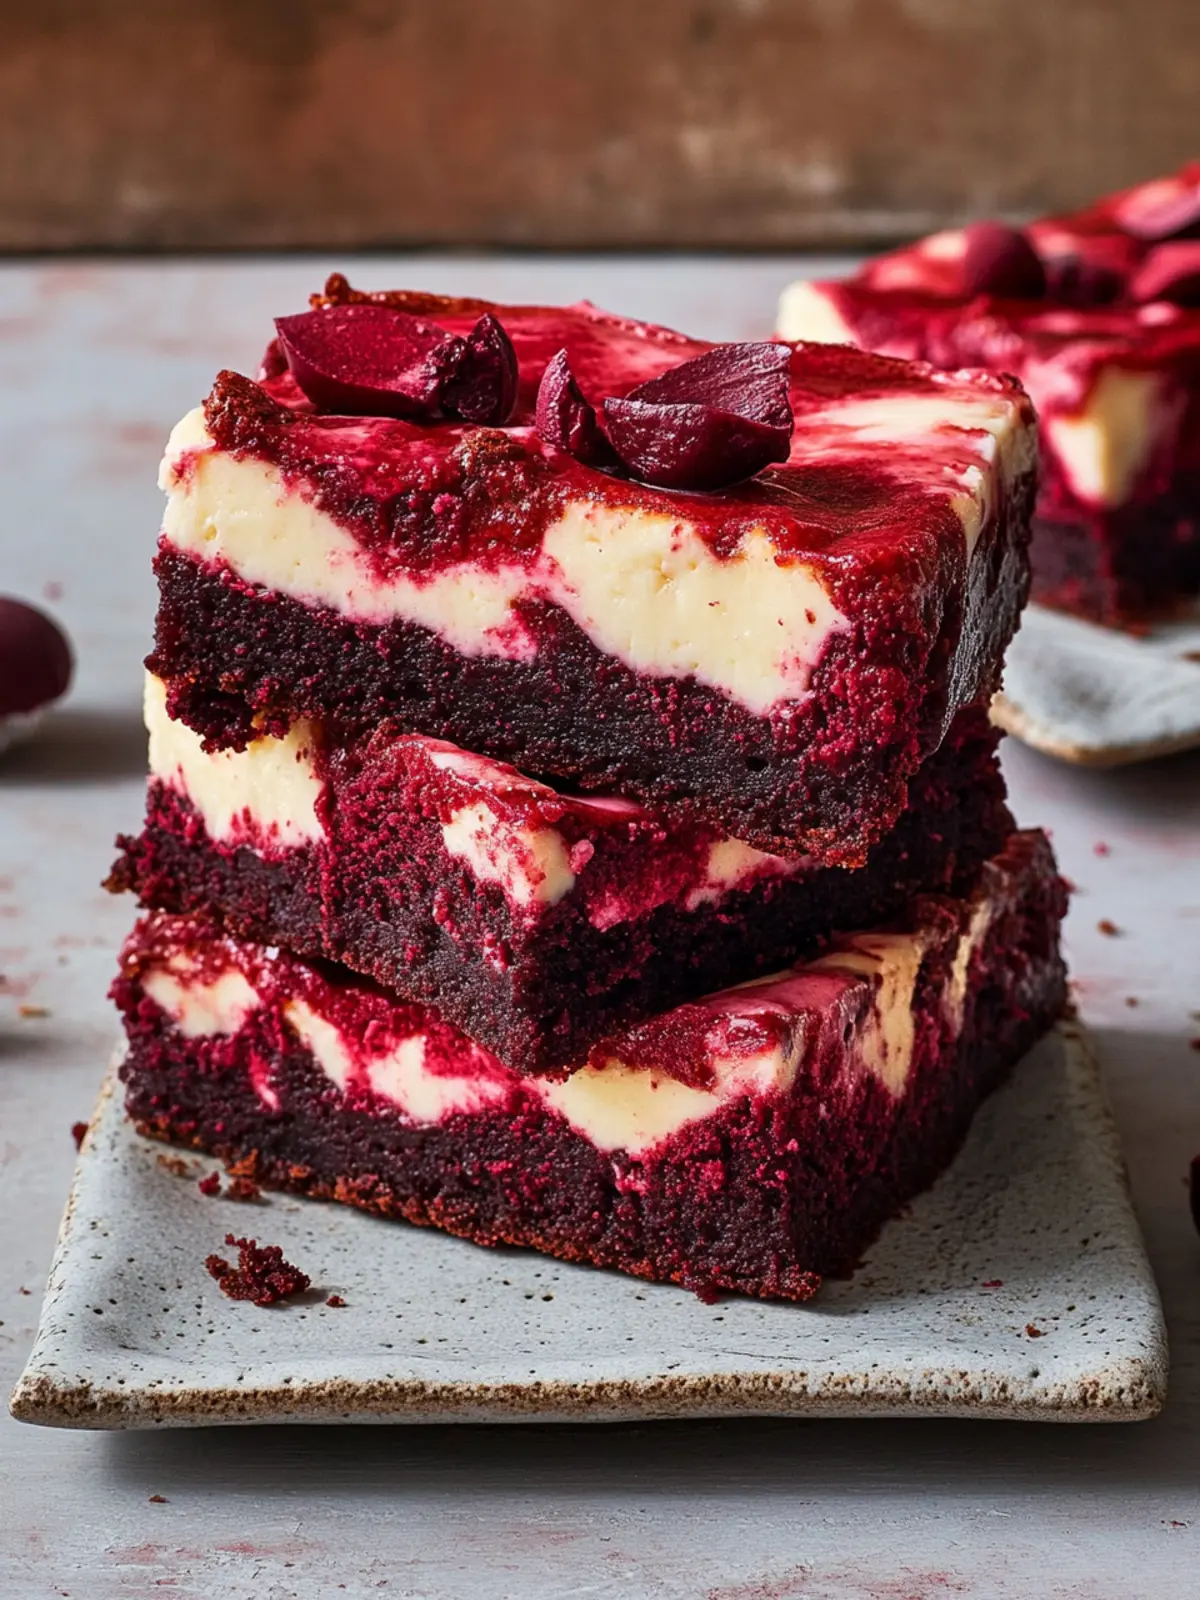
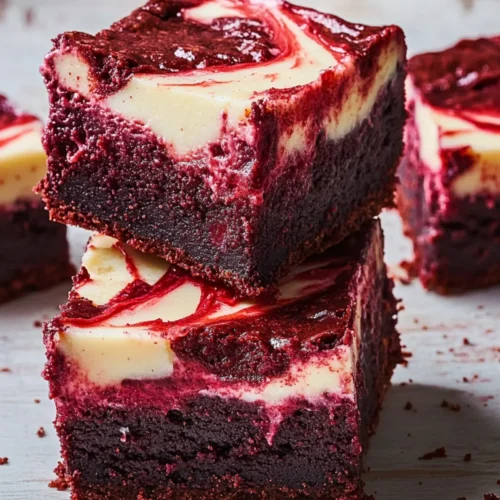
Visually Stunning: The vibrant red color and creamy swirls make these a showstopper at any gathering, perfect for impressing guests!
Easy Preparation: With straightforward steps, you can whip these up quickly—ideal for both seasoned bakers and novice cooks.
Flexible Serving Sizes: Cut them into smaller pieces for larger gatherings or satisfy your sweet tooth with a indulgent square. They adapt beautifully for any celebration!
Perfect for Celebrations: Whether it’s Valentine’s Day or just a sweet Tuesday, these brownies are sure to elevate the mood and create joy with every bite.
Red Velvet Cheesecake Brownies Ingredients
For the Brownie Batter
• Unsalted Butter (3/4 cup / 1 1/2 sticks) – Provides richness and moisture; can substitute with coconut oil for a dairy-free version.
• Semisweet Chocolate Chips (4 oz) – Adds depth of flavor and richness; substitute with dark chocolate for a more intense flavor.
• Granulated Sugar (1 cup / 200 g) – Sweetens the brownie base; no direct substitute recommended for overall texture.
• Light Brown Sugar (1/2 cup / 110 g) – Contributes moisture and a slightly caramel flavor; can substitute with more granulated sugar.
• Large Eggs (2) – Binds ingredients and provides structure; for egg-free, use flax eggs (1 tbsp ground flaxseed + 2.5 tbsp water per egg).
• Pure Vanilla Extract (2 tsp) – Enhances flavor complexity; no substitutes recommended.
• Red Food Coloring (2 tsp) – Provides the characteristic red velvet color; omit for a traditional brownie look.
• All-Purpose Flour (1 cup / 120 g) – Forms the structure; can substitute with gluten-free flour blend.
• Unsweetened Cocoa Powder (3 Tbsp) – Adds chocolate flavor; no direct substitute; omit for a non-chocolate version.
• Kosher Salt (1 tsp) – Enhances sweetness and balances flavors; table salt can be used in a smaller amount.
For the Cheesecake Layer
• Cream Cheese (8 oz pkg) – Forms the cheesecake layer; for dairy-free, use a vegan cream cheese alternative.
• Granulated Sugar (1/4 cup / 50 g) – Sweetens the cheesecake layer; maintain proportions for balance.
These Red Velvet Cheesecake Brownies come together beautifully, and I can already hear the oohs and aahs from your family and friends as you serve them!
How to Make Red Velvet Cheesecake Brownies
Preheat the oven to 350°F (175°C). Prepare a 9×9-inch baking dish by greasing it with cooking spray for easy release.
Melt the butter and chocolate chips together in a medium saucepan over low heat. Stir until smooth and glossy, then remove from the heat and let it cool slightly.
Whisk the granulated sugar, brown sugar, eggs, vanilla, and red food coloring together in a large mixing bowl. This mixture should be well combined and slightly frothy.
Combine the cooled chocolate mixture with the egg mixture, stirring gently until fully blended.
Fold in the flour, cocoa powder, and salt. Mix until just combined. Be careful not to over-mix; a few lumps are perfectly fine!
Beat the cream cheese and sugar in another bowl until smooth. Add in the second egg and mix until creamy and well combined.
Layer half of the brownie batter into the prepared baking dish. Next, dollop the cheesecake mixture on top and spread gently. Finally, add the remaining brownie batter on top.
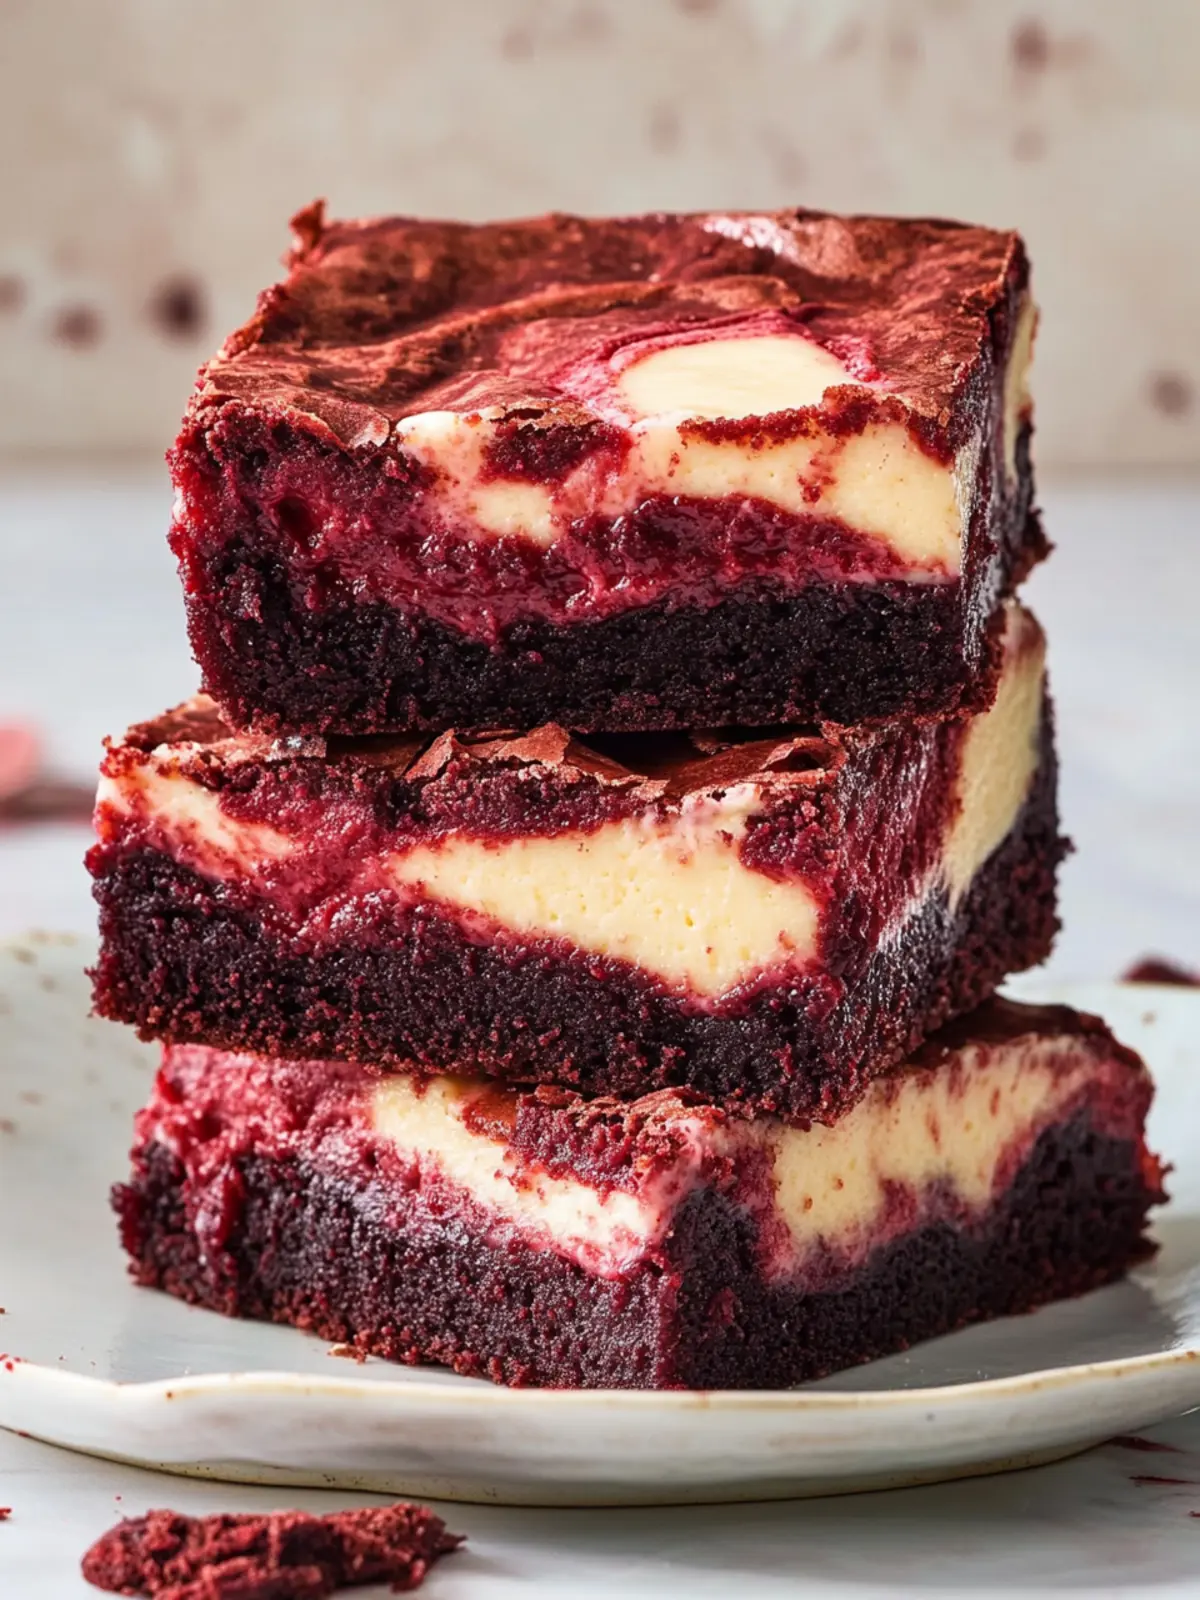
Swirl the batters together lightly with a knife or skewer for those beautiful marbled effects.
Bake in the preheated oven for about 30-35 minutes, or until the center is set and a toothpick comes out clean. Let cool in the pan before transferring to a wire rack.
Optional: Serve with a dusting of powdered sugar for an elegant finish.
Exact quantities are listed in the recipe card below.
Make Ahead Options
These Red Velvet Cheesecake Brownies are perfect for meal prep enthusiasts! You can prepare the brownie batter and the cheesecake layer separately up to 24 hours in advance, storing them in airtight containers in the refrigerator. When you’re ready to bake, simply combine the layers as instructed and swirl together. This approach not only saves you time but also enhances the flavors as they meld overnight. Another option is to bake the brownies completely and let them cool before cutting; they can be stored in the fridge for up to 5 days. Just remember to refrigerate them properly to maintain their moist texture and flavor, and serve them at room temperature or warmed slightly for the best experience.
Red Velvet Cheesecake Brownies Variations
Feel free to get creative and transform these brownies into your own signature treat!
Dairy-Free: Substitute unsalted butter and cream cheese with vegan alternatives like coconut oil and dairy-free cream cheese for a deliciously guilt-free version.
Nutty Delight: Fold in chopped pecans or walnuts into the brownie batter for added crunch and a delightful nutty flavor.
Chocolate Chunk: Replace chocolate chips with larger chocolate chunks to create an ooey-gooey chocolate experience in every bite.
Spiced Up: Add a pinch of cinnamon or nutmeg to the brownie base for a warm and cozy spice that complements the flavors beautifully.
Minty Fresh: Incorporate a few drops of peppermint oil into the cheesecake layer for a refreshing holiday twist that’s perfect for special occasions.
Swirled Fruit: Drop dollops of fruit preserves like raspberry or cherry into the batters before swirling for an irresistible fruit-infused treat.
Decadent Caramel: Drizzle caramel sauce over the top before baking or as a topping for an extra layer of indulgence.
Colorful Fun: Use a mix of different food colorings to create a rainbow effect in the batter for a cheerful and festive dessert sure to impress!
What to Serve with Red Velvet Cheesecake Brownies?
Looking to create a delightful spread that complements the lusciousness of your brownies? Let’s explore some delicious ideas!
Vanilla Ice Cream: The creamy and cool texture balances the rich brownies, creating a quintessential dessert duo that melts in your mouth.
Fresh Berries: Think strawberries or raspberries; their tartness pairs beautifully with the sweetness of the brownies, offering a refreshing contrast.
Whipped Cream: A dollop of light, airy whipped cream adds a delightful fluffiness; it’s like a cloud of sweetness atop each rich brownie square.
Chocolate Sauce: Drizzle warm chocolate sauce over the brownies for an extra indulgent experience; the gooey, rich flavor elevates sweetness to new heights.
Espresso or Coffee: A warm cup of espresso enhances the chocolate flavor, creating a perfect balance with the sweetness of the dessert.
Cream Cheese Frosting: If you’re craving an additional layer of richness, spread a little cream cheese frosting on top for a decadent treat that’s hard to resist.
Each bite of your Red Velvet Cheesecake Brownies will be even more heavenly when paired with these delicious accompaniments, making your dessert experience truly unforgettable!
Storage Tips for Red Velvet Cheesecake Brownies
Room Temperature: Store covered at room temperature for up to 2 days. Ensure they are kept in a cool, dry place to maintain their delicious texture.
Fridge: Keep in an airtight container in the fridge for up to 5 days. This will maintain the freshness of the cheesecake layer, making each bite as delightful as the first.
Freezer: Freeze brownies wrapped tightly in plastic wrap, then aluminum foil, for up to 3 months. Thaw in the refrigerator overnight before serving for the best taste and texture.
Reheating: For an extra indulgent treat, warm up in the microwave for 10-15 seconds before serving. This enhances the fudgy texture and brings out the rich flavors in the Red Velvet Cheesecake Brownies.
Expert Tips for Red Velvet Cheesecake Brownies
• Butter Care: Allow the butter and chocolate mixture to cool slightly before adding the eggs. This prevents curdling, ensuring a smooth texture.
• Perfect Swirls: Don’t over-swirl the batters; a few gentle strokes are enough to create beautiful marbling without losing the defined layers.
• Cut Cleanly: Refrigerate your Red Velvet Cheesecake Brownies for a bit before slicing; chilled brownies cut more cleanly and maintain their shape.
• Batch Adaptation: If serving a crowd, cut the brownies into smaller pieces. This generous approach lets everyone indulge without feeling overwhelmed.
• Flavor Alternative: Experiment with different food colors or flavors in the cheesecake layer for a fun twist on the classic; your creativity will shine!
Red Velvet Cheesecake Brownies Recipe FAQs
What kind of butter should I use for the Red Velvet Cheesecake Brownies?
I recommend using unsalted butter to control the salt content in your brownies, but you can also substitute it with coconut oil for a dairy-free version. Just ensure the coconut oil is melted and measured appropriately!
How should I store the brownies after baking?
You can store the Red Velvet Cheesecake Brownies in an airtight container at room temperature for up to 2 days. If you prefer to keep them longer, transfer them to the refrigerator, where they will last up to 5 days. This keeps the cheesecake layer fresh and delicious!
Can I freeze Red Velvet Cheesecake Brownies? If so, how?
Absolutely! To freeze, wrap the brownies tightly in plastic wrap, followed by a layer of aluminum foil to prevent freezer burn. They can be stored in the freezer for up to 3 months. When you’re ready to enjoy them, simply thaw in the refrigerator overnight, and they’re good to go!
What should I do if my brownie batter is too thick?
If you find your brownie batter is too thick, it’s likely because you’re over-mixing or not incorporating enough liquid. I suggest adding a tablespoon of milk or water to loosen it slightly. Just mix until combined, and remember, a thicker batter is perfect for fudgy brownies, so don’t worry too much!
Can I make these brownies egg-free?
Yes! For an egg-free version of the Red Velvet Cheesecake Brownies, use flax eggs instead. To do this, mix 1 tablespoon of ground flaxseed with 2.5 tablespoons of water per egg, let it sit for 5 minutes to thicken, and then use as you would regular eggs.
What if I can’t find red food coloring?
If red food coloring is hard to find, you can skip it and enjoy a standard brownie! Alternatively, beet juice or powdered beetroot are natural substitutes that not only add color but also a hint of sweetness. Just keep in mind that the flavor might vary slightly!
Indulge in Red Velvet Cheesecake Brownies You Can't Resist
Equipment
- - 9×9-inch baking dish
- - Medium saucepan
- Large mixing bowl
- Whisk
Ingredients
For the Brownie Batter
- 3/4 cup Unsalted Butter can substitute with coconut oil for a dairy-free version
- 4 oz Semisweet Chocolate Chips substitute with dark chocolate for a more intense flavor
- 1 cup Granulated Sugar no direct substitute recommended for overall texture
- 1/2 cup Light Brown Sugar can substitute with more granulated sugar
- 2 Large Eggs for egg-free, use flax eggs (1 tbsp ground flaxseed + 2.5 tbsp water per egg)
- 2 tsp Pure Vanilla Extract no substitutes recommended
- 2 tsp Red Food Coloring omit for a traditional brownie look
- 1 cup All-Purpose Flour can substitute with gluten-free flour blend
- 3 Tbsp Unsweetened Cocoa Powder omit for a non-chocolate version
- 1 tsp Kosher Salt table salt can be used in a smaller amount
For the Cheesecake Layer
- 8 oz pkg Cream Cheese for dairy-free, use a vegan cream cheese alternative
- 1/4 cup Granulated Sugar maintain proportions for balance
Instructions
Preparation
- Preheat the oven to 350°F (175°C). Prepare a 9x9-inch baking dish by greasing it with cooking spray for easy release.
- Melt the butter and chocolate chips together in a medium saucepan over low heat. Stir until smooth and glossy, then remove from the heat and let it cool slightly.
- Whisk the granulated sugar, brown sugar, eggs, vanilla, and red food coloring together in a large mixing bowl. This mixture should be well combined and slightly frothy.
- Combine the cooled chocolate mixture with the egg mixture, stirring gently until fully blended.
- Fold in the flour, cocoa powder, and salt. Mix until just combined. Be careful not to over-mix; a few lumps are perfectly fine!
- Beat the cream cheese and sugar in another bowl until smooth. Add in the second egg and mix until creamy and well combined.
- Layer half of the brownie batter into the prepared baking dish. Next, dollop the cheesecake mixture on top and spread gently. Finally, add the remaining brownie batter on top.
- Swirl the batters together lightly with a knife or skewer for those beautiful marbled effects.
- Bake in the preheated oven for about 30-35 minutes, or until the center is set and a toothpick comes out clean. Let cool in the pan before transferring to a wire rack.